Lifestyle
Install and start Codex CLI
Choose an installation platform, sign in, inspect a file, make a one-line change, verify it independently and resume the session. Includes a repeatable two-file exercise and a missing-file test.
About 12 min read · Practice 25 min
On this page
Back to the Codex learning hubCodex learning hub: tutorial directoryA planned 60-lesson, ten-unit Codex curriculum, from setup and your first task to MD instructions and advanced integrations. Find your next lesson by experience, platform, goal or command; unpublished entries show their status.Read the full article
What you will accomplish
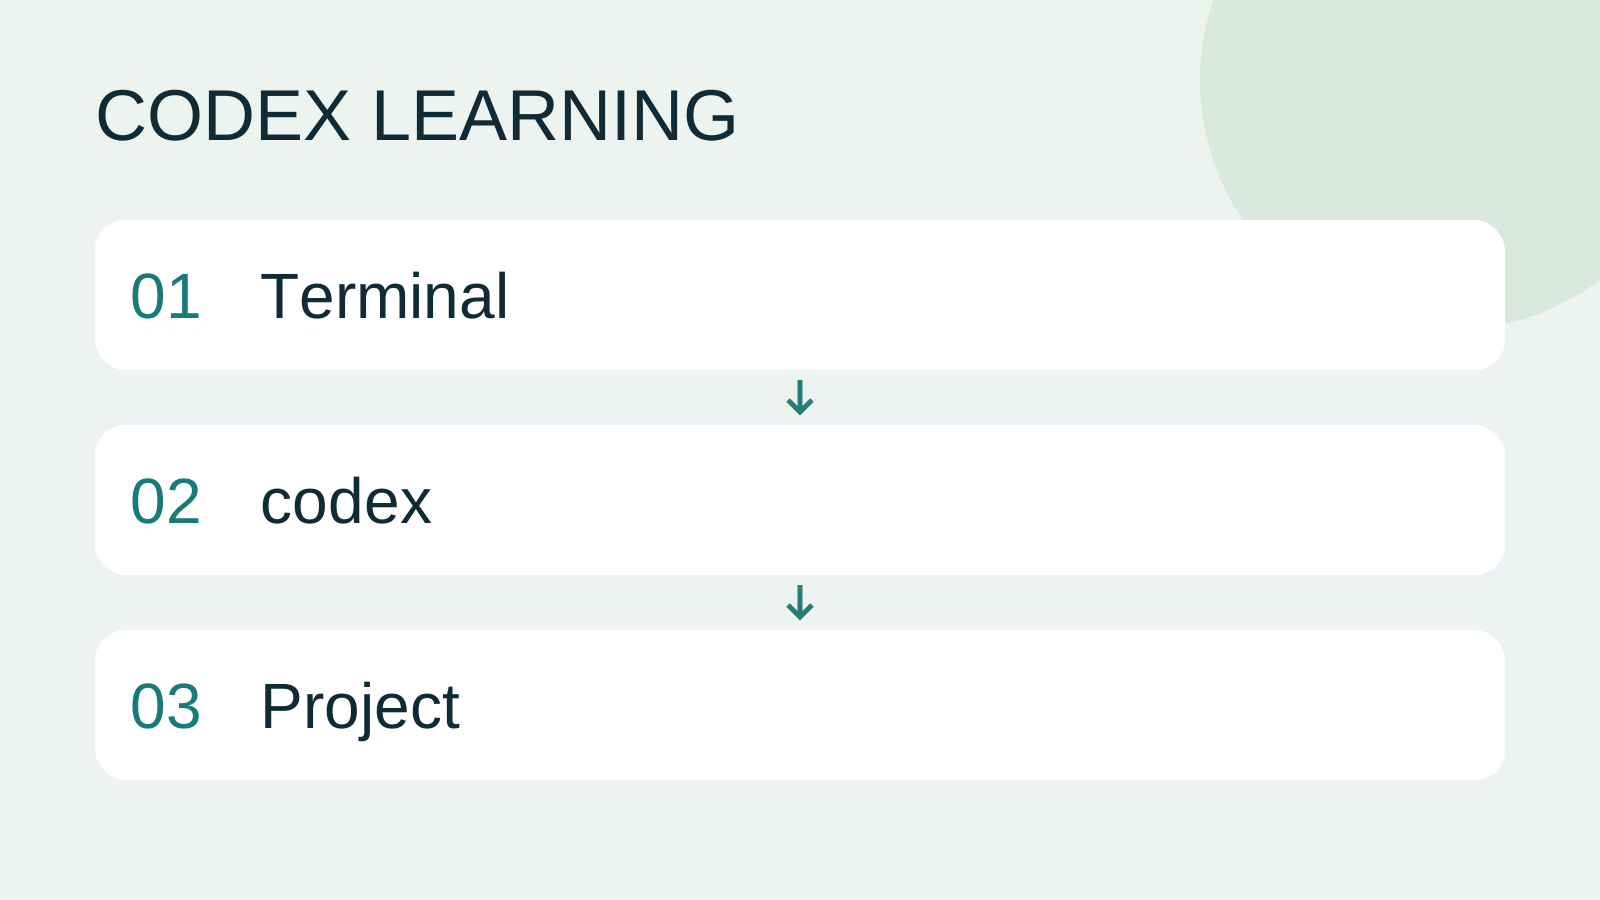
The CLI is a terminal interface to Codex. Your shell starts programs; the Codex composer accepts tasks. Complete terminal and path basicsTerminal paths and project rootsCreate a practice folder on Windows, macOS or Linux and distinguish current, relative and absolute paths.Read the full article until you can identify the current folder. Diagram 01 represents preflight checks, 02 the session and 03 file verification.
Before you start: choose one installation method
Use a practice folder writable by your ordinary user account, separate from production work. Check account and usage basicsAccounts, sign-in, plans and usageCheck how you signed in before interpreting usage. ChatGPT sign-in uses the Codex allowance associated with that account; API-key authentication in a supported client requires checking API billing separately. This tutorial teaches you where to verify your own allowance rather than freezing a price or message limit that may change.Read the full article for access, authentication and usage information. Starting the program does not establish available account usage; signing in does not grant access to every target directory.
| Environment | Installation route | Return here after |
|---|---|---|
| Windows | Official standalone PowerShell installer; npm is an option if present | Checking the version in native PowerShell |
| macOS | Official standalone installer; Homebrew cask for existing Homebrew users | Checking the version in Terminal |
| Linux / WSL2 | Official standalone installer in the Linux shell | Checking the version in that same Linux environment |
Follow the separate WindowsWindows CLI setup and troubleshootingInstall and sign in from PowerShell, check command discovery, read a project and troubleshoot updates.Read the full article, macOSmacOS CLI setup and troubleshootingSet up the CLI in macOS Terminal and separate shell, update, directory and permission problems.Read the full article or Linux / WSLLinux and WSL CLI environmentsDistinguish host and WSL tools, paths and accounts, then run the exercise and update from the right environment.Read the full article instructions. These are alternative routes, not three required installations. If a lesson is not yet public, use the official CLI setup page linked below, select your platform, finish installation and reopen the terminal. Then perform these checks. Avoid installing every distribution just to compare the methods.
codex --version
codex --help
Run these in the operating-system shell. Expect a version and help text, followed by the shell prompt; no model task has started. If codex is not found, resolve installation before attempting login. Your version may be newer. Compare its help with the official reference rather than installing the preview build used for this article's checks.
Step 1: prepare an identifiable practice file
Create greeting.txt in a plain-text editor with the content below, then save a second copy as greeting.original.txt. Place both in a new codex-cli-lab folder. Check for accidental .txt.txt extensions and avoid word-processing formats. The second line is a fixed marker that identifies your exercise file; the copy preserves the original for comparison.
Hello, traveler.
Lesson marker: CLI-START-01
On Windows, open the folder in File Explorer, choose Open in Terminal with PowerShell, and run Get-Location and Get-ChildItem. On macOS or Linux, enter cd followed by the folder's full quoted path, then pwd and ls. Both files must appear. If you are still in the home or downloads directory, navigate before proceeding; a familiar filename alone is insufficient evidence.
Step 2: sign in and start a read-only session
codex login
codex login status
codex --sandbox read-only
Run each line in the shell only after the previous one completes. Follow login's browser flow and choose the intended account and workspace. login status checks for credentials; it does not prove available usage, connectivity or successful model requests. The last line opens the interactive interface with a read-only sandbox. If folder-trust or sandbox setup appears, verify the path and explanation before choosing settings for this exercise.
Execute /status below only inside the Codex composer. Inspect the working directory, model and permission information shown by your version. Do not paste it into PowerShell. Read-only describes the sandbox policy, not a blanket guarantee that all network or external tools are disabled; those have their own controls. This exercise uses local text files only.
/status
Read greeting.txt in the current folder. Report the working directory and both lines exactly. Do not edit files, use external services, or infer missing content. If the file is missing, stop and report that.
This is a natural-language task for the Codex conversation. A passing response matches both original lines and the current directory. Inspect the file-reading tool record as evidence that it actually read the file. If the file is missing, stop before requesting edits. If the file exists but sandbox access fails, record the error and scope, then consult permissionsPermissions, sandbox, network and keysSandbox rules define technical access to files and networks; approval policy determines when the agent asks before acting. No prompt does not guarantee permission, and read access does not imply write access everywhere.Read the full article.
Step 3: change only the specified line
Enter /exit in Codex. Once the shell prompt returns, start the following writable session from the same practice folder. Separating reading from writing makes the permission change visible; a one-line edit does not require unrestricted disk access. If organizational policy disallows this mode, retain the read-only result and check the managed configuration.
codex --sandbox workspace-write --ask-for-approval on-request
In greeting.txt, replace only the first line with: Hello, Codex learner.
Preserve the lesson marker and greeting.original.txt. Do not create other project files.
Read the file after editing and report the exact before/after change.
The first block starts the program; the second is the request inside Codex. Review proposed commands and changes. If the backup changes or extra project files appear, identify the scope violation, request a correction and read again. Success means the first line is Hello, Codex learner., the marker is unchanged and the backup is intact. A completion message alone is insufficient.
Step 4: exit, verify and resume
After editing, test a missing file in the current Codex session: ask it to read greeting-missing.txt and explicitly report absence without creating it. Expect a clear missing-file result while both existing files remain unchanged. This distinguishes inspection from guessing content based on a filename. Then enter /exit to return to the shell and independently compare both files in your editor.
After exiting, run codex resume in the shell. Identify this session by time, content and directory rather than assuming it is the most recent. Ask for a summary of changes and remaining work, then reread greeting.txt. Resuming a conversation does not restore disk files to their former state. External edits must be checked against the current files.
codex resume
After resuming, check state: if the conversation remembers the edited first line but you restored greeting.txt from the backup, Codex should reread it and report Hello, traveler. Explicitly request reading and comparison only, without reapplying the earlier edit. New chats, exit and resume manage conversations; restoring files still requires a separate file operation and check. See sessionsSessions, resuming and forkingDistinguish new, resumed and forked tasks, locate the right history and verify the directory and remaining work.Read the full article for forking or looking across directories.
To repeat the exercise, exit and copy the two original lines back into greeting.txt, then confirm equality. Restore just the practice file; there is no need to delete Codex configuration or all sessions. Update through the installation channel you chose and verify the version in a fresh terminal. Check for duplicate installations when changing channels later.
Troubleshooting and completion check
Command missing: verify the shell, reopen it and use your platform's PATH checks. Browser login complete but CLI waiting: confirm the same login attempt and local return flow; keep login URLs and codes out of public posts. Signed in but unable to submit: distinguish usage, organization policy and network errors. Editing blocked: check whether this is still the read-only session before reinstalling anything.
Keep the version record, correct directory and read evidence, the one-line change, intact backup, missing-file report and resumable session. Continue with commandsCLI commands and slash commandsDistinguish shell commands and launch flags, interactive slash commands, keyboard shortcuts and natural-language requests. Check the input location: /plan belongs in the Codex interactive client; codex --help runs in the operating-system terminal.Read the full article and AGENTS.mdProject instructions with AGENTS.mdAGENTS.md supplies project instructions before Codex starts work. Global guidance and files along the project-root-to-working-directory path form an instruction chain. At the same level, AGENTS.override.md takes precedence. Keep rules concrete and verify what was actually loaded.Read the full article to add project rules. Local Windows checks cover version/help and exercise-file comparisons. Installation, account and interactive model steps are documentation-verified; macOS and Linux are not claimed as hands-on tests.
Back to the Codex learning hubCodex learning hub: tutorial directoryA planned 60-lesson, ten-unit Codex curriculum, from setup and your first task to MD instructions and advanced integrations. Find your next lesson by experience, platform, goal or command; unpublished entries show their status.Read the full article
Read the full description
Terminal to codex to Project
Lifestyle
Codex learning hub: tutorial directory
A planned 60-lesson, ten-unit Codex curriculum, from setup and your first task to MD instructions and advanced integrations. Find your next lesson by experience, platform, goal or command; unpublished entries show their status.
Lifestyle
Worktrees and isolated tasks
A Git worktree gives one repository multiple working directories on different branches. It isolates file edits, but databases, ports and external services may still be shared. File isolation is not full resource isolation.
Lifestyle
Workshop: build a small website
Plan and build the Small Steps task website from brief.md, with adding, completing, deleting, filtering and local persistence. Separate HTML, CSS, data functions, UI events and tests, verify with Node and browser checks, and document restart and recovery steps.
Lifestyle
Usage and efficiency: reducing rework
Record task conditions, model options, time and outcomes to reduce unnecessary retries and excess context.
Articles that cite this one
Latest travel guides

GuideTokyo
Where to Stay in Tokyo: Comparing Shinjuku, Ueno, Tokyo Station, Shibuya, Asakusa, Ikebukuro, and Ginza, Plus Airport Access, Accommodation Tax, and Luggage Delivery
Where should you stay in Tokyo? Compare Shinjuku, Ueno, Tokyo Station, Shibuya, Asakusa, Ikebukuro, and Ginza by the same criteria: access from Narita and Haneda, transit routes, nearby attractions, neighborhood character, and who each area suits. Includes a comparison table, a Yamanote Line diagram, Tokyo’s accommodation tax as verified in 2026/9 (changing to 3% in 2027/4), and Airport TA-Q-BIN luggage shipping rules.
- Budget
- Hotels
GuideTokyo
How to Choose Tokyo Transit Passes: Are Suica, Welcome Suica, the Tokyo Subway Ticket, and the JR Pass Worth It?
On a first Tokyo trip, start with an IC card and pay per ride (Welcome Suica has no deposit and is valid for 28 days). If you take four or more subway rides in a day, add a 72-hour Tokyo Subway Ticket for 2,000 yen; a JR Pass is never worthwhile if you stay in Tokyo and do not go to Kansai. See what TOURIST PASMO, Suica on iPhone, and the Tokyo Metro day pass do and do not cover, with a decision chart. Prices verified in September 2026.
- Transport
- Budget

GuideTokyo
Tokyo Disneyland and DisneySea Guide: Ticket Prices, Fantasy Springs, Disney Premier Access (DPA), Standby Pass, and Which Park to Choose for Your First Visit
Tokyo Disney one-day Passport prices vary: most weekdays in 9/2026 cost ¥9,900 and weekends ¥10,900. At 14:00 daily, tickets go on sale for the same date two months later. Free Priority Pass is no longer on the official service list; only paid Disney Premier Access (¥1,000–3,500 per person per use) shortens waits. Covers hours, the 25th anniversary, Standby Pass, Entry Request, Fantasy Springs access and first-visit park choice; checked on the official site in 9/2026.
- Itineraries
- Family
Sources
- Codex CLI · Checked:
- Authentication · Checked:
- Developer commands · Checked: