Lifestyle
Windows CLI setup and troubleshooting
Install and sign in from PowerShell, check command discovery, read a project and troubleshoot updates.
About 12 min read · Practice 25 min
On this page
Back to the Codex learning hubCodex learning hub: tutorial directoryA planned 60-lesson, ten-unit Codex curriculum, from setup and your first task to MD instructions and advanced integrations. Find your next lesson by experience, platform, goal or command; unpublished entries show their status.Read the full article
Goal and environment
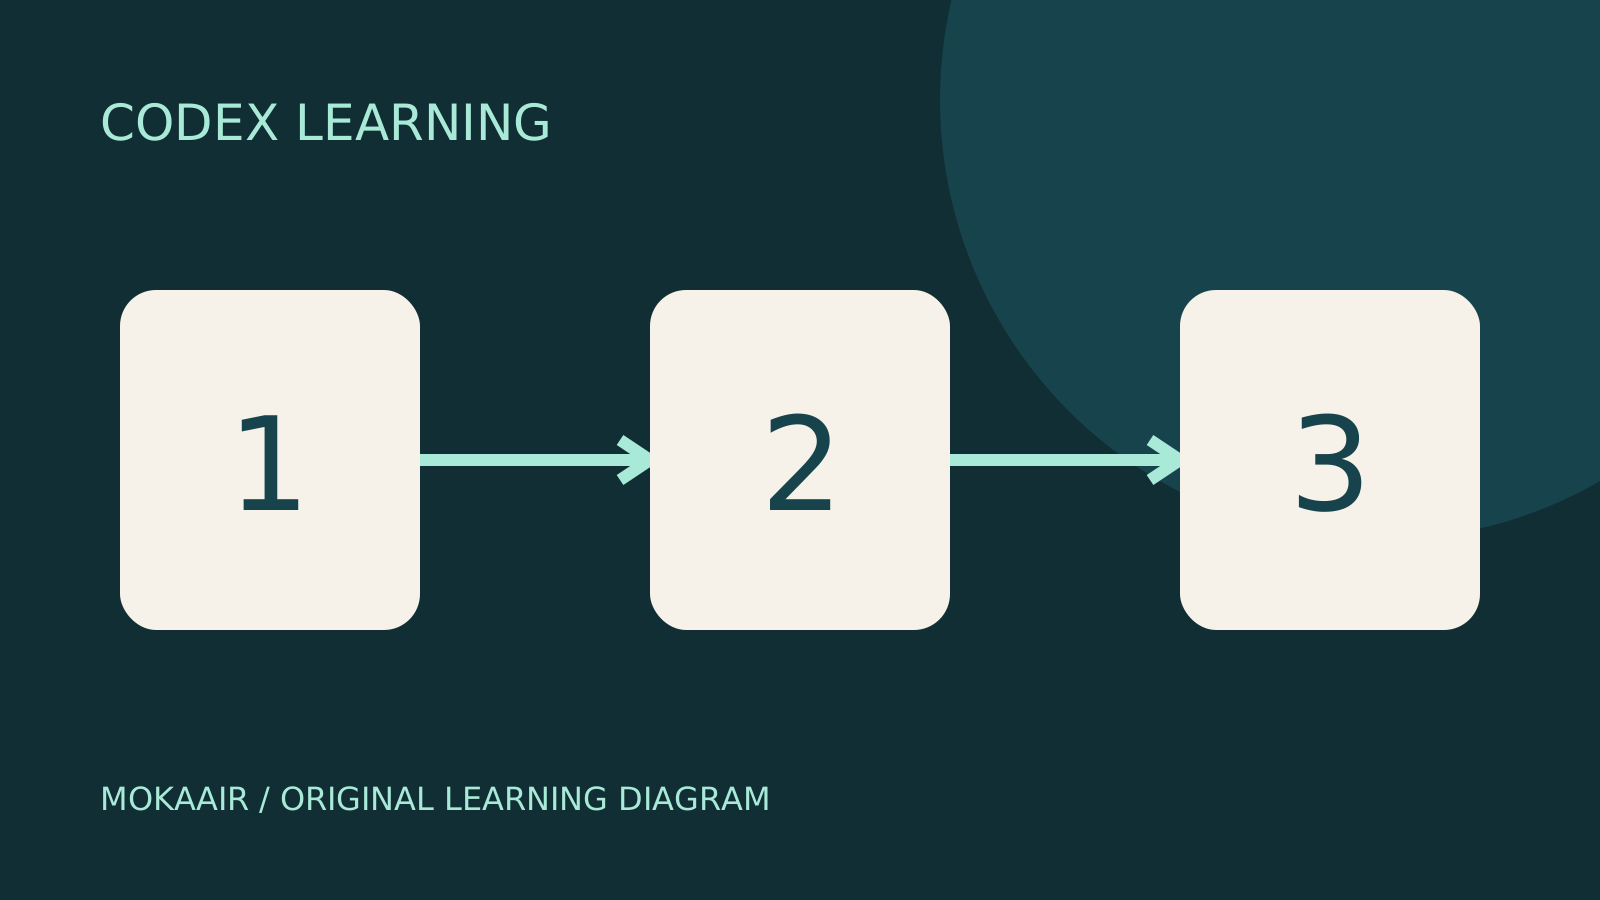
Native Windows CLI does not require WSL. If your terminal is Ubuntu with /home paths, use Linux / WSLLinux and WSL CLI environmentsDistinguish host and WSL tools, paths and accounts, then run the exercise and update from the right environment.Read the full article. This lesson uses PowerShell. Review environment selection in CLI basicsInstall and start Codex CLIChoose an installation platform, sign in, inspect a file, make a one-line change, verify it independently and resume the session. Includes a repeatable two-file exercise and a missing-file test.Read the full article, then return there for the one-line edit after setup. Diagram 1 is installation, 2 location and authentication, and 3 independent file verification.
Before installation, check your Windows version with winver. Current documentation recommends Windows 11 and provides best-effort support for recent, fully updated Windows 10 with modern console support; older versions are not equally supported. Native sandbox setup has additional prerequisites including winget and administrator-approved setup; consult the official Windows sandbox documentation. Treat CLI installation and sandbox setup as separate stages, and record which stage failed.
Step 1: open PowerShell and choose a channel
Search Start for PowerShell, or select its profile in Windows Terminal. Begin with an ordinary user window; routine work does not require an administrator terminal. Run the first command below in the shell. If codex is found, record its version and Source and usually proceed directly to folder setup instead of adding another installation.
Get-Command codex -All | Select-Object CommandType, Name, Source
codex --version
A command-not-found result is expected before installation. The official standalone Windows command below downloads and executes an installer; verify its URL on the official page before using it. ByPass is an argument for this child process, not an instruction to permanently disable machine execution policy. If organization policy blocks it, record the specific error and use an administrator-approved installation route.
powershell -ExecutionPolicy ByPass -c "irm https://chatgpt.com/codex/install.ps1 | iex"
Wait for completion and retain the reported installation path and PATH instructions. Close that terminal, open a fresh PowerShell and rerun Get-Command codex -All and codex --version. Expect a discoverable executable and version. A completed download, existing folder or absence of an error is not enough; the new shell must resolve the command.
npm alternative when Node.js is already present
Use these three lines only if choosing npm. The first two must print versions; otherwise resolve Node.js setup before retrying installation. npm.cmd explicitly selects the Windows command wrapper, helping distinguish npm.ps1 execution-policy problems from Codex installation failures. npm is not a prerequisite for the standalone installer.
node --version
npm.cmd --version
npm.cmd install -g @openai/codex
Step 2: prepare and verify a path with spaces
Choose a writable location outside production projects. Paste the whole block, including & { and the final }, to create a new codex windows lab; a failed existence check then stops the block. If that name already exists, preserve its contents and choose a new name rather than skipping the check and running the write lines. On success, the commands enter the new folder, list files and read note.txt. Quotes preserve spaces; LiteralPath avoids wildcard interpretation.
& {
  $cliLab = Join-Path (Get-Location) 'codex windows lab'
  if (Test-Path -LiteralPath $cliLab) { throw 'Choose a new practice folder name.' }
  New-Item -ItemType Directory -Path $cliLab -ErrorAction Stop
  Set-Location -LiteralPath $cliLab -ErrorAction Stop
  Set-Content -LiteralPath 'note.txt' -Value 'WINDOWS-CLI-01' -Encoding utf8 -ErrorAction Stop
  Get-Location
  Get-ChildItem
  Get-Content -LiteralPath 'note.txt'
}
Success means the current path ends in codex windows lab, note.txt appears and its content is WINDOWS-CLI-01. Record the hash for comparison before and after the read-only task. A hash fingerprints file bytes; UTF-8 BOM and newline differences can vary across machines, so compare your own before and after values rather than a published fixed value.
Get-FileHash -LiteralPath 'note.txt' -Algorithm SHA256
Step 3: authentication, sandbox and reading
Stay in the practice folder. Run codex login and codex login status, then start a read-only session. Confirm the account and workspace in the browser; existing valid sign-in does not need a logout/reset. Logging out can also affect an IDE extension sharing the credentials. Keep login codes and credential information out of public screenshots.
codex login
codex login status
codex --sandbox read-only
Windows sandbox setup may request one-time administrator approval; this is distinct from running everyday PowerShell as administrator. Official guidance prefers the stronger elevated native sandbox and provides unelevated as a restricted fallback that organizations may prohibit. On setup failure, record Windows version, sandbox mode and failure stage rather than switching the exercise to full access. See permissions and sandboxingPermissions, sandbox, network and keysSandbox rules define technical access to files and networks; approval policy determines when the agent asks before acting. No prompt does not guarantee permission, and read access does not imply write access everywhere.Read the full article before adjusting it.
Read note.txt in the current practice folder. Report the exact content and current working directory. Do not edit, create files, or use external services. If it is missing or inaccessible, report the actual error.
Paste that prompt into Codex, not PowerShell. The response and read record should identify WINDOWS-CLI-01 and the correct directory. After recording that success, request missing-note.txt in the same Codex session and expect absence without creation. Then use /exit and read, list and hash again in PowerShell to confirm unchanged content and no extra practice files. Unexpected content points first to a working-directory problem.
Updating and three troubleshooting branches
Before updating, exit CLI and preserve the work summary and uncommitted files. Rerun the official installer for standalone installations, or npm.cmd install -g @openai/codex for npm. In fresh PowerShell, check command Source and version. If the old version remains, inspect duplicate sources: one installation may have updated while PATH selects another. Repeated updates without checking the executable will not resolve that ambiguity.
| Symptom | First check | Next step |
|---|---|---|
| codex not found | Get-Command in a fresh shell | Follow installer instructions for user PATH, then reopen |
| npm.ps1 execution blocked | npm channel and script wrapper | Check npm.cmd; preserve managed policy |
| Reading fails after login | Directory, file existence and sandbox error | Correct location or access; reinstalling is not a substitute |
PATH is the shell's executable-search list, not a project list. Compare installer output with Get-Command Source. If manual correction is necessary, open Windows' environment-variable editor for your account, edit the user Path, add the confirmed installation directory while retaining existing entries, save and reopen the terminal. Do not replace the entire PATH with an example or add an unverified downloads folder.
Completion and next step
You should identify which CLI runs, its working folder, authentication state, file marker and whether the hash stayed unchanged. Record channel, version, errors and solutions in practice notes without credential contents. Return to CLI basicsInstall and start Codex CLIChoose an installation platform, sign in, inspect a file, make a one-line change, verify it independently and resume the session. Includes a repeatable two-file exercise and a missing-file test.Read the full article for a focused edit and resume, or continue to the IDE extensionGet started in your IDEIDE integration places Codex beside your code for focused explanation and edits. VS Code, Cursor and Windsurf use the Codex extension; Xcode and JetBrains expose their own integration flows. Do not interchange their installation steps.Read the full article for editor work.
Back to the Codex learning hubCodex learning hub: tutorial directoryA planned 60-lesson, ten-unit Codex curriculum, from setup and your first task to MD instructions and advanced integrations. Find your next lesson by experience, platform, goal or command; unpublished entries show their status.Read the full article
Read the full description
Three numbered stages: identify the starting point, perform the exercise, and verify the result. Original illustration, not a product screenshot.
Lifestyle
Codex learning hub: tutorial directory
A planned 60-lesson, ten-unit Codex curriculum, from setup and your first task to MD instructions and advanced integrations. Find your next lesson by experience, platform, goal or command; unpublished entries show their status.
Lifestyle
Worktrees and isolated tasks
A Git worktree gives one repository multiple working directories on different branches. It isolates file edits, but databases, ports and external services may still be shared. File isolation is not full resource isolation.
Lifestyle
Workshop: build a small website
Plan and build the Small Steps task website from brief.md, with adding, completing, deleting, filtering and local persistence. Separate HTML, CSS, data functions, UI events and tests, verify with Node and browser checks, and document restart and recovery steps.
Lifestyle
Usage and efficiency: reducing rework
Record task conditions, model options, time and outcomes to reduce unnecessary retries and excess context.
Articles that cite this one
Latest travel guides

GuideTokyo
Where to Stay in Tokyo: Comparing Shinjuku, Ueno, Tokyo Station, Shibuya, Asakusa, Ikebukuro, and Ginza, Plus Airport Access, Accommodation Tax, and Luggage Delivery
Where should you stay in Tokyo? Compare Shinjuku, Ueno, Tokyo Station, Shibuya, Asakusa, Ikebukuro, and Ginza by the same criteria: access from Narita and Haneda, transit routes, nearby attractions, neighborhood character, and who each area suits. Includes a comparison table, a Yamanote Line diagram, Tokyo’s accommodation tax as verified in 2026/9 (changing to 3% in 2027/4), and Airport TA-Q-BIN luggage shipping rules.
- Budget
- Hotels
GuideTokyo
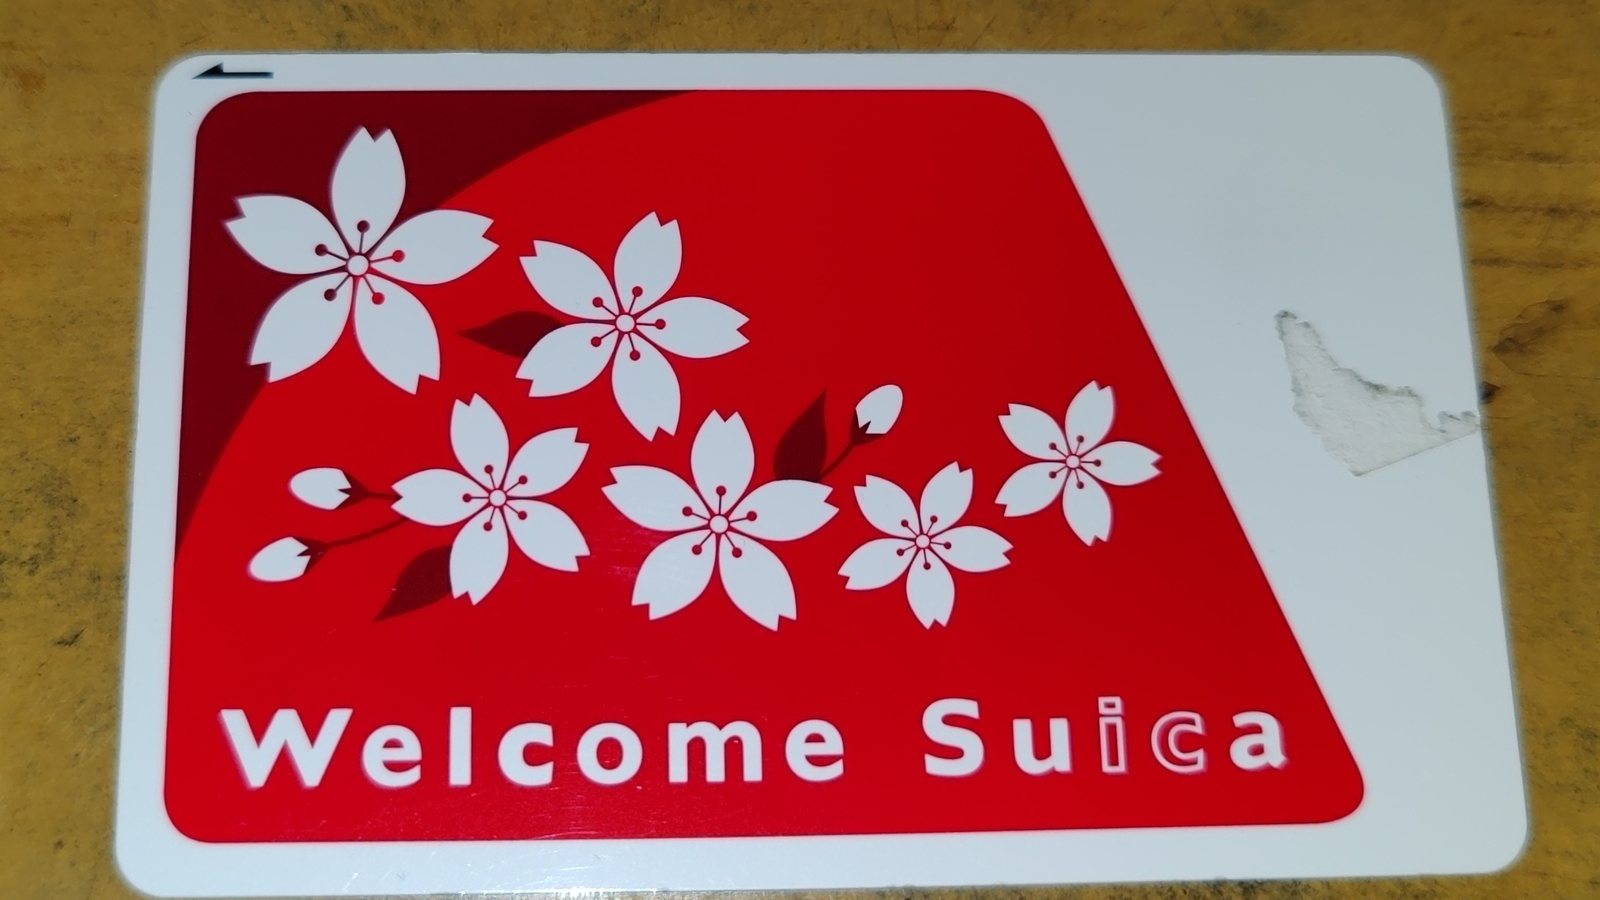
How to Choose Tokyo Transit Passes: Are Suica, Welcome Suica, the Tokyo Subway Ticket, and the JR Pass Worth It?
On a first Tokyo trip, start with an IC card and pay per ride (Welcome Suica has no deposit and is valid for 28 days). If you take four or more subway rides in a day, add a 72-hour Tokyo Subway Ticket for 2,000 yen; a JR Pass is never worthwhile if you stay in Tokyo and do not go to Kansai. See what TOURIST PASMO, Suica on iPhone, and the Tokyo Metro day pass do and do not cover, with a decision chart. Prices verified in September 2026.
- Transport
- Budget

GuideTokyo
Tokyo Disneyland and DisneySea Guide: Ticket Prices, Fantasy Springs, Disney Premier Access (DPA), Standby Pass, and Which Park to Choose for Your First Visit
Tokyo Disney one-day Passport prices vary: most weekdays in 9/2026 cost ¥9,900 and weekends ¥10,900. At 14:00 daily, tickets go on sale for the same date two months later. Free Priority Pass is no longer on the official service list; only paid Disney Premier Access (¥1,000–3,500 per person per use) shortens waits. Covers hours, the 25th anniversary, Standby Pass, Entry Request, Fantasy Springs access and first-visit park choice; checked on the official site in 9/2026.
- Itineraries
- Family
Sources
- Codex CLI · Checked:
- Authentication · Checked:
- Developer commands · Checked:
- Windows sandbox · Checked: