Lifestyle
macOS CLI setup and troubleshooting
Set up the CLI in macOS Terminal and separate shell, update, directory and permission problems.
About 12 min read · Practice 25 min
On this page
Back to the Codex learning hubCodex learning hub: tutorial directoryA planned 60-lesson, ten-unit Codex curriculum, from setup and your first task to MD instructions and advanced integrations. Find your next lesson by experience, platform, goal or command; unpublished entries show their status.Read the full article
Goal and preparation
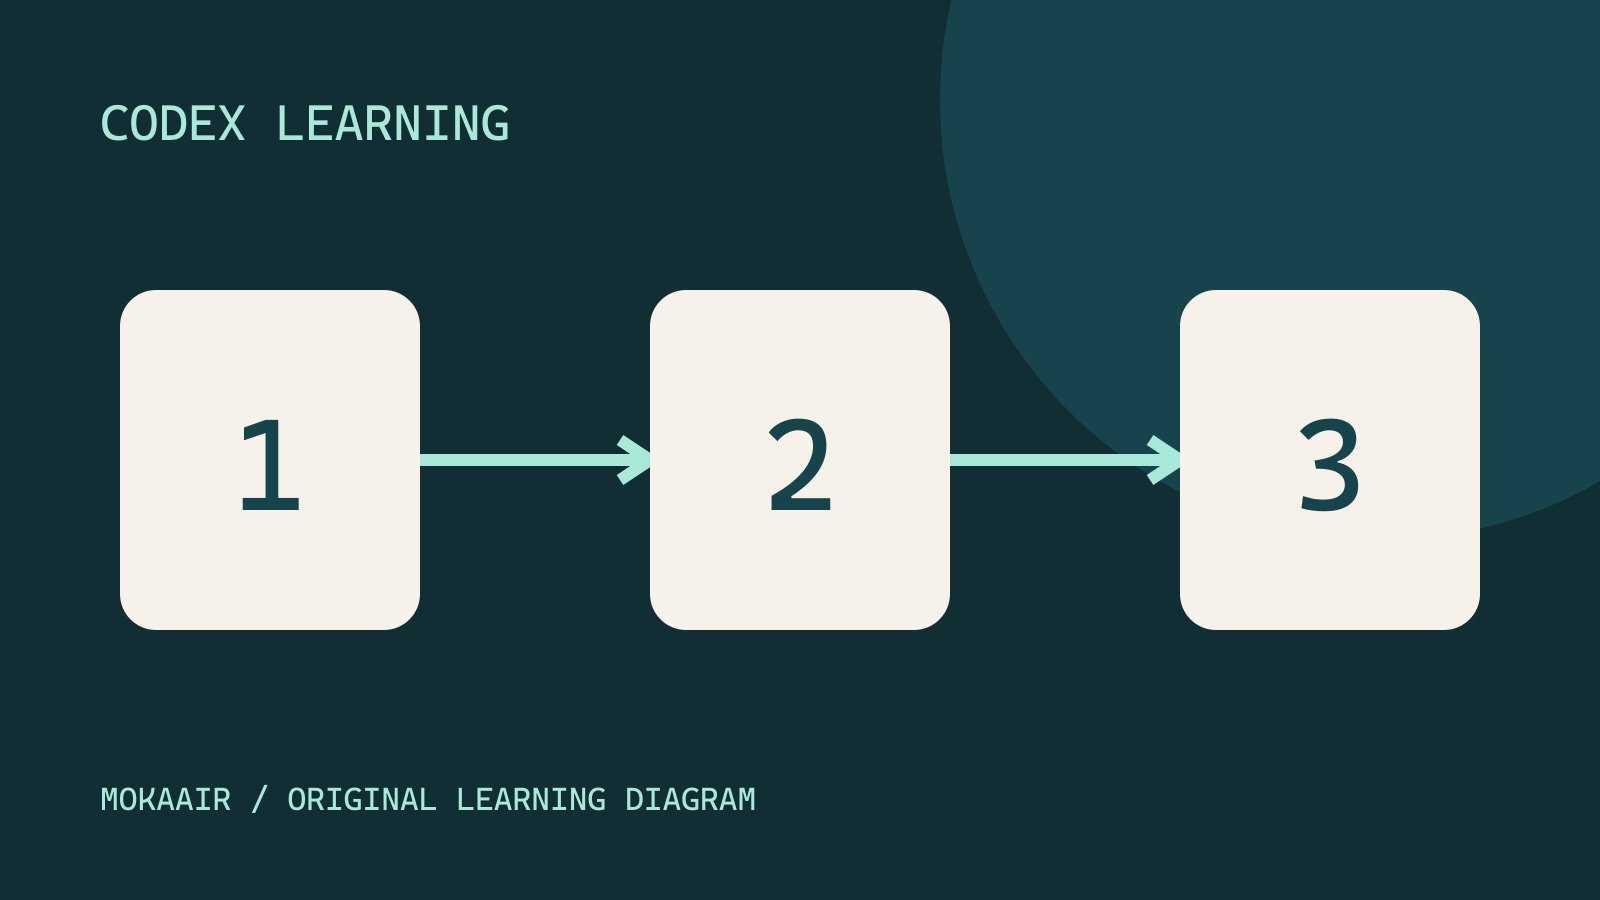
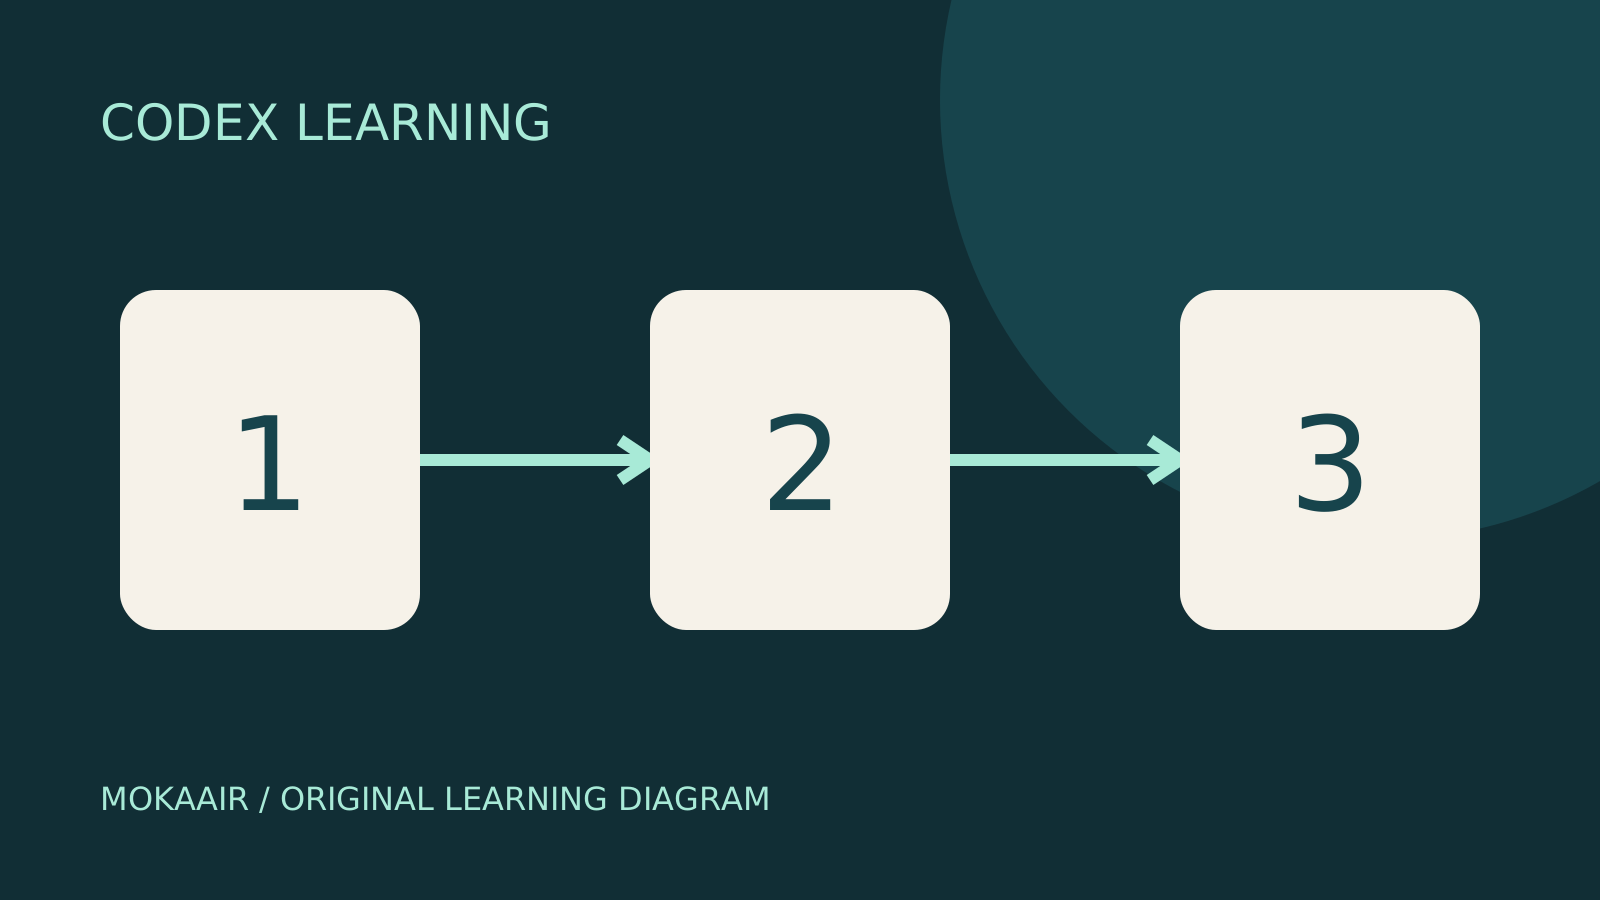
Press Command+Space, search for Terminal and open it. Enter setup commands at its shell prompt, not in ChatGPT or a Codex conversation. You need a new writable practice folder and an eligible account. The standalone installer does not require npm. In the diagram, 1 checks the installation source, 2 starts in the correct folder and 3 compares the file.
Step 1: check for an existing installation
command -v codex
type -a codex
Run these separately in Terminal. command -v identifies the command your shell selects; type -a helps reveal multiple sources or an alias/function with the same name. No path or a not-found result is expected before installation. If found, run codex --version, record its version and installation channel, then proceed to the practice folder without reinstalling merely to match the article.
Official standalone installation
For a new installation, verify this command on the official CLI page below. It downloads the official installer and executes it with sh. Confirm the source, wait for completion and read the installation-path and PATH instructions. Preserve connection or certificate errors and resolve the network or managed certificate setup rather than switching to an unknown mirror or skipping TLS verification.
curl -fsSL https://chatgpt.com/codex/install.sh | sh
Open a new Terminal window and run command -v codex, codex --version and codex --help. The path should match the installation and the other commands should print version/help. An editor opened earlier may still have its old environment. If its terminal cannot find Codex, fully quit and reopen the editor and compare the same checks.
If you already use Homebrew or npm
Existing Homebrew users can choose the cask route below. Run brew --version before installation. New users without Homebrew can use the standalone installer rather than add another manager solely for Codex. Keep --cask in the official command and use the same cask channel for updates.
brew --version
brew install --cask codex
If you prefer an existing Node.js/npm setup, verify node --version and npm --version, then use npm install -g @openai/codex. For EACCES, inspect the Node.js installation method and ownership of npm's global directory rather than prefixing every command with sudo. If switching to standalone, record the original source and check duplicates so later updates affect the intended executable.
Step 2: prepare, locate and back up the file
In Finder, choose a writable location and create a new codex mac lab folder. In a plain-text editor, create note.txt containing only MAC-CLI-01, then save note.original.txt as a copy. With TextEdit, choose Format > Make Plain Text before saving and check the filename and extension. Hold Option and choose File > Save As to save the original copy; renaming an RTF file to .txt does not convert it. Choose a new folder name if it already exists.
Type cd followed by a space in Terminal, drag the practice folder from Finder into the window, verify the resulting path and press Return. This uses your actual path without guessing a username. Alternatively, type cd with the full quoted path. Run pwd and ls before reading. If you see RTF control data or a .txt.txt filename, fix it in the editor before proceeding.
pwd
ls
cat note.txt
shasum -a 256 note.txt note.original.txt
Expect the practice directory, two text files and MAC-CLI-01. Their SHA-256 hashes should match. If not, check spaces, newlines and encoding instead of asking Codex to guess the intended original. Keep your locally computed hashes; no fixed published hash is required because editor newline choices can differ.
Step 3: sign-in and a read-only task
codex login
codex login status
codex --sandbox read-only
Run each line to completion. Confirm the account/workspace in the browser, return to Terminal and check that login finishes before status. If the OS requests credential-store access, verify that it belongs to this login. Keep credential-file contents out of prompts and screenshots. See account basicsAccounts, sign-in, plans and usageCheck how you signed in before interpreting usage. ChatGPT sign-in uses the Codex allowance associated with that account; API-key authentication in a supported client requires checking API billing separately. This tutorial teaches you where to verify your own allowance rather than freezing a price or message limit that may change.Read the full article for access and API billing distinctions. Enter the following prompt inside Codex after the third command.
Inspect note.txt and note.original.txt in the current folder. Report the current directory, exact content of each file, and whether they match. Do not edit files or use external services. If the folder or files are wrong, stop and report the mismatch.
Check for MAC-CLI-01, both filenames and the correct path, and inspect the tool read record. Use /exit, then repeat cat and shasum in Terminal and confirm unchanged contents, hashes and file count. If Terminal can read but Codex cannot, record the sandbox error and check permissionsPermissions, sandbox, network and keysSandbox rules define technical access to files and networks; approval policy determines when the agent asks before acting. No prompt does not guarantee permission, and read access does not imply write access everywhere.Read the full article. Different execution boundaries can explain this without the file disappearing.
Practice one missing-file case and recovery
Confirm that Terminal shows the shell prompt; enter /exit only if still inside Codex. Then use Finder to temporarily rename the practice copy's note.original.txt to note.reference.txt; stop if the latter already exists to avoid overwriting it. From the same practice folder, run codex --sandbox read-only to restart, then send the same read prompt. Expect it to read note.txt but explicitly report note.original.txt missing, not claim that two files match from one file's contents. Exit, restore the original filename, and repeat cat, ls and shasum. Both hashes should return to their original identical values. This exercise changes a practice filename, not authentication or shell configuration.
Step 4: verify a fresh terminal
Close and reopen Terminal. Check command -v codex and the version, navigate back to the practice folder and use codex resume, verifying the session's directory and time. A new shell may start elsewhere. If note.txt is missing, check pwd before creating another copy. Resuming a conversation does not automatically restore Finder location, shell location and file contents together.
If only a fresh window cannot find CLI, compare the installer's PATH instructions with command -v and your shell startup environment. Back up the actual startup file before making a targeted change and retain the existing PATH. Do not assume /opt/homebrew or /usr/local is correct for every Mac, or duplicate configuration across several startup files without identifying which one applies.
Updates and troubleshooting
| Original channel | Update | Verify |
|---|---|---|
| Official standalone | Rerun the official installer | Path and version in a new window |
| Homebrew cask | brew upgrade --cask codex | Successful brew result and correct codex source |
| npm | npm install -g @openai/codex | Original Node.js environment and intended codex |
Exit the session and save a summary before updating, then restart. An unchanged version calls for type -a and duplicate-source checks. Working help with failed sign-in points beyond basic installation to browser return, account or connectivity errors. Failure in only one directory calls for location and access comparisons. Separate these layers so each correction has a clear verification target.
Return to CLI basicsInstall and start Codex CLIChoose an installation platform, sign in, inspect a file, make a one-line change, verify it independently and resume the session. Includes a repeatable two-file exercise and a missing-file test.Read the full article for a one-line edit and restoration, or commandsCLI commands and slash commandsDistinguish shell commands and launch flags, interactive slash commands, keyboard shortcuts and natural-language requests. Check the input location: /plan belongs in the Codex interactive client; codex --help runs in the operating-system terminal.Read the full article for slash commands and sessions. Windows setup is not a prerequisite and Windows paths or PowerShell commands are not substitutes for these macOS steps. Keep version, installation source, before/after hashes and errors as your reproducible setup record.
Back to the Codex learning hubCodex learning hub: tutorial directoryA planned 60-lesson, ten-unit Codex curriculum, from setup and your first task to MD instructions and advanced integrations. Find your next lesson by experience, platform, goal or command; unpublished entries show their status.Read the full article
Read the full description
Three numbered stages: identify the starting point, perform the exercise, and verify the result. Original illustration, not a product screenshot.
Lifestyle
Codex learning hub: tutorial directory
A planned 60-lesson, ten-unit Codex curriculum, from setup and your first task to MD instructions and advanced integrations. Find your next lesson by experience, platform, goal or command; unpublished entries show their status.
Lifestyle
Worktrees and isolated tasks
A Git worktree gives one repository multiple working directories on different branches. It isolates file edits, but databases, ports and external services may still be shared. File isolation is not full resource isolation.
Lifestyle
Workshop: build a small website
Plan and build the Small Steps task website from brief.md, with adding, completing, deleting, filtering and local persistence. Separate HTML, CSS, data functions, UI events and tests, verify with Node and browser checks, and document restart and recovery steps.
Lifestyle
Usage and efficiency: reducing rework
Record task conditions, model options, time and outcomes to reduce unnecessary retries and excess context.
Articles that cite this one
Latest travel guides

GuideTokyo
Where to Stay in Tokyo: Comparing Shinjuku, Ueno, Tokyo Station, Shibuya, Asakusa, Ikebukuro, and Ginza, Plus Airport Access, Accommodation Tax, and Luggage Delivery
Where should you stay in Tokyo? Compare Shinjuku, Ueno, Tokyo Station, Shibuya, Asakusa, Ikebukuro, and Ginza by the same criteria: access from Narita and Haneda, transit routes, nearby attractions, neighborhood character, and who each area suits. Includes a comparison table, a Yamanote Line diagram, Tokyo’s accommodation tax as verified in 2026/9 (changing to 3% in 2027/4), and Airport TA-Q-BIN luggage shipping rules.
- Budget
- Hotels
GuideTokyo
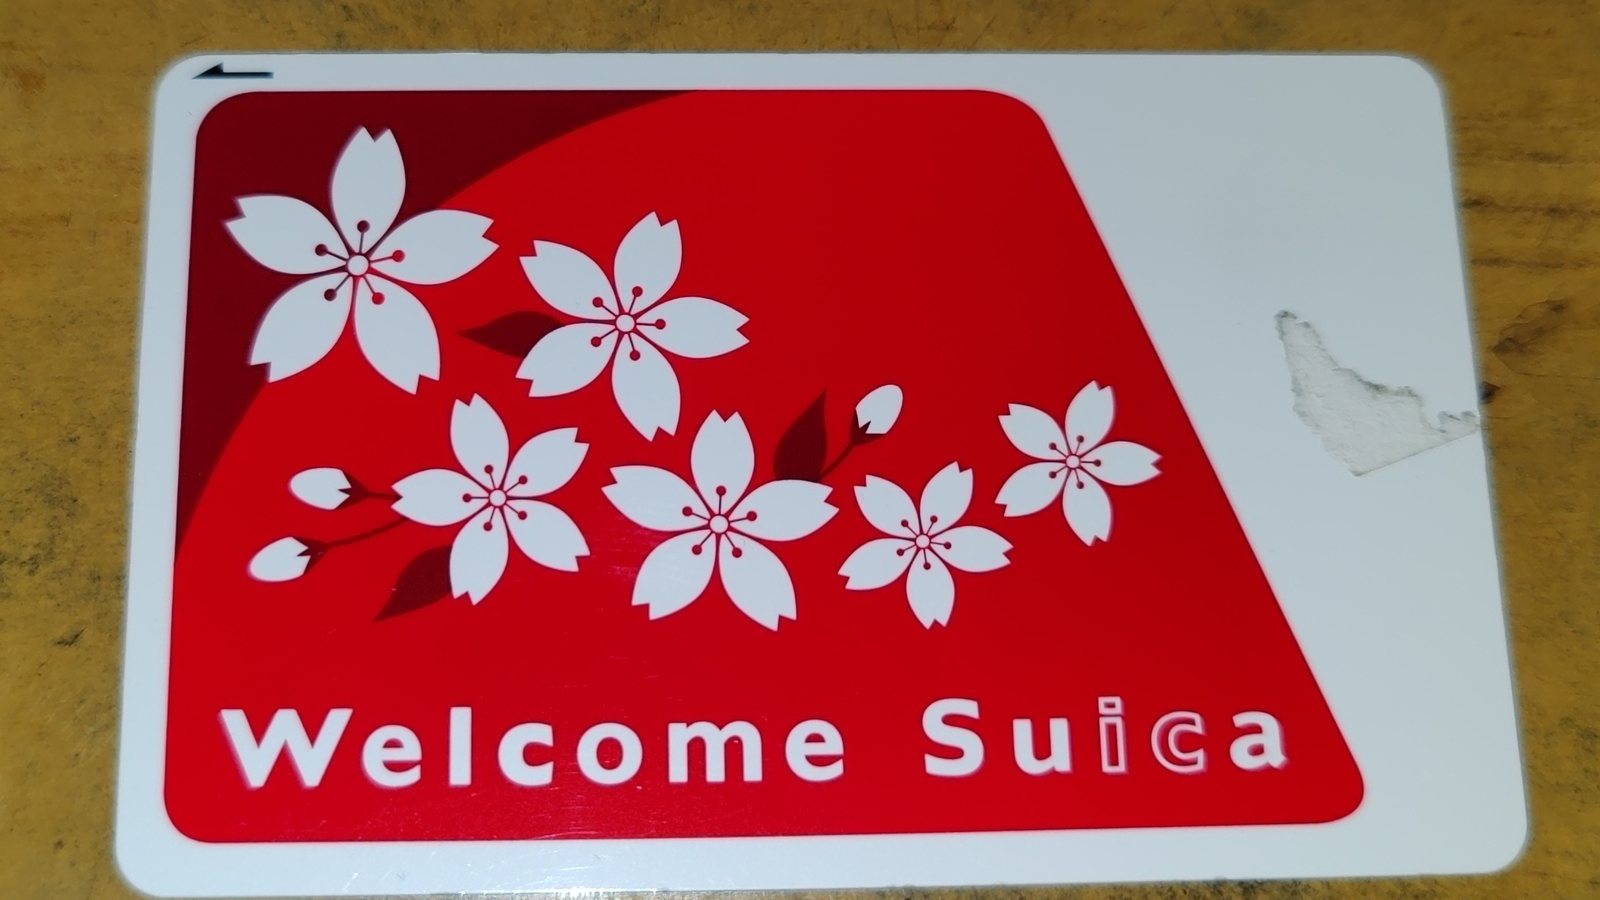
How to Choose Tokyo Transit Passes: Are Suica, Welcome Suica, the Tokyo Subway Ticket, and the JR Pass Worth It?
On a first Tokyo trip, start with an IC card and pay per ride (Welcome Suica has no deposit and is valid for 28 days). If you take four or more subway rides in a day, add a 72-hour Tokyo Subway Ticket for 2,000 yen; a JR Pass is never worthwhile if you stay in Tokyo and do not go to Kansai. See what TOURIST PASMO, Suica on iPhone, and the Tokyo Metro day pass do and do not cover, with a decision chart. Prices verified in September 2026.
- Transport
- Budget

GuideTokyo
Tokyo Disneyland and DisneySea Guide: Ticket Prices, Fantasy Springs, Disney Premier Access (DPA), Standby Pass, and Which Park to Choose for Your First Visit
Tokyo Disney one-day Passport prices vary: most weekdays in 9/2026 cost ¥9,900 and weekends ¥10,900. At 14:00 daily, tickets go on sale for the same date two months later. Free Priority Pass is no longer on the official service list; only paid Disney Premier Access (¥1,000–3,500 per person per use) shortens waits. Covers hours, the 25th anniversary, Standby Pass, Entry Request, Fantasy Springs access and first-visit park choice; checked on the official site in 9/2026.
- Itineraries
- Family
Sources
- Codex CLI · Checked:
- Authentication · Checked:
- Developer commands · Checked:
- Terminal folder paths · Checked:
- TextEdit plain text · Checked: