Lifestyle
Markdown and MD files
Markdown uses plain-text markers for headings, lists, links and code, commonly in .md files. README.md explains a project, AGENTS.md supplies agent instructions and SKILL.md defines a reusable skill. An arbitrary MD file is not automatically an instruction source.
About 10 min read · Practice 20 min
Beginner · Desktop / CLI / VS Code / JetBrains
Before you start
On this page
Back to the Codex learning hubCodex learning hub: tutorial directoryA planned 60-lesson, ten-unit Codex curriculum, from setup and your first task to MD instructions and advanced integrations. Find your next lesson by experience, platform, goal or command; unpublished entries show their status.Read the full article
Goal and preparation
Markdown is a plain-text formatting syntax, commonly saved with .md. Editors read and write the text; preview tools render its hashes, stars and brackets as structure. Renaming a Word document to .md does not convert it. Opening a preview also does not execute commands in code blocks. Distinguish source text from presentation before editing.
Step 1: create plain-text files
Open a new codex-md-lab folder in VS Code and create README.md and notes.md in Explorer. Keep exact names and capitalization on all OSes, avoiding README.md.txt. Other editors are fine if they save plain text as UTF-8; check the full filename if .txt is added automatically. Use a new folder rather than overwrite a production README.
Copy the complete sample into README.md and save. This website's outer code frame is a display container, not another wrapper to type. The triple backticks inside the sample are part of the file and must remain. Shared English sample text and filenames let all five language versions compare the same result.
# Small Steps notebook

## Purpose

Keep a short record of this practice project.

## Working steps

1. Read the request.
2. Make one focused change.
3. Verify the result.

- Keep original files.
- Record checks that have not run.

[Open task notes](./notes.md)

## Example command

```sh
node --version
```

> This command is an example, not a record of execution.
Save the next sample in notes.md at the same folder level. ./notes.md resolves relative to README's folder, and ./README.md points back from the notes. This creates a small index-and-article relationship without a database or website routing.
# Task notes

[Back to the notebook](./README.md)

## Accepted result

- **Completed** shows only finished tasks.
- `Read` is the sample task title.
- Empty titles must be rejected.

## Pending checks

The browser check has not run yet.
Step 2: understand six common forms
A hash followed by a space marks a main heading; two hashes mark the next level. Use one main title here and organize sections beneath it. Making every sentence a large heading loses structure. After renaming headings, check any links to them; generated heading anchors can vary by renderer.
Numbered lists suit steps; dash lists suit parallel conditions. Blank lines separate paragraphs in source and preview. Double stars emphasize Completed, and single backticks mark inline code such as Read. Formatting does not grant a word special authority in Codex. A > quote distinguishes a note or excerpt, not verified evidence.
Links put the visible label in brackets and the destination in parentheses. This example uses relative file paths; websites use complete HTTPS URLs. Your private C:\Users path is not a shareable destination for everyone, and a nonexistent notes.md is not a completed document. Labels can differ, but target names and case must be exact.
Fenced code has opening and closing backtick fences; sh labels the language for rendering. Keep node --version inside and the quote below outside. A missing closing fence can render the rest as code. Restore the delimiter rather than reinstalling anything. Preserve ASCII command characters and backticks instead of replacing them with ordinary quotes.
Show a Markdown fence as an example
Append the complete fragment below to notes.md and save. Its outer four backticks are file content too: they display the inner three-backtick fence literally. In the preview, the three-backtick opening with sh and the three-backtick closing should remain visible, followed by a paragraph outside the block. This nesting follows GitHub's documentation.
## Show the Markdown source

````markdown
```sh
node --version
```
````

This paragraph is outside the example.
If the final paragraph remains inside the block, check that the outer closing fence has four backticks; three cannot close a four-backtick opening. Fix only that ending and preview again. To undo this extension, remove the added section while keeping both original documents and their links.
Step 3: preview, follow links and test a failure
Open README.md in VS Code and run Markdown: Open Preview, or Ctrl+Shift+V on Windows/Linux and Command+Shift+V on macOS. Source and preview are two views of one file. Save first, then check the main title, steps, two conditions and code block.
Personal settings or extensions may remap shortcuts. If preview does not open, find Markdown: Open Preview in the Command Palette and inspect its local binding or run it directly. Do not guess from a different shortcut chart; platforms not personally used remain documented, not tested.
Follow Open task notes to the same-folder notes.md and return with Back to the notebook. If the tool opens an editor tab, open preview for that file. Matching titles alone are insufficient. Change README's destination to ./missing.md, save and try it to observe the missing target, then restore ./notes.md and verify both directions.
For another test, back up README.md, remove only the closing code fence, observe the quote becoming code, then restore the fence and compare the backup. Change one thing at a time rather than paths, headings and fences together. This small failure exercise also introduces debuggingA complete debugging workflowDebugging starts with a reproducible symptom, narrows causes with evidence and verifies the fix. Give the input, exact step, expected behavior and observed failure instead of only saying the site is broken.Read the full article.
Step 4: ask Codex to read the documents
Open codex-md-lab in desktop, CLIInstall and start Codex CLIChoose an installation platform, sign in, inspect a file, make a one-line change, verify it independently and resume the session. Includes a repeatable two-file exercise and a missing-file test.Read the full article or the IDE extensionGet started in your IDEIDE integration places Codex beside your code for focused explanation and edits. VS Code, Cursor and Windsurf use the Codex extension; Xcode and JetBrains expose their own integration flows. Do not interchange their installation steps.Read the full article, verify the directory and send this request. Read and compare only; do not execute README's example command. A visible filename is not proof of reading. Ask for specific file attribution and pending checks.
Read README.md and notes.md in this practice folder. Explain the purpose, the accepted result, and the checks explicitly still pending. Identify each source file. Verify both relative file links point to existing files. Do not edit anything or execute the example command.
A passing answer identifies README's workflow and notes' Completed, Read and blank-title criteria, while preserving that the browser check has not run. If it claims the example command executed, request correction and evidence. Written commands and acceptance criteria are not execution records. Keep the reading result and your independent link checks.
Ordinary .md files and AGENTS.md
| File | Purpose here | How it is used |
|---|---|---|
| README.md | Project explanation and entry | Open or explicitly request it |
| notes.md | Acceptance and pending checks | Reference it in the task |
| AGENTS.md | Codex project instructions | Follow documented naming, scope and loading |
| SKILL.md | Skill instructions and triggering | Follow skill structure, not just an extension change |
This exercise creates no AGENTS.md, so it does not establish automatic rule loading. Continue to AGENTS.mdProject instructions with AGENTS.mdAGENTS.md supplies project instructions before Codex starts work. Global guidance and files along the project-root-to-working-directory path form an instruction chain. At the same level, AGENTS.override.md takes precedence. Keep rules concrete and verify what was actually loaded.Read the full article for scope and validation, or SKILL.mdSkills and SKILL.mdA skill packages a repeatable workflow with instructions and optional resources. The minimum is a directory containing SKILL.md with name and description metadata followed by the procedure and expected output. Installation alone does not prove a task used it.Read the full article for skills. Markdown makes text readable; tool-specific discovery and use are separate rules. This also avoids treating someone else's project notes as your own instructions.
Finish with two real .md files, bidirectional links, correct code formatting, a repaired missing-link or fence failure, and an answer that distinguishes written criteria from unrun checks. Fonts and spacing may vary; structure, content and destinations should agree. VS Code preview/link behavior is documentation-checked. The original samples also receive compiler/copy checks for nested fences and unchanged code across languages.
Back to the Codex learning hubCodex learning hub: tutorial directoryA planned 60-lesson, ten-unit Codex curriculum, from setup and your first task to MD instructions and advanced integrations. Find your next lesson by experience, platform, goal or command; unpublished entries show their status.Read the full article
Read the full description
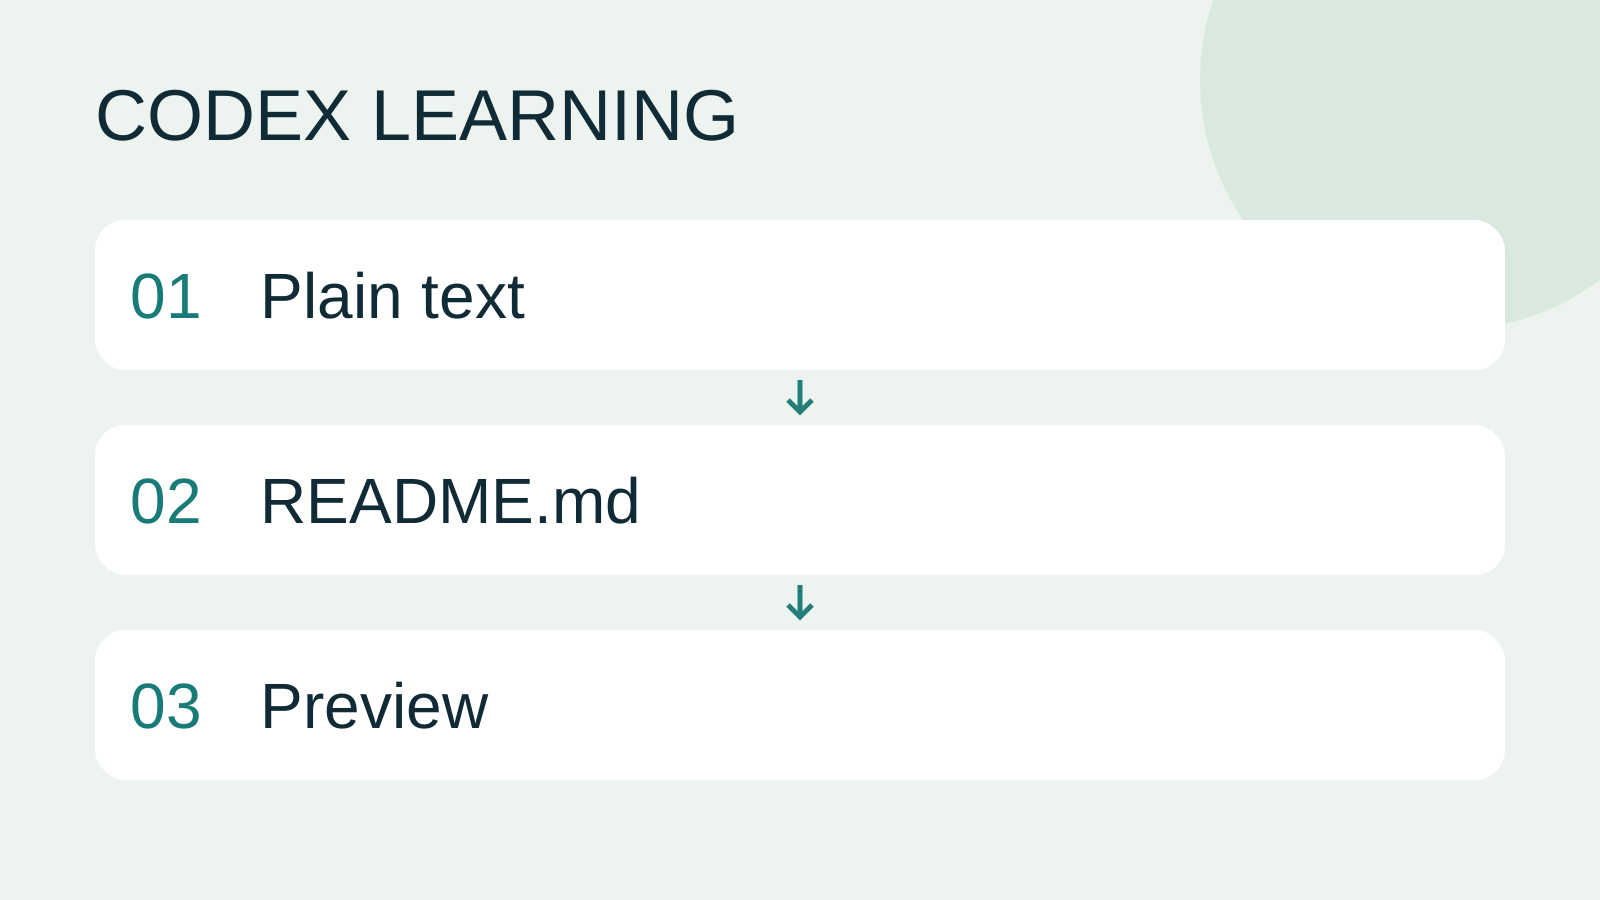
Plain text to README.md to Preview
Lifestyle
Codex learning hub: tutorial directory
A planned 60-lesson, ten-unit Codex curriculum, from setup and your first task to MD instructions and advanced integrations. Find your next lesson by experience, platform, goal or command; unpublished entries show their status.
Lifestyle
Worktrees and isolated tasks
A Git worktree gives one repository multiple working directories on different branches. It isolates file edits, but databases, ports and external services may still be shared. File isolation is not full resource isolation.
Lifestyle
Workshop: build a small website
Plan and build the Small Steps task website from brief.md, with adding, completing, deleting, filtering and local persistence. Separate HTML, CSS, data functions, UI events and tests, verify with Node and browser checks, and document restart and recovery steps.
Lifestyle
Usage and efficiency: reducing rework
Record task conditions, model options, time and outcomes to reduce unnecessary retries and excess context.
Articles that cite this one
Latest travel guides

GuideTokyo
Where to Stay in Tokyo: Comparing Shinjuku, Ueno, Tokyo Station, Shibuya, Asakusa, Ikebukuro, and Ginza, Plus Airport Access, Accommodation Tax, and Luggage Delivery
Where should you stay in Tokyo? Compare Shinjuku, Ueno, Tokyo Station, Shibuya, Asakusa, Ikebukuro, and Ginza by the same criteria: access from Narita and Haneda, transit routes, nearby attractions, neighborhood character, and who each area suits. Includes a comparison table, a Yamanote Line diagram, Tokyo’s accommodation tax as verified in 2026/9 (changing to 3% in 2027/4), and Airport TA-Q-BIN luggage shipping rules.
- Budget
- Hotels
GuideTokyo
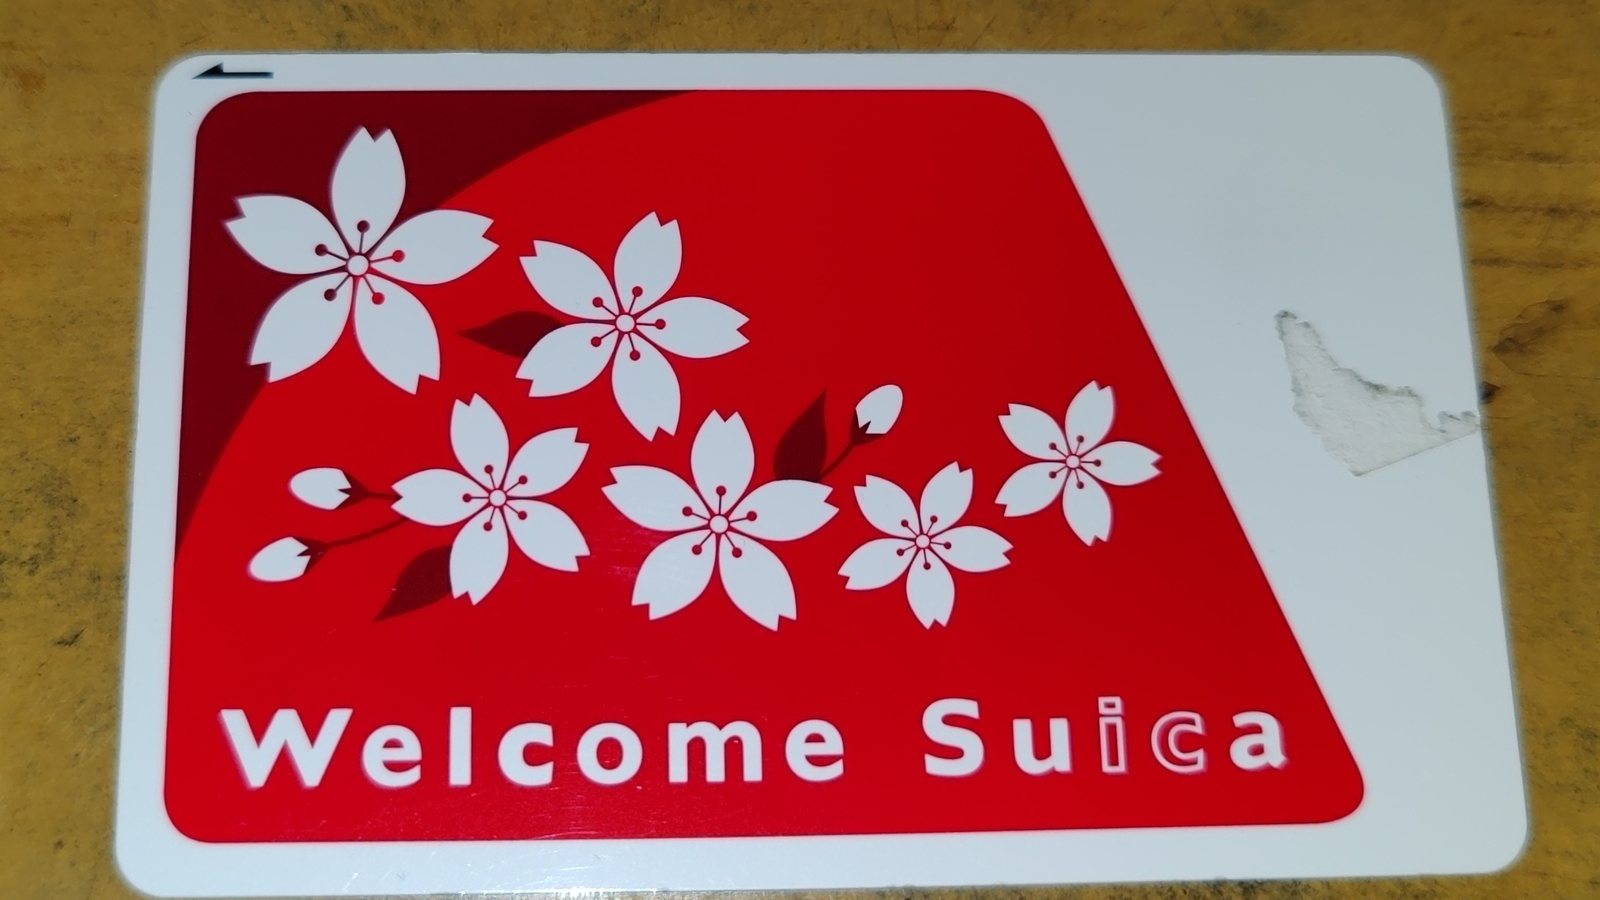
How to Choose Tokyo Transit Passes: Are Suica, Welcome Suica, the Tokyo Subway Ticket, and the JR Pass Worth It?
On a first Tokyo trip, start with an IC card and pay per ride (Welcome Suica has no deposit and is valid for 28 days). If you take four or more subway rides in a day, add a 72-hour Tokyo Subway Ticket for 2,000 yen; a JR Pass is never worthwhile if you stay in Tokyo and do not go to Kansai. See what TOURIST PASMO, Suica on iPhone, and the Tokyo Metro day pass do and do not cover, with a decision chart. Prices verified in September 2026.
- Transport
- Budget

GuideTokyo
Tokyo Disneyland and DisneySea Guide: Ticket Prices, Fantasy Springs, Disney Premier Access (DPA), Standby Pass, and Which Park to Choose for Your First Visit
Tokyo Disney one-day Passport prices vary: most weekdays in 9/2026 cost ¥9,900 and weekends ¥10,900. At 14:00 daily, tickets go on sale for the same date two months later. Free Priority Pass is no longer on the official service list; only paid Disney Premier Access (¥1,000–3,500 per person per use) shortens waits. Covers hours, the 25th anniversary, Standby Pass, Entry Request, Fantasy Springs access and first-visit park choice; checked on the official site in 9/2026.
- Itineraries
- Family
Sources
- VS Code Markdown and preview · Checked:
- AGENTS.md · Checked: