Lifestyle
How to back up WordPress: files, databases and restoration drills
A successful backup message is not enough. Build a checklist for WordPress files, databases and off-site copies, then learn the UpdraftPlus and WPvivid controls, restore limitations and isolated drills needed to confirm recovery. Plan schedules, retained versions, configuration files and acceptance records so someone can restore a personal or studio website.
About 7 min read
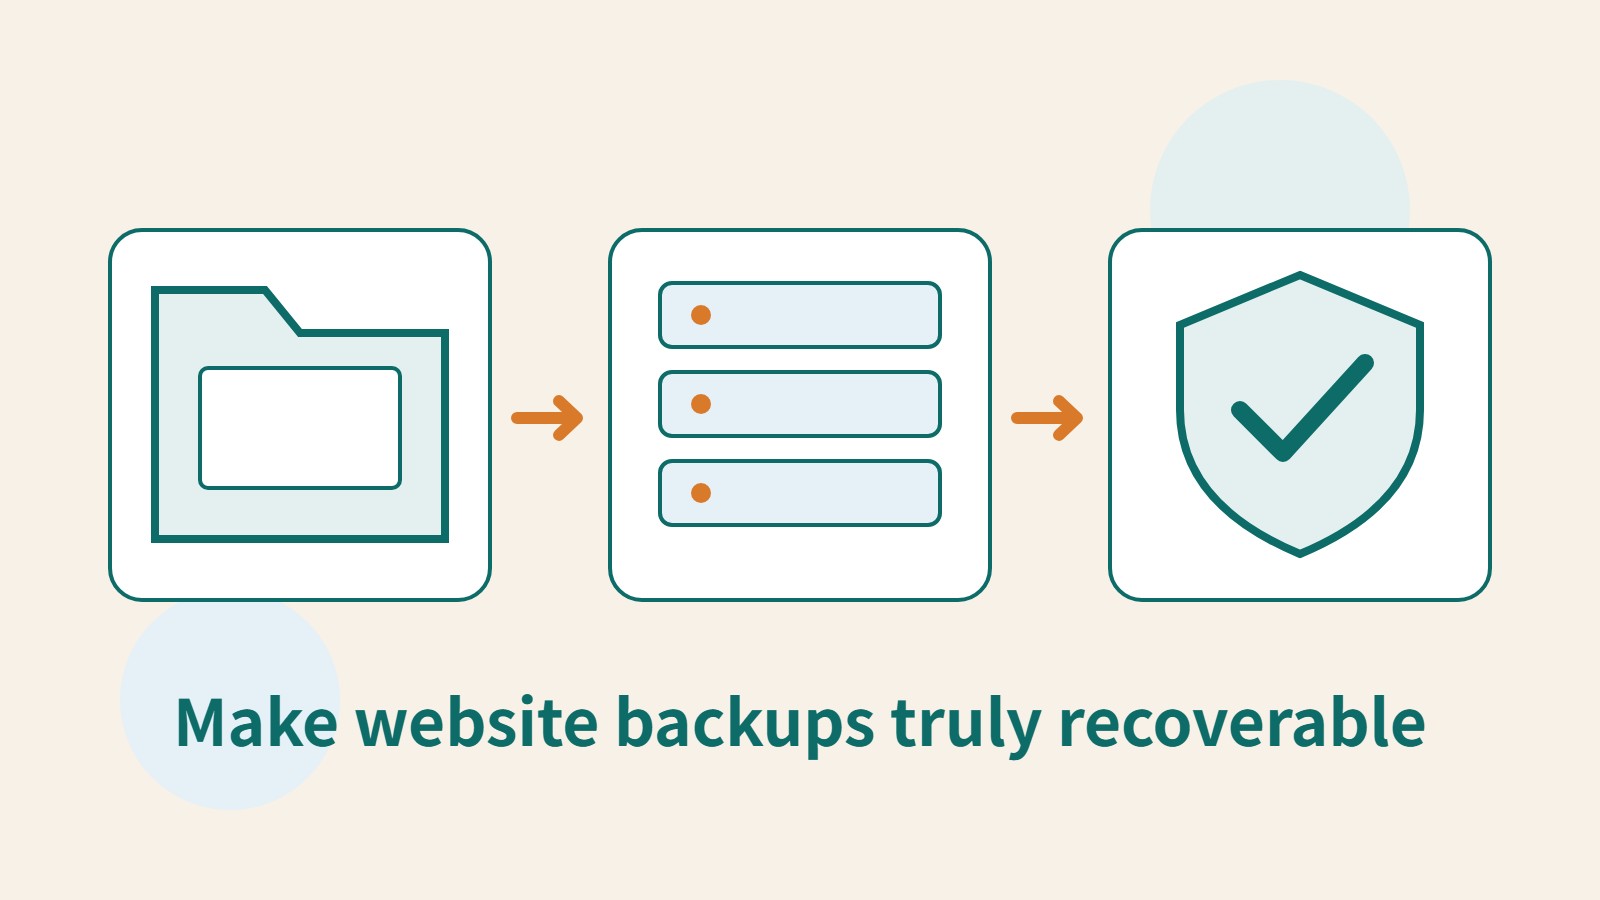
Clicking backup before a plugin update and seeing a green success message does not guarantee recovery when the site breaks. Files may remain on the same host, the database may not have been saved with them, and even access to the backup account may depend on the website that has stopped working. What you need is a restoration path you can follow all the way through.
Think of backup as packing for a move: posts and settings are the contents list, images and programs are the boxes, off-site storage is another warehouse, and a restoration drill means opening the boxes to check that their contents work. This guide uses an ordinary single WordPress site to build a workflow you can check daily and hand over when something goes wrong.
First define how much data you can afford to lose
A personal site updated weekly and a studio taking bookings daily can tolerate different gaps in their data. First write down the longest period of content you could recreate, then choose the frequency. For example, if you save once every evening and a problem occurs in the afternoon, enquiries added that day may still be absent from the backup. This is a scheduling limitation; clicking restore afterward cannot recover that missing data.
Website files typically include themes, plugins and uploaded media; the database contains posts, users and many settings. Full recovery often requires both from approximately the same point in time. Check separately how to preserve mailboxes, DNS, third-party form data and external storage. Do not assume a website plugin will include everything.
- List posts, media, members, forms, external services and their responsible people.
- Record the acceptable gap in data and how quickly you want service restored after an incident.
- Choose the regular schedule, extra backups before major changes and the number of copies to retain.
Make sure the off-site copy really leaves the original host
Saving backups in the website's own folder makes quick access convenient, but the copies may disappear with the site if the hosting account fails, a disk breaks or the whole site is deleted. Arrange at least one storage location with a different service and confirm that you can sign in there directly to obtain the files. Give the appropriate administrator the cloud account recovery instructions.
After first connecting cloud storage, run a manual backup and check the cloud for files from the same time. Their presence is not the final acceptance check: verify that no parts of a split archive are missing, the database file can be downloaded and retention rules do not immediately delete versions you need. Backups may contain personal data and keys, so restrict access to sharing links.
UpdraftPlus: check scope, schedules and restore components separately
According to the official documentation at the time of checking, open UpdraftPlus Backups from Settings. In its Settings tab, configure file and database schedules, retention counts and remote storage. After selecting a cloud destination, complete authorisation and save. Return to Backup / Restore, run Backup Now and confirm the options include files, the database and sending the backup to remote storage.
For restoration, select the date under Existing backups. If a copy is not listed, rescan remote storage or upload backup files as appropriate for its source. Click Restore, choose the components to recover and read the preflight results before continuing. Restoring to the same URL and moving to a new URL are different situations; do not enable URL replacement merely to get past a screen.
The free and Premium versions differ in coverage; backing up WordPress core files, for example, is a paid feature. Do not describe a plugin's displayed backup set as an image of the entire hosting server. Record the restoration environment, core version and custom settings as well. These operations were not performed for this guide; the workflow is based on official documentation.
WPvivid: distinguish a finished backup from a finished restoration
Under Backup & Restore in WPvivid Backup Plugin, choose database plus files, files only or database only. For off-site storage, first configure and connect the service in Remote Storage, then select the remote destination in the backup options and click Backup Now. After completion, check the list, logs and downloadable files.
To restore a remote copy, the official process first retrieves it to the website server, then runs Restore. Retrieval here does not mean downloading it to your own computer. Restoration overwrites current data and may remove newer content. The official instructions also say not to close, refresh or leave the page while restoration is running.
WPvivid's official documentation specifically states that restoration in both the free and Pro versions does not overwrite wp-config.php or .htaccess, to avoid configuration conflicts. Save custom database connection details, environment settings and redirect rules separately and check them individually. If a backup contains multiple archives, keep the complete set rather than just the largest-looking file.
Practise in an isolated environment before trusting recovery
Use a test environment with access restrictions and create a copy through a restoration or migration method supported by the tool. A different URL may require extra handling; ordinary restoration is not automatically migration. Disable live payments, notifications and outward synchronisation before the drill, so the copied site does not resend orders or send test data back to the original service.
Choose an easily identifiable point in time, such as a backup made after an image was added to a post. After restoration, check that the image, post content and relevant settings appear together, then sign in with a restricted test account. An accessible home page only proves that some paths work. Test search, individual posts, menus and forms separately.
- Record the backup time, tool version, restoration destination and intended overwrite scope.
- Confirm isolation and external integration settings in the test environment, and save its current state before restoring.
- Verify content, media, sign-in and key functions, recording actual elapsed time and any problems.
Make backup a routine with named owners
Assign a primary owner and a person who can take over, and regularly check the last successful backup time and off-site copies. On low-traffic sites, jobs dependent on WordPress scheduling may be delayed. If timing drifts, inspect plugin logs and the host's scheduling instead of merely increasing backup frequency.
Keep an identifiable old version before a major redesign and create a new version afterward, so you are not left with only copies made after a problem occurred. Add the reasons for failures to each drill's record: which setting was missing, who has cloud access and which form needs reconnecting. During the next incident, that record is more useful than a screenshot of a success message.
Read the full description
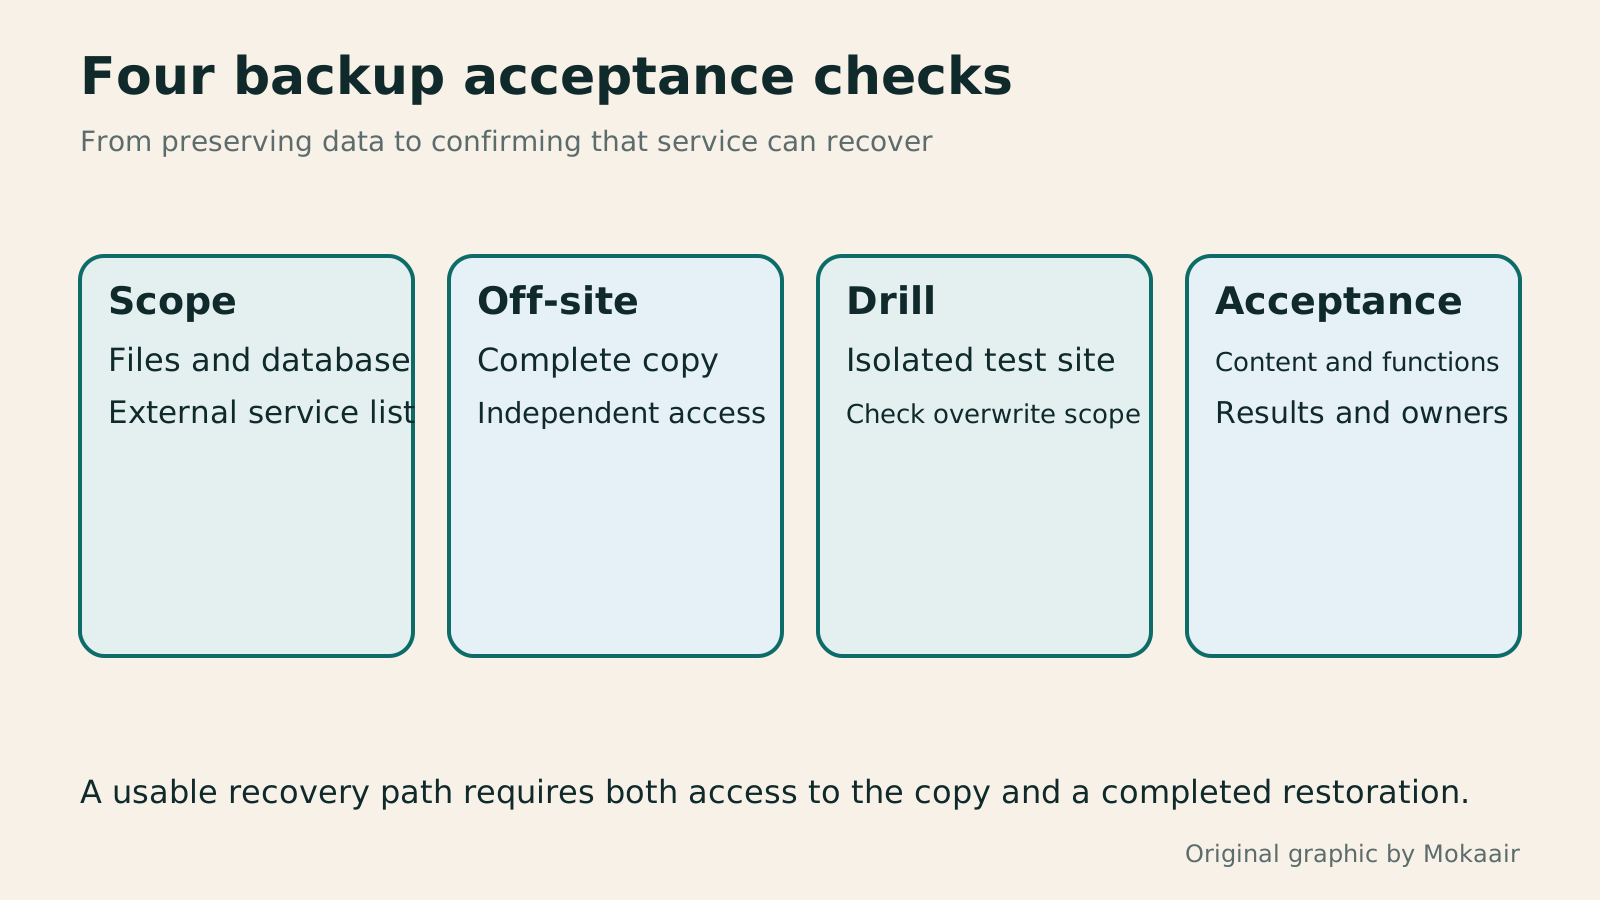
An original flowchart: confirm files and the database, preserve a complete off-site copy, restore in isolation, then test website functions and record the results.
| Item | What to preserve | Acceptance method |
|---|---|---|
| Content and settings | Database and website files from similar times | Compare posts, media, accounts and settings |
| Hosting and external services | Environment settings, DNS, mailboxes or an external-data inventory | Confirm each recovery entry point and responsible person |
| Off-site copy | All split archive parts and the database | Obtain the copy directly from another service |
| Restoration record | Scope, time, results and exceptions | Actually test key functions in isolation |
How to organise routine website maintenanceWhat website maintenance involves: a routine for backups, updates, and incident reportsWebsite maintenance includes more than plugin updates: check content, accounts, backups, outgoing email, and expiring services. Using a small WordPress content site, this guide covers routine observation, pre- and post-update checks, restoration, and incident reports, with a worksheet for owners, editors, and maintainers. Set a schedule by update frequency, identify urgent cases, and keep records the next collaborator can use.Read the full article
Create a local WordPress test environmentBuild a WordPress test site on your computer: MAMP and preparing to go livePractise WordPress locally without affecting a live site. Using MAMP for Windows, learn about installation paths, ports, databases and WordPress setup, isolating test data and diagnosing connection problems. Prepare separate file and database exports before launch. This is a beginner's environment for editing and layouts; local success does not validate production hosting.Read the full article
Lifestyle
After a WordPress Move: Check Search Traffic, the Old Host, and Renewals
A completed WordPress move still needs checks that the new host is stable, search entry points work, backups can be used, and old services can safely stop. This guide provides a cutover observation checklist, a way to interpret search traffic, an inventory of old-host dependencies, and renewal closeout steps. Individual site owners and studios can retain the information needed for rollback without confusing temporary fluctuations, ending renewal, and immediately deleting a site.
Lifestyle
Move WordPress to a New Host Without Changing the Domain: Migration, Testing, and DNS Cutover
When WordPress moves to a new host, its URLs can stay the same, but files, the database, certificates, and external services still need a handoff. This guide covers preparation of the new host, restricted previews, the final data sync, and DNS cutover in order. A verification table and rollback criteria help individual site owners and studios keep their domain while moving hosts, without canceling the old service before recovery options are secure.
Lifestyle
Changing a WordPress Domain: Check Redirects, Search Signals, and Email
Changing a WordPress domain means handling internal URLs, redirects from old links, search signals, and email together. Starting with a URL mapping, this guide explains how to preview database replacements, check permanent redirects, test sending and receiving on the new domain, and monitor the change after launch. It helps personal brands and studios plan a name change without assuming that editing the WordPress site address completes the move.
Lifestyle
Moving from WordPress.com to Self-Hosted WordPress: Content, Media, and URLs
Before moving a WordPress.com site to self-hosted WordPress, check your plan, domain, and the handoff for each kind of content. This guide covers the options available to free and paid sites, XML export and import, verification of actual image files, subscriber migration, and when Site Redirect is available. It helps individual creators in Taiwan plan the move and identifies features and billing items that need separate attention after the new site is ready.
Articles that cite this one
- Technical SEO audit order: crawling, indexing, rendering, and site structure
- After a WordPress Move: Check Search Traffic, the Old Host, and Renewals
- Move WordPress to a New Host Without Changing the Domain: Migration, Testing, and DNS Cutover
- Changing a WordPress Domain: Check Redirects, Search Signals, and Email
- WordPress file transfers: managing site files with SFTP
Latest travel guides

GuideTokyo
Where to Stay in Tokyo: Comparing Shinjuku, Ueno, Tokyo Station, Shibuya, Asakusa, Ikebukuro, and Ginza, Plus Airport Access, Accommodation Tax, and Luggage Delivery
Where should you stay in Tokyo? Compare Shinjuku, Ueno, Tokyo Station, Shibuya, Asakusa, Ikebukuro, and Ginza by the same criteria: access from Narita and Haneda, transit routes, nearby attractions, neighborhood character, and who each area suits. Includes a comparison table, a Yamanote Line diagram, Tokyo’s accommodation tax as verified in 2026/9 (changing to 3% in 2027/4), and Airport TA-Q-BIN luggage shipping rules.
- Budget
- Hotels
GuideTokyo
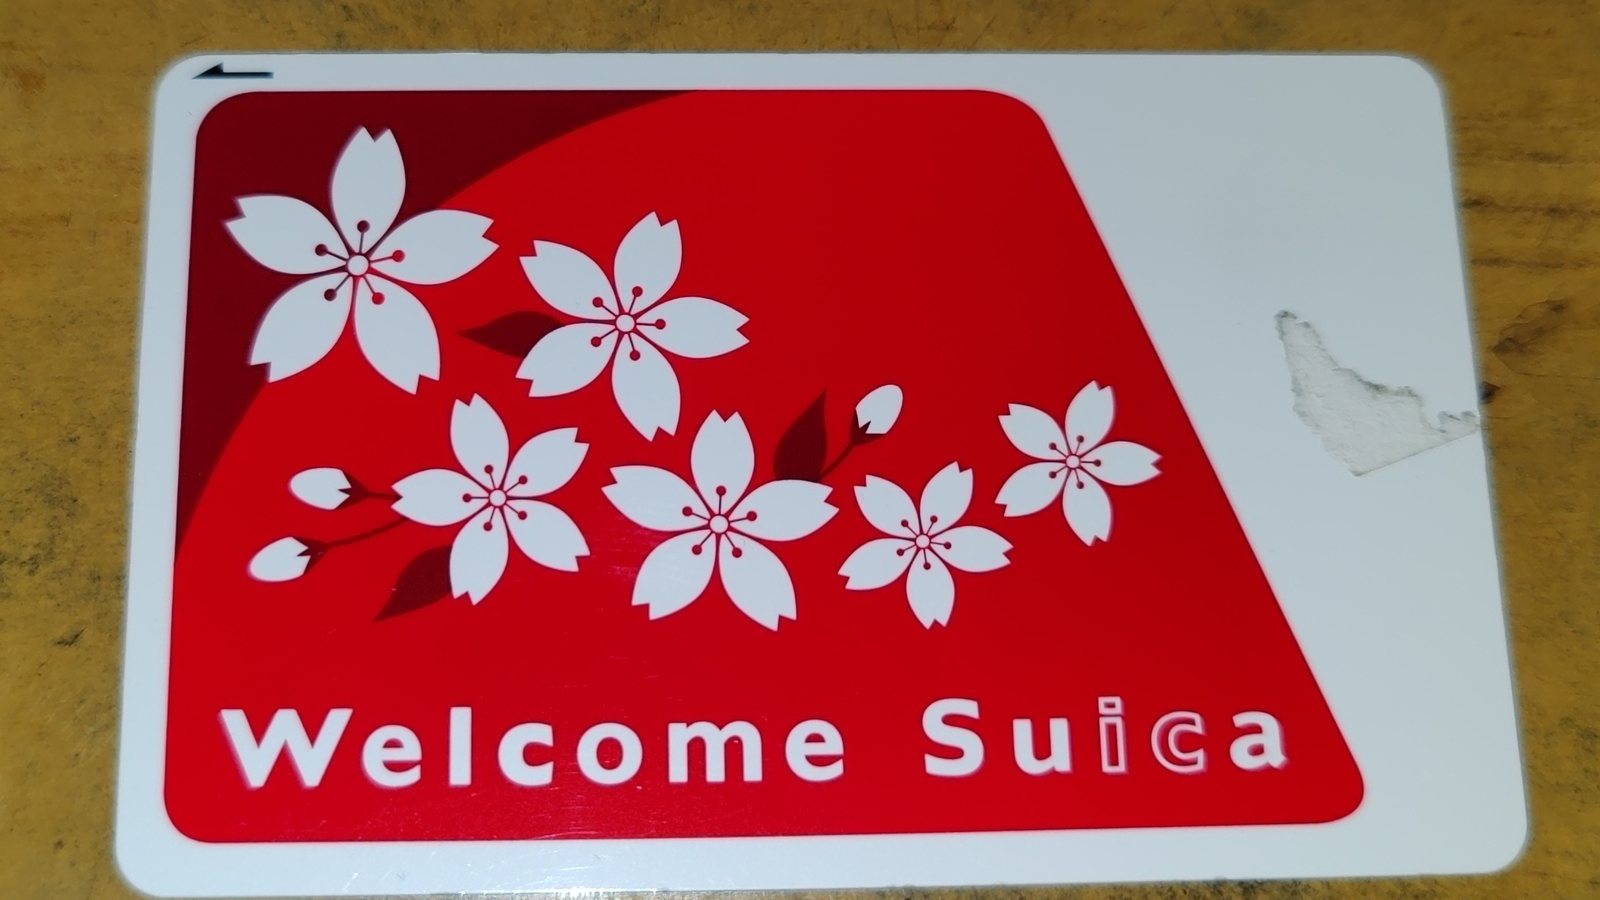
How to Choose Tokyo Transit Passes: Are Suica, Welcome Suica, the Tokyo Subway Ticket, and the JR Pass Worth It?
On a first Tokyo trip, start with an IC card and pay per ride (Welcome Suica has no deposit and is valid for 28 days). If you take four or more subway rides in a day, add a 72-hour Tokyo Subway Ticket for 2,000 yen; a JR Pass is never worthwhile if you stay in Tokyo and do not go to Kansai. See what TOURIST PASMO, Suica on iPhone, and the Tokyo Metro day pass do and do not cover, with a decision chart. Prices verified in September 2026.
- Transport
- Budget

GuideTokyo
Tokyo Disneyland and DisneySea Guide: Ticket Prices, Fantasy Springs, Disney Premier Access (DPA), Standby Pass, and Which Park to Choose for Your First Visit
Tokyo Disney one-day Passport prices vary: most weekdays in 9/2026 cost ¥9,900 and weekends ¥10,900. At 14:00 daily, tickets go on sale for the same date two months later. Free Priority Pass is no longer on the official service list; only paid Disney Premier Access (¥1,000–3,500 per person per use) shortens waits. Covers hours, the 25th anniversary, Standby Pass, Entry Request, Fantasy Springs access and first-visit park choice; checked on the official site in 9/2026.
- Itineraries
- Family
Sources
- WordPress: backups · Checked:
- UpdraftPlus: backup steps and free versus Premium coverage · Checked:
- UpdraftPlus: restoring to the same location and URL · Checked:
- WPvivid: manual backup in the free version · Checked:
- WPvivid: restoration in the free version · Checked:
- WPvivid: restoration coverage and configuration-file exclusions · Checked:
- WPvivid: free scheduling and WordPress scheduling limitations · Checked: