Lifestyle
Getting started with hosting.com: from the former A2 name to current service options
A2 Hosting searches now lead to hosting.com. Using current official docs, this guide explains the rebrand and how to identify your plan, control panel and WordPress installer without mixing old interfaces or products. Check purchase terms, install location, domain and HTTPS, then verify content and visitor journeys. Keep backups and handover records for existing accounts. Old-brand performance rankings and promotional prices are not carried over.
About 7 min read
A2 Hosting has been renamed hosting.com; the official brand announcement was published on 2025-4-28. This explains why searches for old tutorials lead to a new site name, but does not mean that every existing account has identical plans, control panels or service conditions. Before making changes, confirm the product you actually purchased and its current management entry point.
This guide divides creating a WordPress site into identifying the environment, installation, connectivity and acceptance checks. It is for first-time purchasers and people taking over an old A2 account. It does not report signed-in account testing or repeat unverified supplier speed multipliers. If your interface differs, locating the correct documentation for your account type is more useful than blindly searching for buttons shown in an old tutorial.
Identify the brand, product and control panel first
Sign in through the official website and check the product name on the order, account identifiers and available control panel. hosting.com documentation says WordPress installation depends on the account type: it may use Webuzo or Softaculous within cPanel. If your product has another dedicated management interface, consult its documentation instead of forcing either of these routes onto it.
Existing users should first save service notices, the current website location, DNS, backups and renewal information. A rebrand does not mean you must immediately delete and reinstall your site, nor should a rebranding email prompt you to submit credentials through its links. Open the account through the official website and check whether the notice concerns a name change, a platform migration or a change to your particular service.
Check the plan against your needs before buying
List the number of websites, data and image volumes, required plugins, email, backups and a testing environment, then compare them with the current plan. If an existing site needs particular PHP or database conditions, check compatibility and the upgrade route first. WordPress in a product name does not mean every shop, membership or custom-code requirement is included.
Separate initial payment, renewal, add-ons and possible migration costs. Prices, refund terms and promotions in old A2 articles may not apply to today's plans. Keep the checkout breakdown and terms from the time of purchase. For unclear features or restrictions, ask official support about your specific needs; leave items without written confirmation marked as pending.
Install through your own cPanel or Webuzo entry point
If you use cPanel and your account includes Softaculous, follow hosting.com's WordPress installation documentation to open the relevant application and choose installation. Before entering the domain, installation directory, site details and administrator information, check whether a site already occupies that location. Installing the home page at the domain root differs from installing in a subdirectory. Do not leave a default value in place without understanding it.
Webuzo users should add an installation through its WordPress management area and check the target domain, directory and administrator fields. Both tools deploy applications, but their buttons and defaults may differ. Record the actual tool and installation location so you know which management workflow applies when handling backups, updates or removal later.
If the installer offers extra plugins, updates or backup options, read what each does and where it applies, and choose settings you can maintain. Selecting every automatic feature does not remove the need for checks. In an environment shared with other live sites, changing a system version or database can affect additional applications, so assess compatibility first.
- Confirm the account's product and control panel, and use the official WordPress installation procedure for that environment.
- Ensure the target domain and installation directory contain no data that must be retained, and back up existing websites first.
- Enter site and administrator details, review add-on features, update and backup settings, then submit the installation.
- Save the completion information, sign in to the WordPress dashboard and open the site to confirm the installation location matches your intention.
Plan a manual installation separately only for special needs
hosting.com also provides manual installation documentation. Broadly, it involves obtaining WordPress, uploading it to the correct location, creating a database and user, and completing site setup. This route requires you to understand files, databases and permissions. If a supported installer is available, ordinary users can start with it instead of adding a manual process merely because an old article uses FTP.
When manual installation is necessary, obtain WordPress through its official HTTPS site, upload it using a secure transfer method supported by the current environment, and protect database credentials. Do not keep using unsuitable software merely to match a version specified in an old tutorial. For application problems, check the hosting support scope too, distinguishing what the provider handles from what the website maintainer must take over.
After connecting the public domain, verify site content
Domain registration, DNS and hosting may be managed by different services. Use the DNS values supplied for your account, save existing records—especially email and verification records—and then adjust only what is needed. After adding the domain to hosting, still check public resolution, the HTTPS certificate and redirects. A rebrand does not mean all users must switch to the same nameservers.
In WordPress, arrange the home page, main content, navigation and contact information, and remove sample pages and unnecessary plugins. Open the public URL and deeper articles in a signed-out window, then check the layout on a phone. If there is a form, submit test data and confirm notifications. For a migrated site, also sample old images, attachments and important URLs to ensure they still work.
Turn old account information into a current handover record
Handover records can retain the former brand name as an identification clue, but management URLs, products, payment and support entry points should reflect current information. Record who can access the control panel, who manages WordPress, and who handles domains and renewals; store passwords securely elsewhere. Then service notices and billing questions can be assigned to the right website without guessing again.
After launch, schedule updates, backups and restoration checks, and document differences between testing and production environments. Before ending an old plan, confirm that data has moved, email still works and no other sites share its resources, then follow the official procedure. The new brand provides the current service entry point; your own configuration and acceptance records remain the basis for ongoing management.
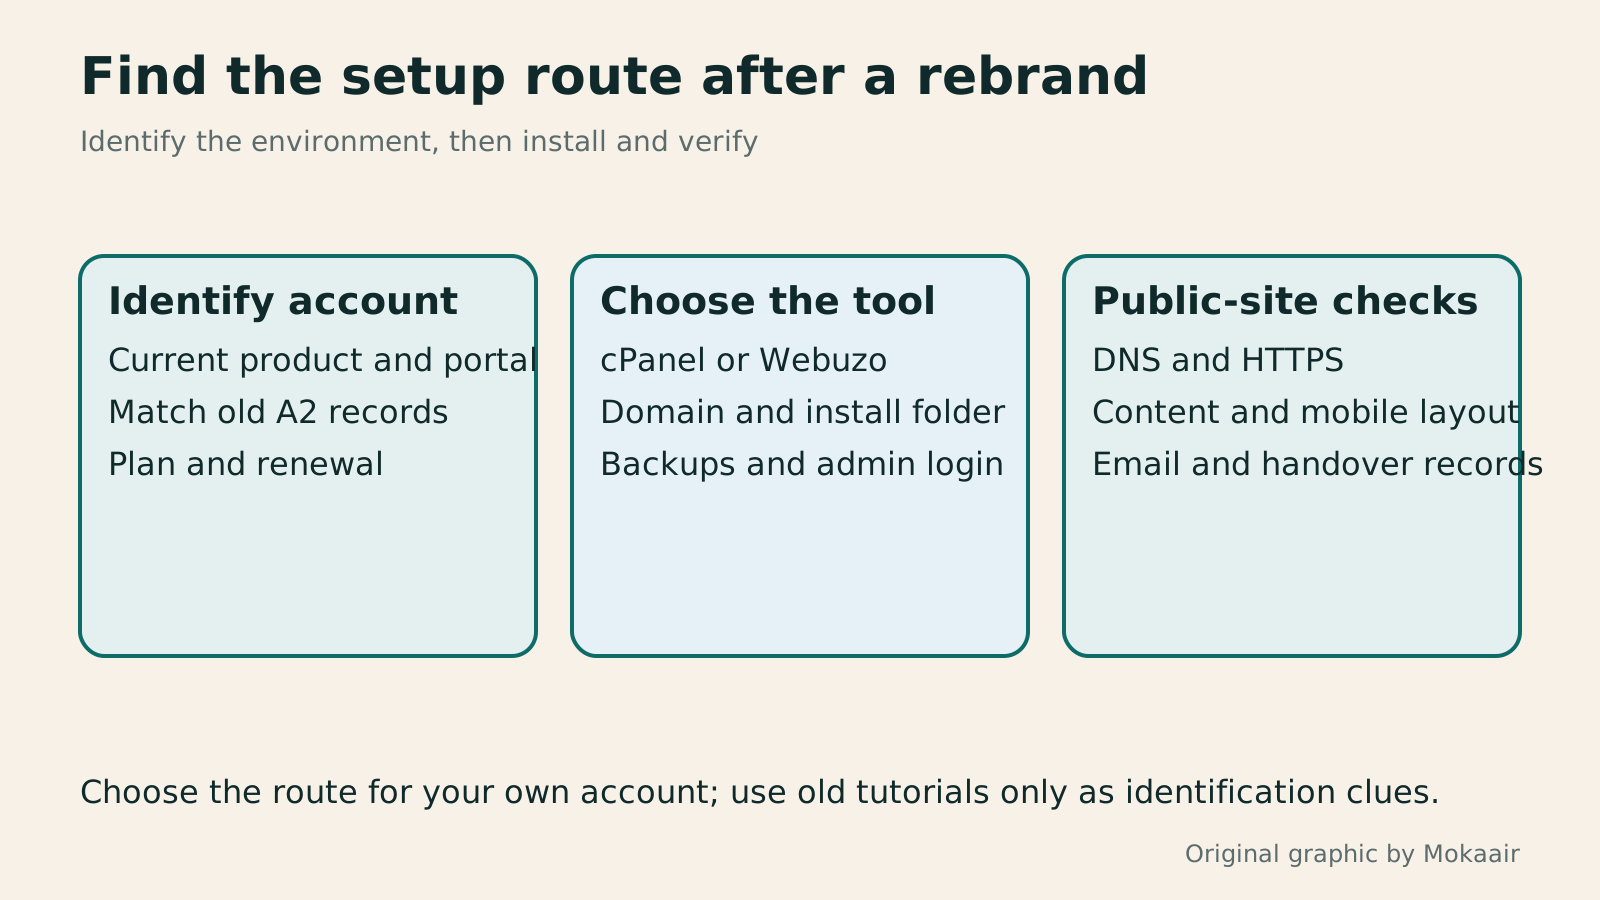
Read the full description
Three stages of setting up hosting.com: identify the brand and account, install through the control panel, and check the public website.
| What you encounter | What to do | Mistake to avoid |
|---|---|---|
| Old documents say A2 Hosting | Check official hosting.com information and your account | Assuming every setting must be redone |
| The account uses cPanel | Confirm Softaculous or another applicable tool | Following buttons from a different control panel |
| The account uses Webuzo | Read its WordPress management procedure | Searching everywhere for a nonexistent cPanel |
| Manual installation is needed | Check the software, directory and database | Overwriting an existing live site |
| You plan to end an old plan | Verify migration and data retention first | Assuming rebranding means service was cancelled |
Shared hosting, VPS and managed cloud: an order of choice for small websitesShared Hosting, VPS, and Managed Cloud: How a Small Website Should ChooseShared hosting, VPS, and managed cloud services often share one price list, but the terms may describe resource allocation or maintenance responsibility. This guide uses a small site to compare storage, memory, transfer, backups, and support. Find the real constraint before adjusting settings, upgrading a plan, or moving hosts. You do not need to memorize specifications first: take this concrete checklist to a provider.Read the full article
What website maintenance involves: routine backups, updates and incident reportingWhat website maintenance involves: a routine for backups, updates, and incident reportsWebsite maintenance includes more than plugin updates: check content, accounts, backups, outgoing email, and expiring services. Using a small WordPress content site, this guide covers routine observation, pre- and post-update checks, restoration, and incident reports, with a worksheet for owners, editors, and maintainers. Set a schedule by update frequency, identify urgent cases, and keep records the next collaborator can use.Read the full article
Lifestyle
After a WordPress Move: Check Search Traffic, the Old Host, and Renewals
A completed WordPress move still needs checks that the new host is stable, search entry points work, backups can be used, and old services can safely stop. This guide provides a cutover observation checklist, a way to interpret search traffic, an inventory of old-host dependencies, and renewal closeout steps. Individual site owners and studios can retain the information needed for rollback without confusing temporary fluctuations, ending renewal, and immediately deleting a site.
Lifestyle
Move WordPress to a New Host Without Changing the Domain: Migration, Testing, and DNS Cutover
When WordPress moves to a new host, its URLs can stay the same, but files, the database, certificates, and external services still need a handoff. This guide covers preparation of the new host, restricted previews, the final data sync, and DNS cutover in order. A verification table and rollback criteria help individual site owners and studios keep their domain while moving hosts, without canceling the old service before recovery options are secure.
Lifestyle
Changing a WordPress Domain: Check Redirects, Search Signals, and Email
Changing a WordPress domain means handling internal URLs, redirects from old links, search signals, and email together. Starting with a URL mapping, this guide explains how to preview database replacements, check permanent redirects, test sending and receiving on the new domain, and monitor the change after launch. It helps personal brands and studios plan a name change without assuming that editing the WordPress site address completes the move.
Lifestyle
Moving from WordPress.com to Self-Hosted WordPress: Content, Media, and URLs
Before moving a WordPress.com site to self-hosted WordPress, check your plan, domain, and the handoff for each kind of content. This guide covers the options available to free and paid sites, XML export and import, verification of actual image files, subscriber migration, and when Site Redirect is available. It helps individual creators in Taiwan plan the move and identifies features and billing items that need separate attention after the new site is ready.
Latest travel guides

GuideTokyo
Where to Stay in Tokyo: Comparing Shinjuku, Ueno, Tokyo Station, Shibuya, Asakusa, Ikebukuro, and Ginza, Plus Airport Access, Accommodation Tax, and Luggage Delivery
Where should you stay in Tokyo? Compare Shinjuku, Ueno, Tokyo Station, Shibuya, Asakusa, Ikebukuro, and Ginza by the same criteria: access from Narita and Haneda, transit routes, nearby attractions, neighborhood character, and who each area suits. Includes a comparison table, a Yamanote Line diagram, Tokyo’s accommodation tax as verified in 2026/9 (changing to 3% in 2027/4), and Airport TA-Q-BIN luggage shipping rules.
- Budget
- Hotels
GuideTokyo
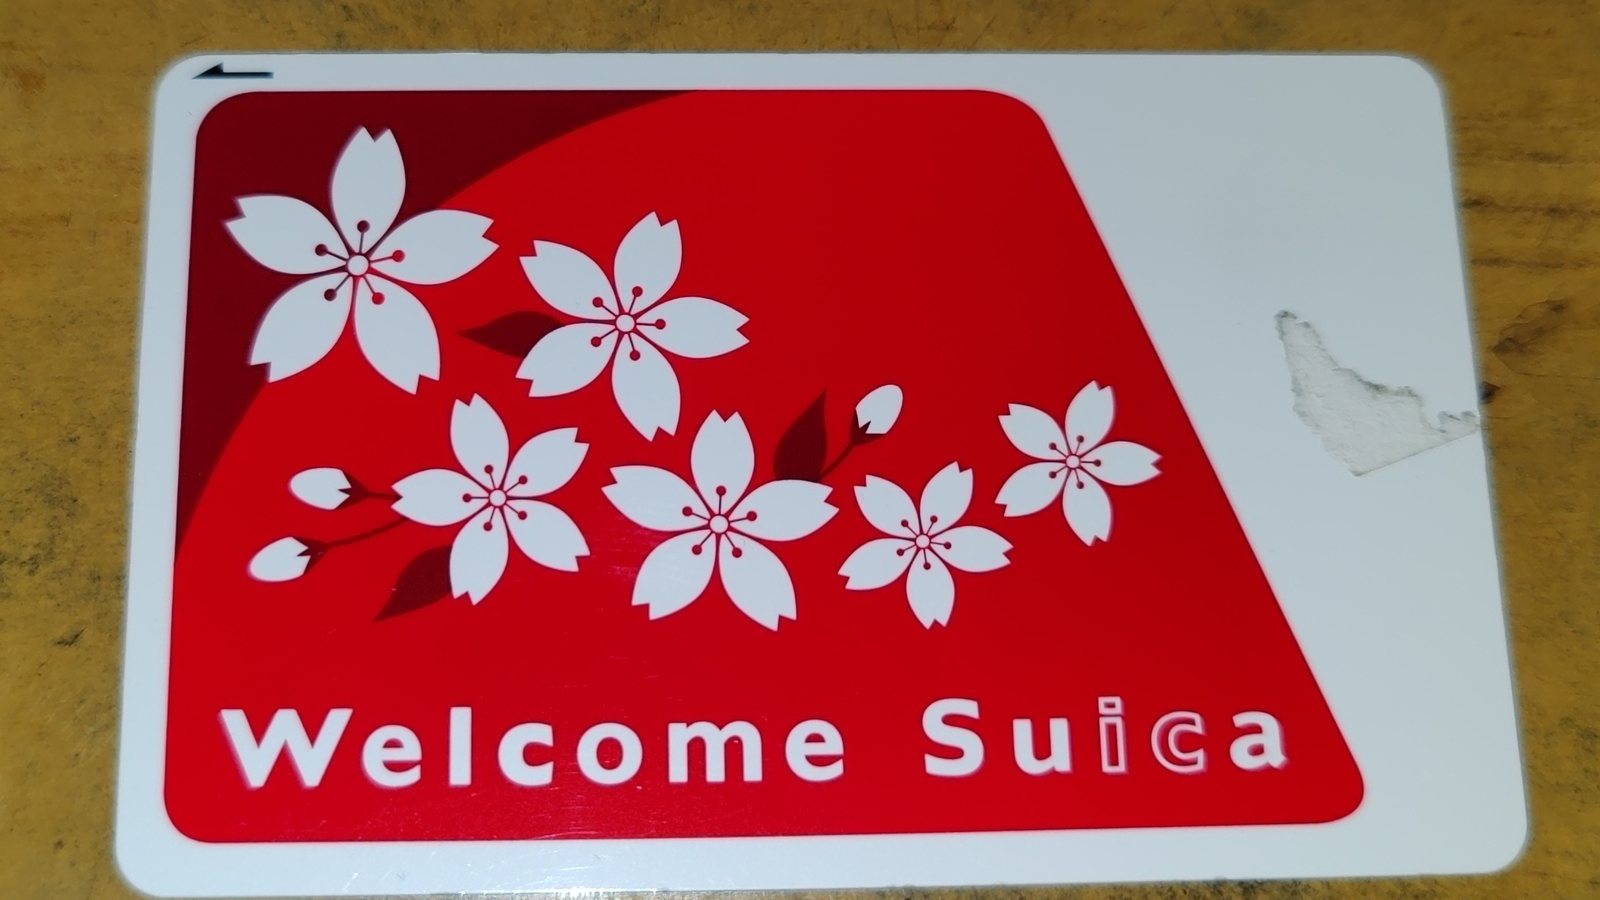
How to Choose Tokyo Transit Passes: Are Suica, Welcome Suica, the Tokyo Subway Ticket, and the JR Pass Worth It?
On a first Tokyo trip, start with an IC card and pay per ride (Welcome Suica has no deposit and is valid for 28 days). If you take four or more subway rides in a day, add a 72-hour Tokyo Subway Ticket for 2,000 yen; a JR Pass is never worthwhile if you stay in Tokyo and do not go to Kansai. See what TOURIST PASMO, Suica on iPhone, and the Tokyo Metro day pass do and do not cover, with a decision chart. Prices verified in September 2026.
- Transport
- Budget

GuideTokyo
Tokyo Disneyland and DisneySea Guide: Ticket Prices, Fantasy Springs, Disney Premier Access (DPA), Standby Pass, and Which Park to Choose for Your First Visit
Tokyo Disney one-day Passport prices vary: most weekdays in 9/2026 cost ¥9,900 and weekends ¥10,900. At 14:00 daily, tickets go on sale for the same date two months later. Free Priority Pass is no longer on the official service list; only paid Disney Premier Access (¥1,000–3,500 per person per use) shortens waits. Covers hours, the 25th anniversary, Standby Pass, Entry Request, Fantasy Springs access and first-visit park choice; checked on the official site in 9/2026.
- Itineraries
- Family
Sources
- hosting.com: A2 Hosting rebranding announcement · Checked:
- hosting.com: install WordPress with Softaculous · Checked:
- hosting.com: manual installation and account types · Checked:
- Webuzo: install WordPress · Checked: