Lifestyle
Your first WordPress site: from a test site to a public website
Your first WordPress site needs more than a successful installation: its URL, content, email and backups must work too. Using a typical personal site, this guide covers accounts and information to prepare, automatic versus manual installation, basic admin settings, home-page and post organisation, and visitor tests before launch. The goal is a site someone else can maintain, not just a completion screen visible to its administrator.
About 7 min read
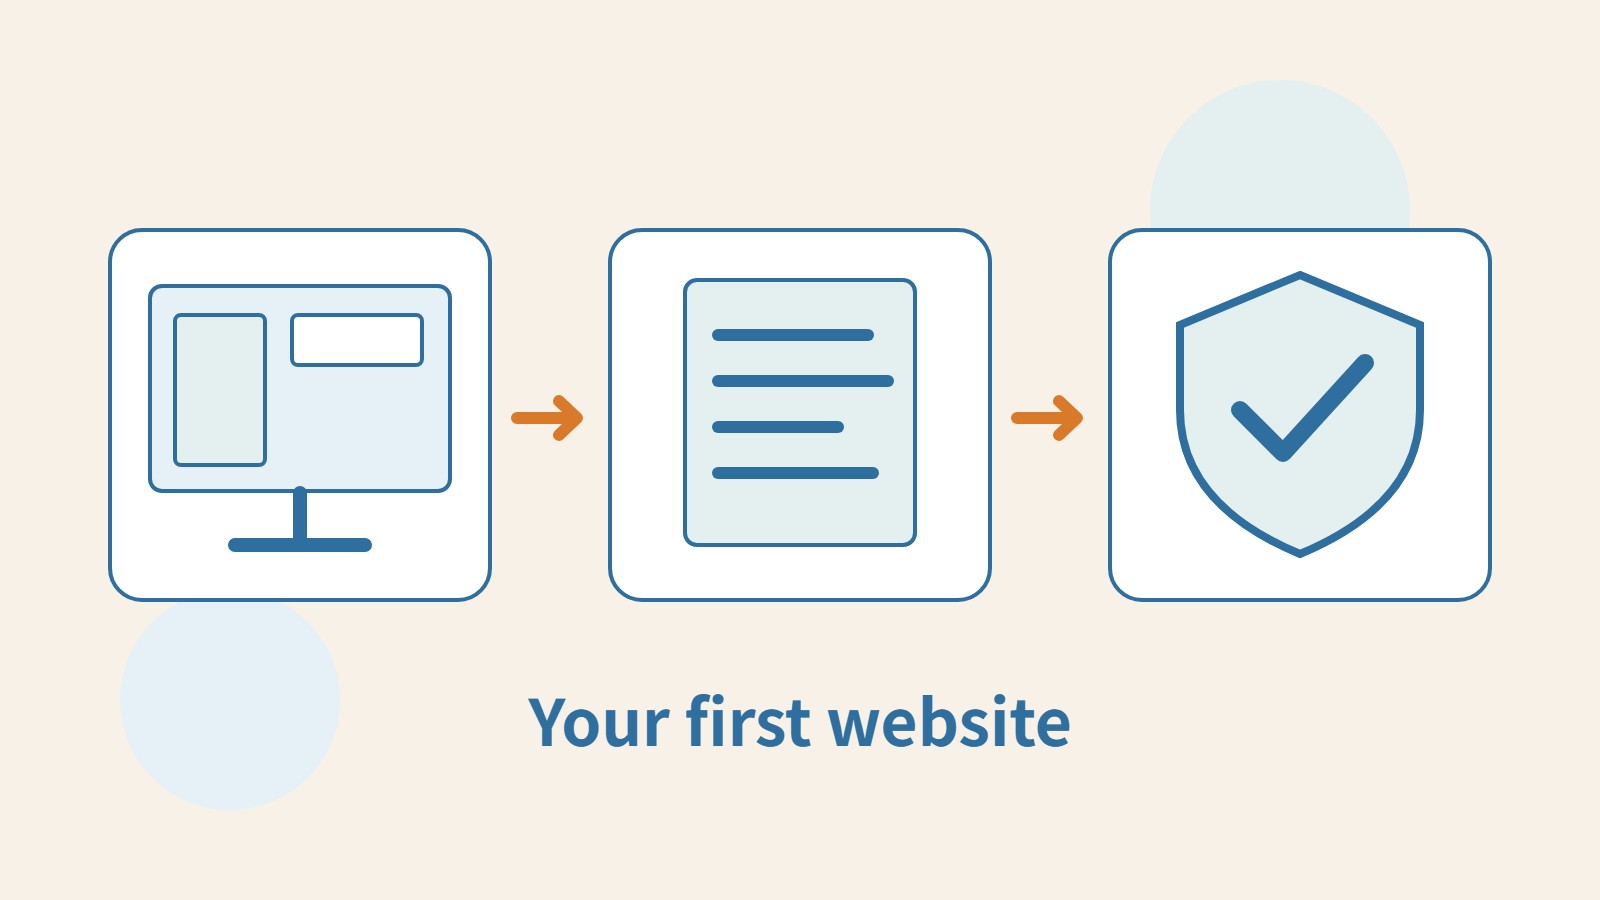
Start with a small WordPress site that people can read, that you can update and that can be restored, then add features gradually. A successful installation only shows that the software is running. You still need to check separately whether readers can find posts, contact emails arrive and a broken site can be restored.
This guide uses a personal website with its own domain to explain the sequence from preparing hosting to checking the site before launch. If you use WordPress.com, installation and hosting are provided by the service, so follow that platform’s setup process instead. The content organisation, visitor tests and handover checks below can still help you organise your site.
Keep control of the site before installing
Use an email account you can continue to manage when registering hosting, a domain and the site administrator. It need not be the public contact address, and it should not be controlled only by a contractor. Keep a private management record of each service’s purpose, sign-in method and payer. Store passwords in a password manager, not in public website documentation or post drafts.
Confirm that the host provides the runtime environment, database and HTTPS needed by WordPress, and locate the provider’s installation and backup instructions. Use a protected test site while the final content is undecided. Asking search engines not to index a site is only a search setting: it does not prevent someone who knows the URL from opening it. Private materials therefore need separate access protection.
Choose an installation method and check the URL
A host’s automatic installer will usually help create the database and configuration files. Before proceeding, check the selected domain, installation location and administrator details. If you want the site to appear directly at the home-page address, avoid accidentally installing it in an unnecessary folder. If the account already contains other sites, ensure this operation targets an empty location so existing files or data are not overwritten.
The main manual-installation steps are to obtain the official WordPress software, create a database and dedicated account, place the site files and enter the database connection details in the installer. The database password and site-administrator password serve different purposes and are not interchangeable. Afterwards, sign in to the dashboard and open a separate visitor window to confirm the home page is served from the intended URL.
- Confirm the domain and installation directory in the hosting control panel, and note whether existing sites will be affected.
- Install using the host’s tool or official manual procedure, checking the database, administrator and contact email separately.
- Sign in to the dashboard and open the public-facing home page; make sure it is not the host’s default page or a different test site.
- Check the HTTPS URL and browser warnings. If there is an error, follow the host’s documentation to resolve certificate and domain-resolution issues first.
Complete the basic dashboard settings first
In General Settings, check the site title, site language, administration email and time zone. The time zone affects how you interpret scheduling and post times. If you maintain a site in Taiwan, choose a regional time zone appropriate to your situation and preview a scheduled post again. Changing the site-address fields can affect sign-in and resource paths. Do not edit them casually as ordinary text before confirming the domain and HTTPS.
Next, organise users and default content. Give people who edit posts a role sufficient for their work, and reserve administrator accounts for those who need to change settings. Review sample posts, sample pages and default comments, replacing them with your own content. Check the purpose and licence of theme demo materials too. Reviewing the defaults first makes the site’s state easier to understand than installing many plugins straight away.
Organise the home page, posts and basic navigation
A personal site can start with information about you, your work or services, and contact details. A site with ongoing writing can start by organising post categories. Reading Settings lets you show recent posts on the home page or choose a static page. If you also need a separate posts-list page, assign the home page and posts page separately rather than making one page serve both purposes and confusing visitors about where they are.
Write a test post with real content, including paragraphs, headings, images and links. Give images alternative text that describes their purpose, and check on a phone that long titles, tables and navigation do not extend beyond the screen. A preview only shows the current editing state. When a post is saved as a draft, signed-out visitors generally cannot read it through a preview link, so check the real post URL before launch.
Test important features as a visitor
Close the administrator dashboard and go through the site in a signed-out browser. Find a post from the home page, return from the post to its category and try the contact route. A form showing success and an email actually arriving are separate checkpoints. Submit test content and check both the inbox and spam folder; a thank-you message on screen is not proof of email delivery.
If the site includes sign-in, bookings or shopping, create a separate complete acceptance checklist. Passing checks for a general content site does not mean transaction workflows have passed. Avoid using real customer personal data in tests. Also ask at least one person who did not help build the site to read the main pages, and see whether they can explain in their own words what the site offers and what to do next.
Create a backup before going public
Before launch, save the site files, database and necessary settings, and confirm how to restore them. A hosting screen saying ‘backed up’ does not mean you know how to recover the site. Find a procedure you can actually follow, and record what is retained and where backups are stored. If an isolated test environment is available, verify the restored result there instead of using the live site for your first practice run.
Finally, check the public site’s search visibility, domain, contact details and navigation, then remove access restrictions set only for testing. Keep a record of the launch-day settings. When later updating themes or plugins or adding features, handle one related group of changes at a time and revisit the visitor workflow. Completion means readers can use the site and a maintainer can take it over, not merely that the installer has finished.
Read the full description
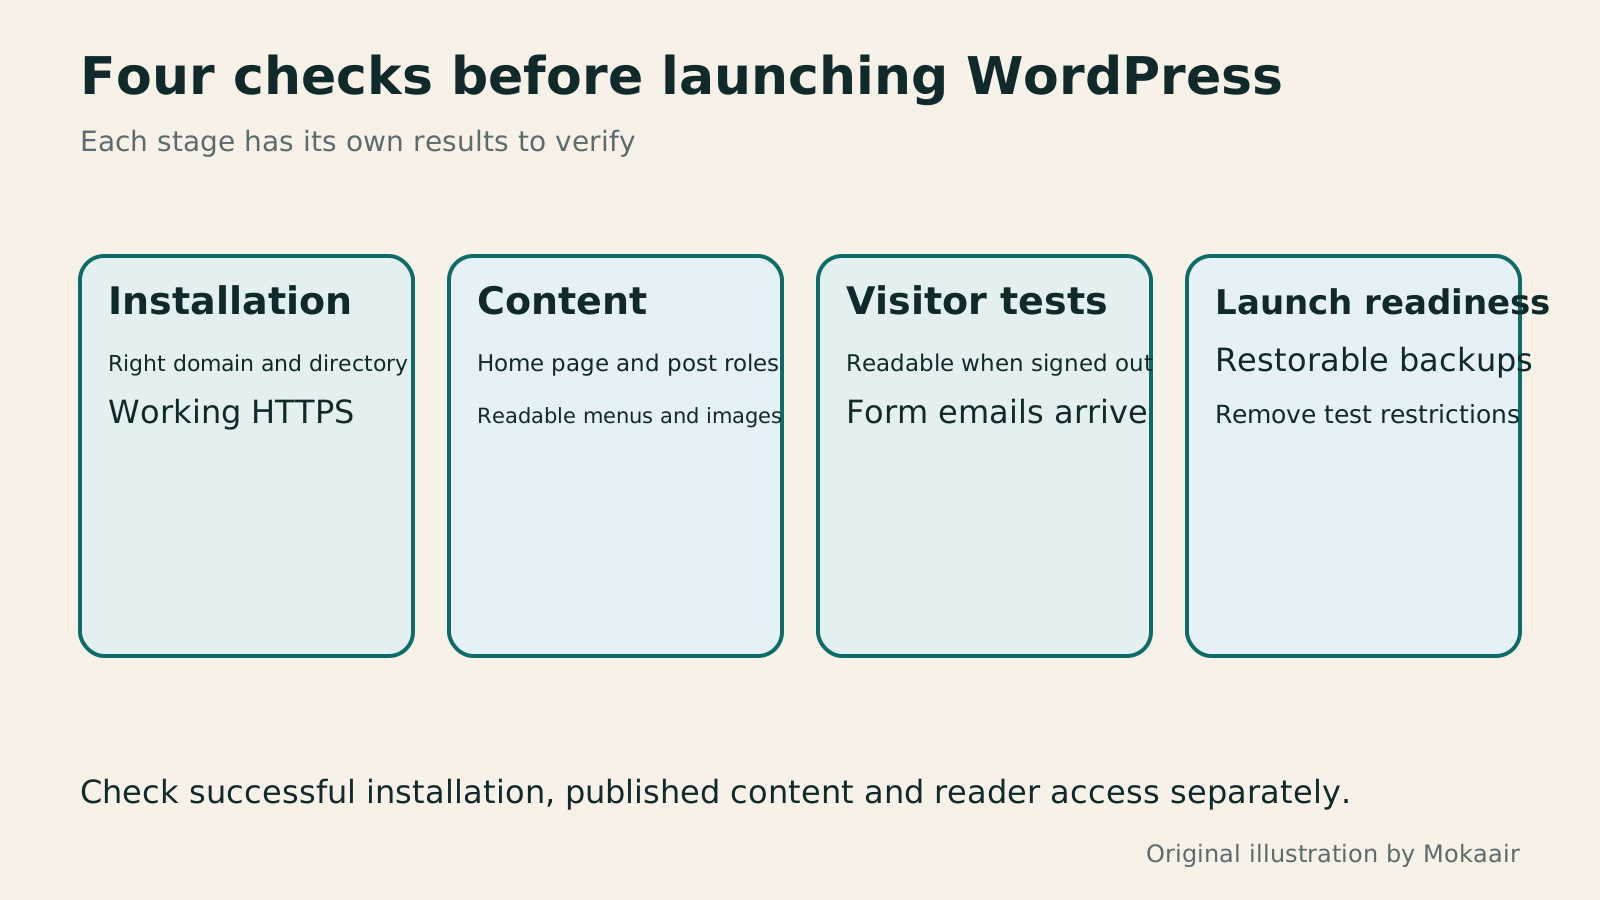
Verify installation and URLs, organise content, test visitor actions, then confirm backups and public-access settings.
| Check | What the administrator sees | What still needs checking for visitors |
|---|---|---|
| Installation | Dashboard sign-in works | The correct domain shows the home page |
| Posts | The preview looks correct | The public URL works without signing in |
| Contact form | Submission success is displayed | The message arrives and can be replied to |
| Search settings | Settings have been saved | Public pages have no test restrictions |
| Backup | A backup file exists | The restore steps are known and content has been verified |
Choosing a CMS or website platform: let your update workflow guide the choiceHow to choose a CMS or website platform: let your update workflow decide where your site livesBefore choosing a website tool, identify who will update content, what readers need to do, and who responds when the site breaks. Using a portfolio, publishing blog, and small business site, this guide compares a CMS, an all-in-one builder, and a static site. Build a requirements sheet for trials, quotes, and handover; check export and migration limits; and avoid deciding only from a polished template or introductory price.Read the full article
Enable HTTPS on your website: certificates, redirects and mixed-content checks
Website maintenance: routine backups, updates and fault reportingWhat website maintenance involves: a routine for backups, updates, and incident reportsWebsite maintenance includes more than plugin updates: check content, accounts, backups, outgoing email, and expiring services. Using a small WordPress content site, this guide covers routine observation, pre- and post-update checks, restoration, and incident reports, with a worksheet for owners, editors, and maintainers. Set a schedule by update frequency, identify urgent cases, and keep records the next collaborator can use.Read the full article
Lifestyle
After a WordPress Move: Check Search Traffic, the Old Host, and Renewals
A completed WordPress move still needs checks that the new host is stable, search entry points work, backups can be used, and old services can safely stop. This guide provides a cutover observation checklist, a way to interpret search traffic, an inventory of old-host dependencies, and renewal closeout steps. Individual site owners and studios can retain the information needed for rollback without confusing temporary fluctuations, ending renewal, and immediately deleting a site.
Lifestyle
Move WordPress to a New Host Without Changing the Domain: Migration, Testing, and DNS Cutover
When WordPress moves to a new host, its URLs can stay the same, but files, the database, certificates, and external services still need a handoff. This guide covers preparation of the new host, restricted previews, the final data sync, and DNS cutover in order. A verification table and rollback criteria help individual site owners and studios keep their domain while moving hosts, without canceling the old service before recovery options are secure.
Lifestyle
Changing a WordPress Domain: Check Redirects, Search Signals, and Email
Changing a WordPress domain means handling internal URLs, redirects from old links, search signals, and email together. Starting with a URL mapping, this guide explains how to preview database replacements, check permanent redirects, test sending and receiving on the new domain, and monitor the change after launch. It helps personal brands and studios plan a name change without assuming that editing the WordPress site address completes the move.
Lifestyle
Moving from WordPress.com to Self-Hosted WordPress: Content, Media, and URLs
Before moving a WordPress.com site to self-hosted WordPress, check your plan, domain, and the handoff for each kind of content. This guide covers the options available to free and paid sites, XML export and import, verification of actual image files, subscriber migration, and when Site Redirect is available. It helps individual creators in Taiwan plan the move and identifies features and billing items that need separate attention after the new site is ready.
Articles that cite this one
- A beginner's SEO learning roadmap: make your site readable before measuring traffic and results
- Build a WordPress test site on your computer: MAMP and preparing to go live
- Using WordPress admin: dividing content, design and administrator duties
- Building with Hostinger: get your first WordPress website ready
Latest travel guides

GuideTokyo
Where to Stay in Tokyo: Comparing Shinjuku, Ueno, Tokyo Station, Shibuya, Asakusa, Ikebukuro, and Ginza, Plus Airport Access, Accommodation Tax, and Luggage Delivery
Where should you stay in Tokyo? Compare Shinjuku, Ueno, Tokyo Station, Shibuya, Asakusa, Ikebukuro, and Ginza by the same criteria: access from Narita and Haneda, transit routes, nearby attractions, neighborhood character, and who each area suits. Includes a comparison table, a Yamanote Line diagram, Tokyo’s accommodation tax as verified in 2026/9 (changing to 3% in 2027/4), and Airport TA-Q-BIN luggage shipping rules.
- Budget
- Hotels
GuideTokyo
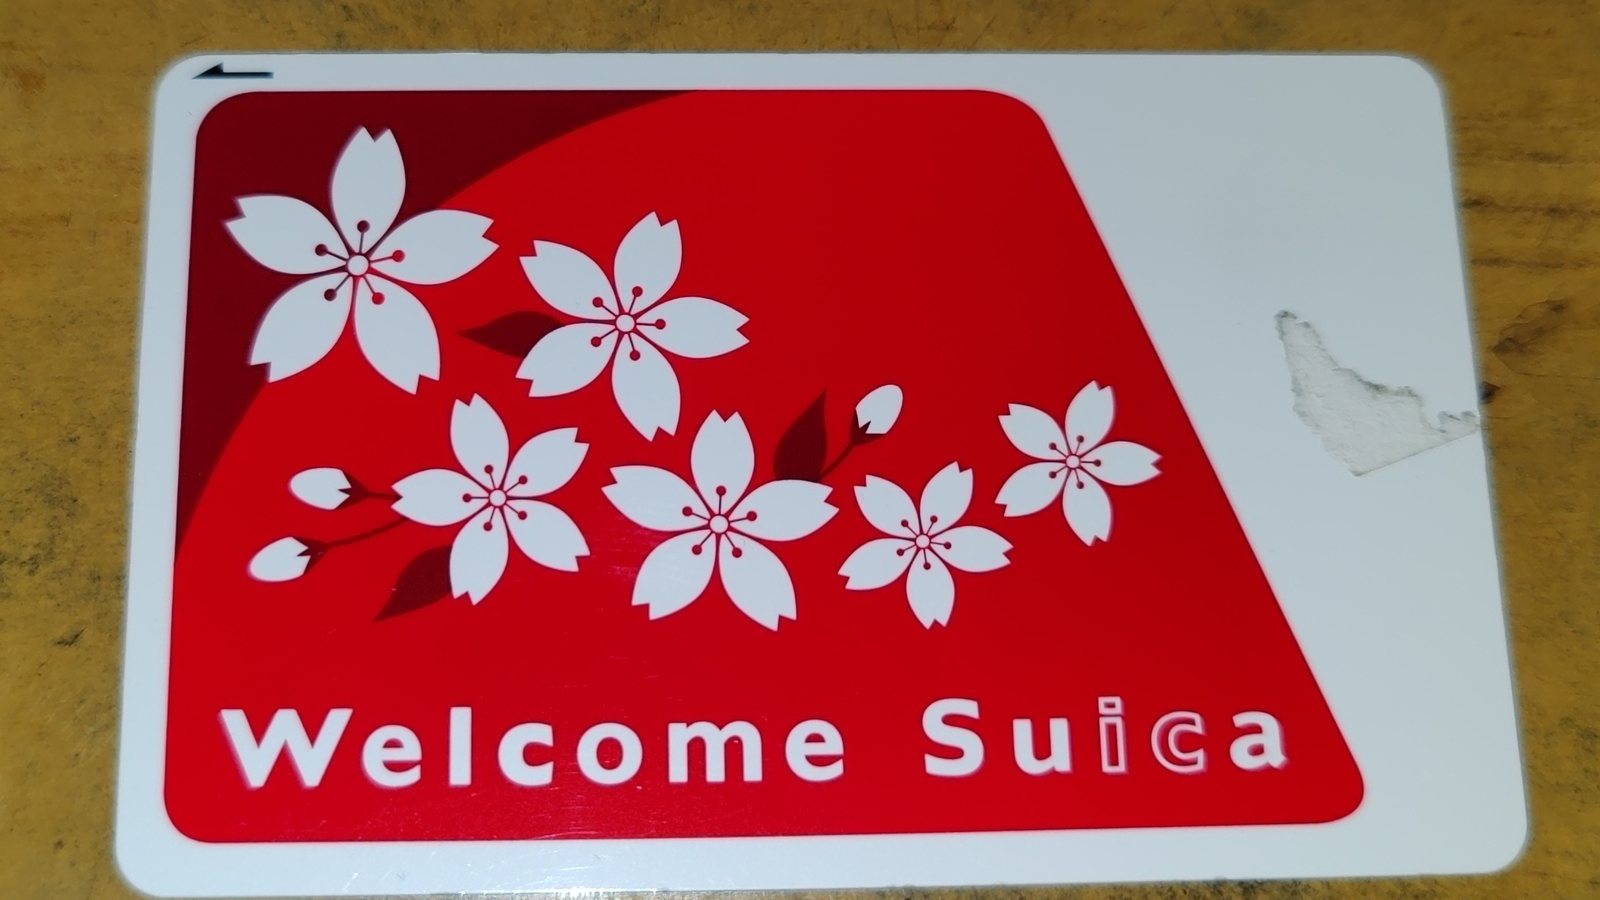
How to Choose Tokyo Transit Passes: Are Suica, Welcome Suica, the Tokyo Subway Ticket, and the JR Pass Worth It?
On a first Tokyo trip, start with an IC card and pay per ride (Welcome Suica has no deposit and is valid for 28 days). If you take four or more subway rides in a day, add a 72-hour Tokyo Subway Ticket for 2,000 yen; a JR Pass is never worthwhile if you stay in Tokyo and do not go to Kansai. See what TOURIST PASMO, Suica on iPhone, and the Tokyo Metro day pass do and do not cover, with a decision chart. Prices verified in September 2026.
- Transport
- Budget

GuideTokyo
Tokyo Disneyland and DisneySea Guide: Ticket Prices, Fantasy Springs, Disney Premier Access (DPA), Standby Pass, and Which Park to Choose for Your First Visit
Tokyo Disney one-day Passport prices vary: most weekdays in 9/2026 cost ¥9,900 and weekends ¥10,900. At 14:00 daily, tickets go on sale for the same date two months later. Free Priority Pass is no longer on the official service list; only paid Disney Premier Access (¥1,000–3,500 per person per use) shortens waits. Covers hours, the 25th anniversary, Standby Pass, Entry Request, Fantasy Springs access and first-visit park choice; checked on the official site in 9/2026.
- Itineraries
- Family
Sources
- Official WordPress installation instructions · Checked:
- WordPress General Settings documentation · Checked:
- WordPress Reading Settings and search visibility · Checked:
- Official WordPress getting-started workflow · Checked: