Lifestyle
Install WordPress themes and plugins: sources, updates and deactivation
Before installing a WordPress theme or plugin, identify the problem, download source, compatibility and recovery method. This guide covers dashboard search, uploading an official ZIP, activation and acceptance checks, and explains the different effects of updating, deactivating and deleting. For people in Taiwan who maintain their own sites, a brief record of new features and long-term costs helps avoid duplicate tools, forgotten licenses and too many simultaneous production changes.
About 7 min read
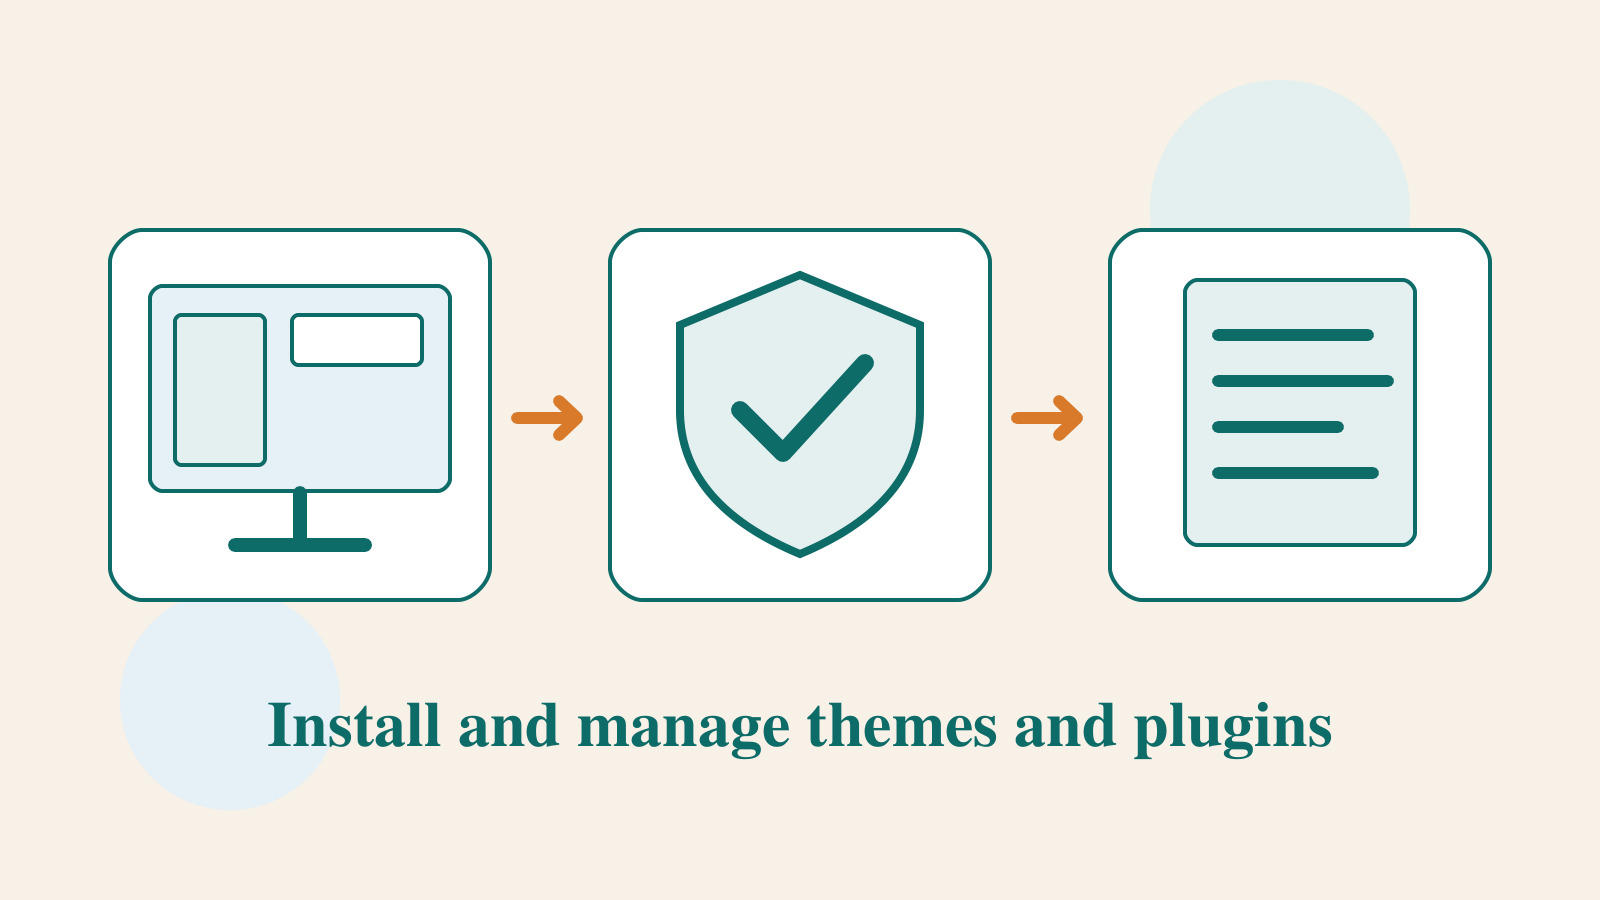
Installing a plugin whenever an attractive feature appears can quickly leave a site full of tools whose purpose nobody remembers. Themes and plugins can both change the appearance or behavior of a site, but you should consider whether an installation solves the problem, whether it can be updated over time, and what it leaves behind when removed. Clicking Install is only one step.
This guide uses a fictional small showcase for handmade goods to explain the management process. The site wants an inquiry form and a more readable layout. Separate those needs before deciding whether existing settings suffice or a new tool is needed. The steps follow official WordPress documentation; no particular paid product has been tested or recommended.
Decide whether you need design or functionality
A theme mainly controls a site's presentation and templates, while a plugin extends functionality, although real products may overlap. Write down the task first: for example, make text readable on phones or let visitors submit inquiries. If the current theme can already adjust font size, there is no need to install another design plugin first. Conversely, an attractive template alone cannot process form submissions.
List related tools already installed and check for overlapping functions. Having two cache tools, two SEO tools or several form tools does not necessarily improve results; it can make settings and responsibility harder to understand. Do not judge a site only by its plugin count. Examine each tool's purpose, dependencies and actual effect.
Define acceptance criteria before choosing a tool. For the showcase, an inquiry feature must at least let a visitor fill in and submit a form, deliver a notification and retain a findable record. The reading layout must be clear on both phones and desktop. Recording these criteria in advance keeps extra features from distracting you from the original problem.
Check source, maintenance and licensing together
Prefer files from the official WordPress directory or a developer's official channel, and verify the author, product URL and version. Download a paid ZIP through your own legitimate account, never an unknown modified copy. A matching file name does not establish a trustworthy origin. A free download also does not by itself entitle you to updates or support.
Read the latest update information, version requirements, changelog and official support documentation. A long gap since the last update deserves investigation, but the date alone does not prove a problem. A compatibility label cannot guarantee that the product works with every plugin on your site. Check whether your current environment meets the requirements and whether you can verify the functions you need.
For paid products, also record the number of sites allowed, the update period, renewal method and license transfer terms. If a contractor buys the product, agree who will provide updates after handover. If a tool connects to an external service, check the account, data sent and future fees. Continued use of the site and continued access to updates or support may be different entitlements.
Treat installation and activation as separate actions
In the dashboard, you can search the official directory from Plugins > Add New, read the details, install a plugin and then activate it. For an official ZIP, choose the correct file through Upload Plugin. Installation adds the files; activation begins loading the corresponding function on the site. You may still need to configure essential options afterward.
Add or upload a theme from Appearance > Themes, then preview and activate it. If the download contains instructions and several installation packages, follow the developer's directions and select the installable ZIP. Do not repeatedly upload every file after one failure. If a new theme previews as blank or shows errors, investigate before activation.
If the normal dashboard process fails, check file size limits, permissions and plan rules before following official support guidance. Manual SFTP installation requires knowledge of the directory structure and access method; do not paste credentials into an unfamiliar tool. Nor should you broadly raise write permissions across the site directory without understanding the cause.
- Record the need, existing tools and environment versions, and obtain the necessary backup.
- Download from the official directory or developer account; confirm author, version and installation package.
- Install and activate one tool on a test site first, then complete its essential settings.
- Test the feature and layout against the original criteria, then schedule the production change after confirmation.
Acceptance checks must include existing functions
After adding an inquiry form, test not only the new form but also existing navigation, search and sign-in. After changing themes, a good-looking home page is insufficient: post lists, inner pages, the footer, mobile menu and error pages may use different templates. Use realistic text lengths and images of different sizes to reveal layout problems.
Check whether installation imported demo content, extra tracking or integrations you do not need, and remove unused items. Submit a form with test data, then verify notifications, stored records and deletion options. If a product asks to connect an external account, understand what data it sends. Do not grant broader permissions merely to dismiss a prompt.
Save the installed version, settings, test pages and results. If the feature works only while signed in or with caching disabled, record that limitation rather than treating a temporary workaround as completion. Before handover, have the actual administrator try the workflow so the site does not depend on the installer for routine use.
Keep recovery material before updating
Updates can fix problems, add features or change compatibility requirements. Review the changelog and version requirements, test important sites on a staging copy first, and apply updates at a suitable time. Automatic updates can reduce forgotten maintenance, but still require backups, notifications and a response plan for failures. Enabling them is not a reason to stop checking the site.
Do not preserve customization by directly editing theme or plugin source files that an update will overwrite. Theme changes may belong in suitable settings or a child theme; have someone who understands the architecture manage code changes. Record where custom content lives before updating so an important function does not disappear with a new version.
Recovery must account for database changes too. Replacing program files with an older version may not restore data structures or settings changed by the update. Check the product's rollback guidance and a complete backup before choosing a method. If new data arrived after the update, plan how to retain it instead of blindly overwriting the site with an older backup.
Check deactivation, deletion and subscription cancellation separately
An ordinary plugin can generally be deactivated first and then deleted through the dashboard. Deactivation stops the related function but does not mean all data are erased. Whether deletion cleans up data depends on the plugin's design and settings. Export forms or other data you need before removal, and check pages for leftover shortcodes, empty blocks or broken buttons.
Host-preinstalled or Must-Use plugins may be managed differently. Understand their relationship to the platform before removing them. Deleting a plugin from the website also does not cancel an external service subscription or automatic renewal. Handle billing with the relevant provider and confirm its data-retention and closure terms.
Finally, update the tool inventory with each item's purpose, author, version, license and owner. Remove unused tools through an agreed process and schedule maintenance for those still in use. When every addition has a reason and every removal has a handover record, the site will not become a pile of tools nobody dares touch.
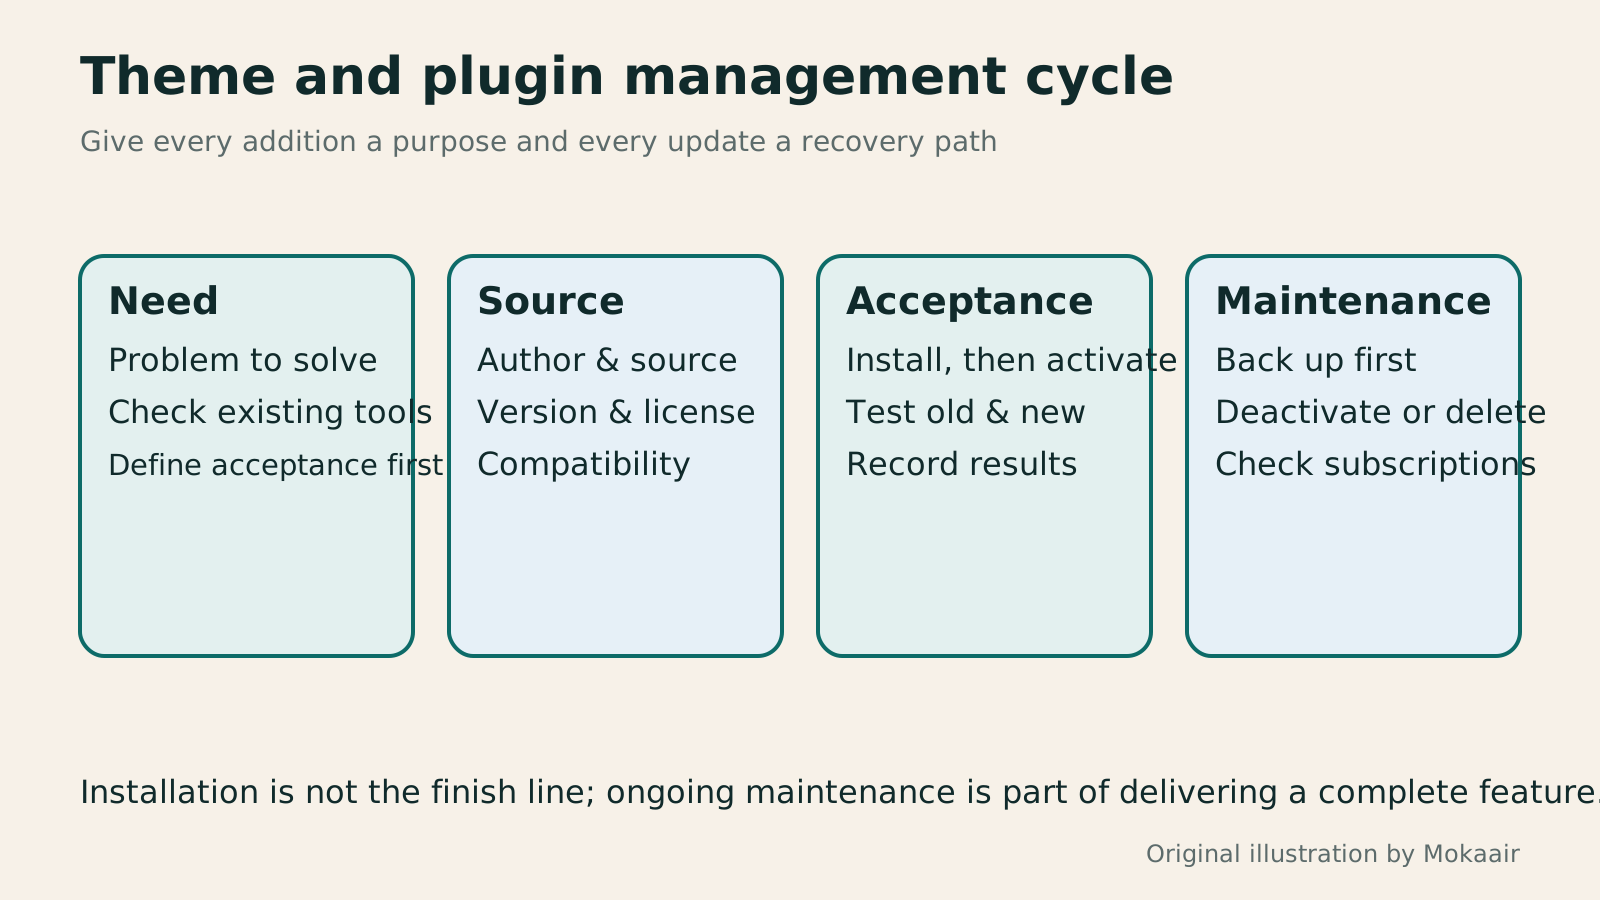
Read the full description
Original four-stage diagram tracing themes and plugins from need and source through acceptance to maintenance.
| Action | What it means | Also check |
|---|---|---|
| Install | Add files to the site | Source and compatibility |
| Activate | Begin loading the function or theme | Settings and actual acceptance checks |
| Update | Apply a new version | Backup, changes and recovery |
| Deactivate | Stop loading an ordinary plugin's function | Dependent features and data retention |
| Delete | Remove installed content | Data cleanup and remnants on pages |
| Cancel subscription | Handle billing with the provider | Separate from deletion on the site |
Dividing work in WordPress adminUsing WordPress admin: dividing content, design and administrator dutiesTaking over a WordPress site? Learn daily tasks: posts, pages, images, design and settings that need an administrator. This guide maps common menus and default roles, with steps to record changes, preview, publish and report faults so small teams can divide work clearly. Interfaces vary by theme, plugin and permissions; check the environment when a feature is missing instead of raising everyone's access.Read the full article
Creating a local test siteBuild a WordPress test site on your computer: MAMP and preparing to go livePractise WordPress locally without affecting a live site. Using MAMP for Windows, learn about installation paths, ports, databases and WordPress setup, isolating test data and diagnosing connection problems. Prepare separate file and database exports before launch. This is a beginner's environment for editing and layouts; local success does not validate production hosting.Read the full article
Lifestyle
After a WordPress Move: Check Search Traffic, the Old Host, and Renewals
A completed WordPress move still needs checks that the new host is stable, search entry points work, backups can be used, and old services can safely stop. This guide provides a cutover observation checklist, a way to interpret search traffic, an inventory of old-host dependencies, and renewal closeout steps. Individual site owners and studios can retain the information needed for rollback without confusing temporary fluctuations, ending renewal, and immediately deleting a site.
Lifestyle
Move WordPress to a New Host Without Changing the Domain: Migration, Testing, and DNS Cutover
When WordPress moves to a new host, its URLs can stay the same, but files, the database, certificates, and external services still need a handoff. This guide covers preparation of the new host, restricted previews, the final data sync, and DNS cutover in order. A verification table and rollback criteria help individual site owners and studios keep their domain while moving hosts, without canceling the old service before recovery options are secure.
Lifestyle
Changing a WordPress Domain: Check Redirects, Search Signals, and Email
Changing a WordPress domain means handling internal URLs, redirects from old links, search signals, and email together. Starting with a URL mapping, this guide explains how to preview database replacements, check permanent redirects, test sending and receiving on the new domain, and monitor the change after launch. It helps personal brands and studios plan a name change without assuming that editing the WordPress site address completes the move.
Lifestyle
Moving from WordPress.com to Self-Hosted WordPress: Content, Media, and URLs
Before moving a WordPress.com site to self-hosted WordPress, check your plan, domain, and the handoff for each kind of content. This guide covers the options available to free and paid sites, XML export and import, verification of actual image files, subscriber migration, and when Site Redirect is available. It helps individual creators in Taiwan plan the move and identifies features and billing items that need separate attention after the new site is ready.
Articles that cite this one
Latest travel guides

GuideTokyo
Where to Stay in Tokyo: Comparing Shinjuku, Ueno, Tokyo Station, Shibuya, Asakusa, Ikebukuro, and Ginza, Plus Airport Access, Accommodation Tax, and Luggage Delivery
Where should you stay in Tokyo? Compare Shinjuku, Ueno, Tokyo Station, Shibuya, Asakusa, Ikebukuro, and Ginza by the same criteria: access from Narita and Haneda, transit routes, nearby attractions, neighborhood character, and who each area suits. Includes a comparison table, a Yamanote Line diagram, Tokyo’s accommodation tax as verified in 2026/9 (changing to 3% in 2027/4), and Airport TA-Q-BIN luggage shipping rules.
- Budget
- Hotels
GuideTokyo
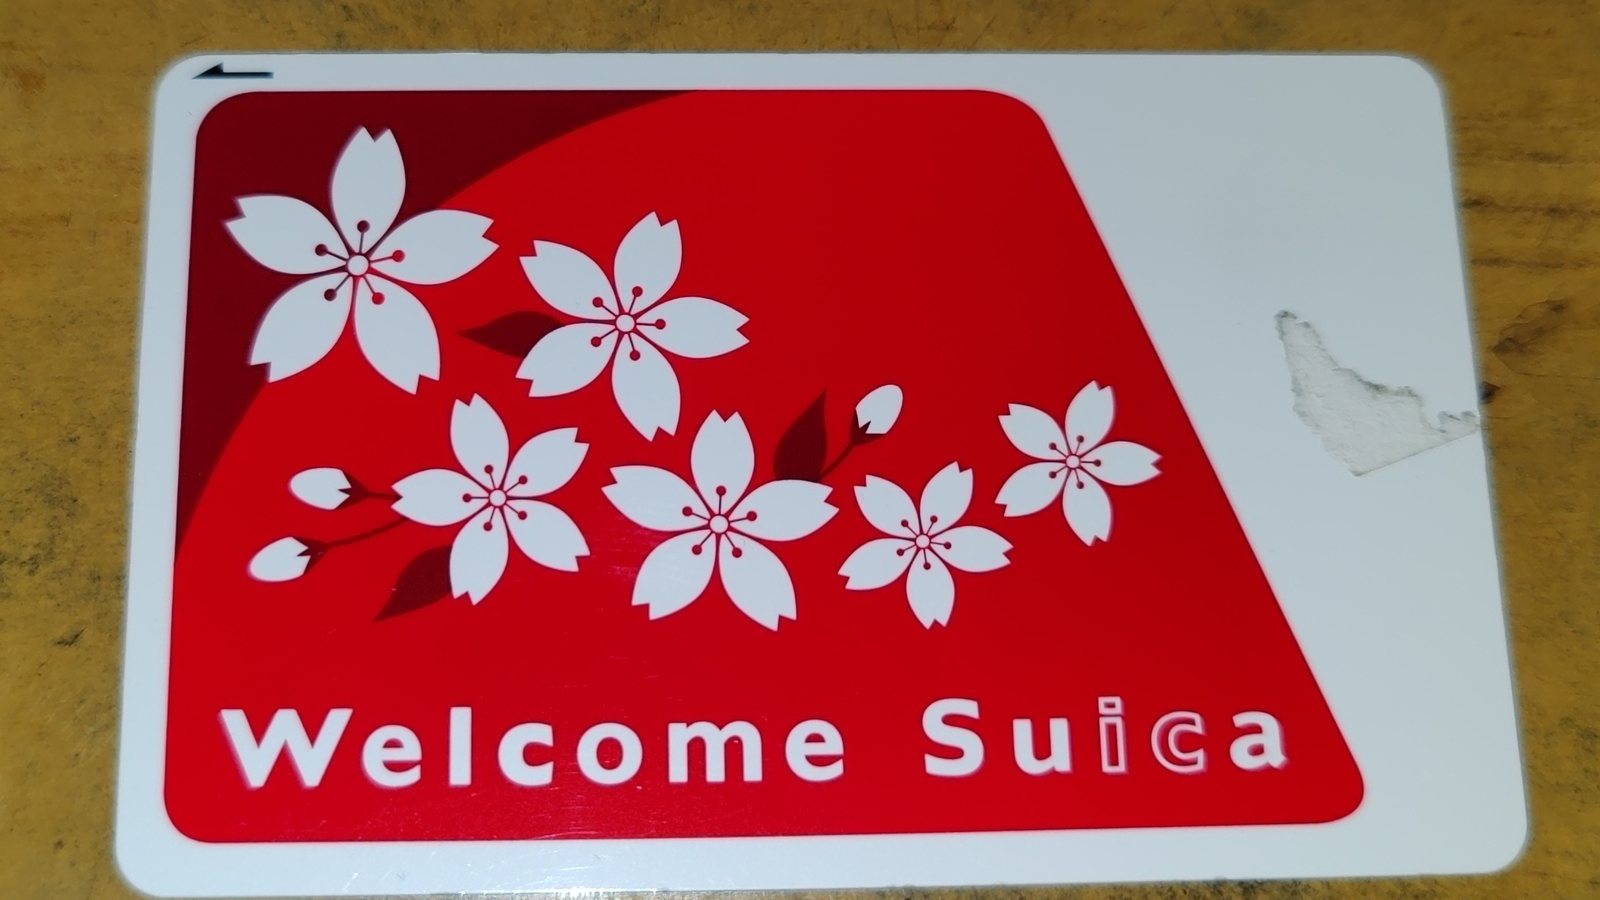
How to Choose Tokyo Transit Passes: Are Suica, Welcome Suica, the Tokyo Subway Ticket, and the JR Pass Worth It?
On a first Tokyo trip, start with an IC card and pay per ride (Welcome Suica has no deposit and is valid for 28 days). If you take four or more subway rides in a day, add a 72-hour Tokyo Subway Ticket for 2,000 yen; a JR Pass is never worthwhile if you stay in Tokyo and do not go to Kansai. See what TOURIST PASMO, Suica on iPhone, and the Tokyo Metro day pass do and do not cover, with a decision chart. Prices verified in September 2026.
- Transport
- Budget

GuideTokyo
Tokyo Disneyland and DisneySea Guide: Ticket Prices, Fantasy Springs, Disney Premier Access (DPA), Standby Pass, and Which Park to Choose for Your First Visit
Tokyo Disney one-day Passport prices vary: most weekdays in 9/2026 cost ¥9,900 and weekends ¥10,900. At 14:00 daily, tickets go on sale for the same date two months later. Free Priority Pass is no longer on the official service list; only paid Disney Premier Access (¥1,000–3,500 per person per use) shortens waits. Covers hours, the 25th anniversary, Standby Pass, Entry Request, Fantasy Springs access and first-visit park choice; checked on the official site in 9/2026.
- Itineraries
- Family
Sources
- WordPress: Managing plugins · Checked:
- WordPress: Working with themes · Checked:
- WordPress: Security hardening · Checked:
- WordPress: Backups · Checked: