Lifestyle
How to prepare website images: Size, alt text, and search readability
Clear, useful website images take more than a compression plugin. Starting from a typical website editor's workflow in Taiwan, this guide covers each image's purpose, dimensions and format, file name, alt text, WordPress upload checks, and the scope of Smush. An original herb-repotting example, checklist, and comparison table show how to keep masters, review images individually, and test the public page for readers and search systems.
About 7 min read
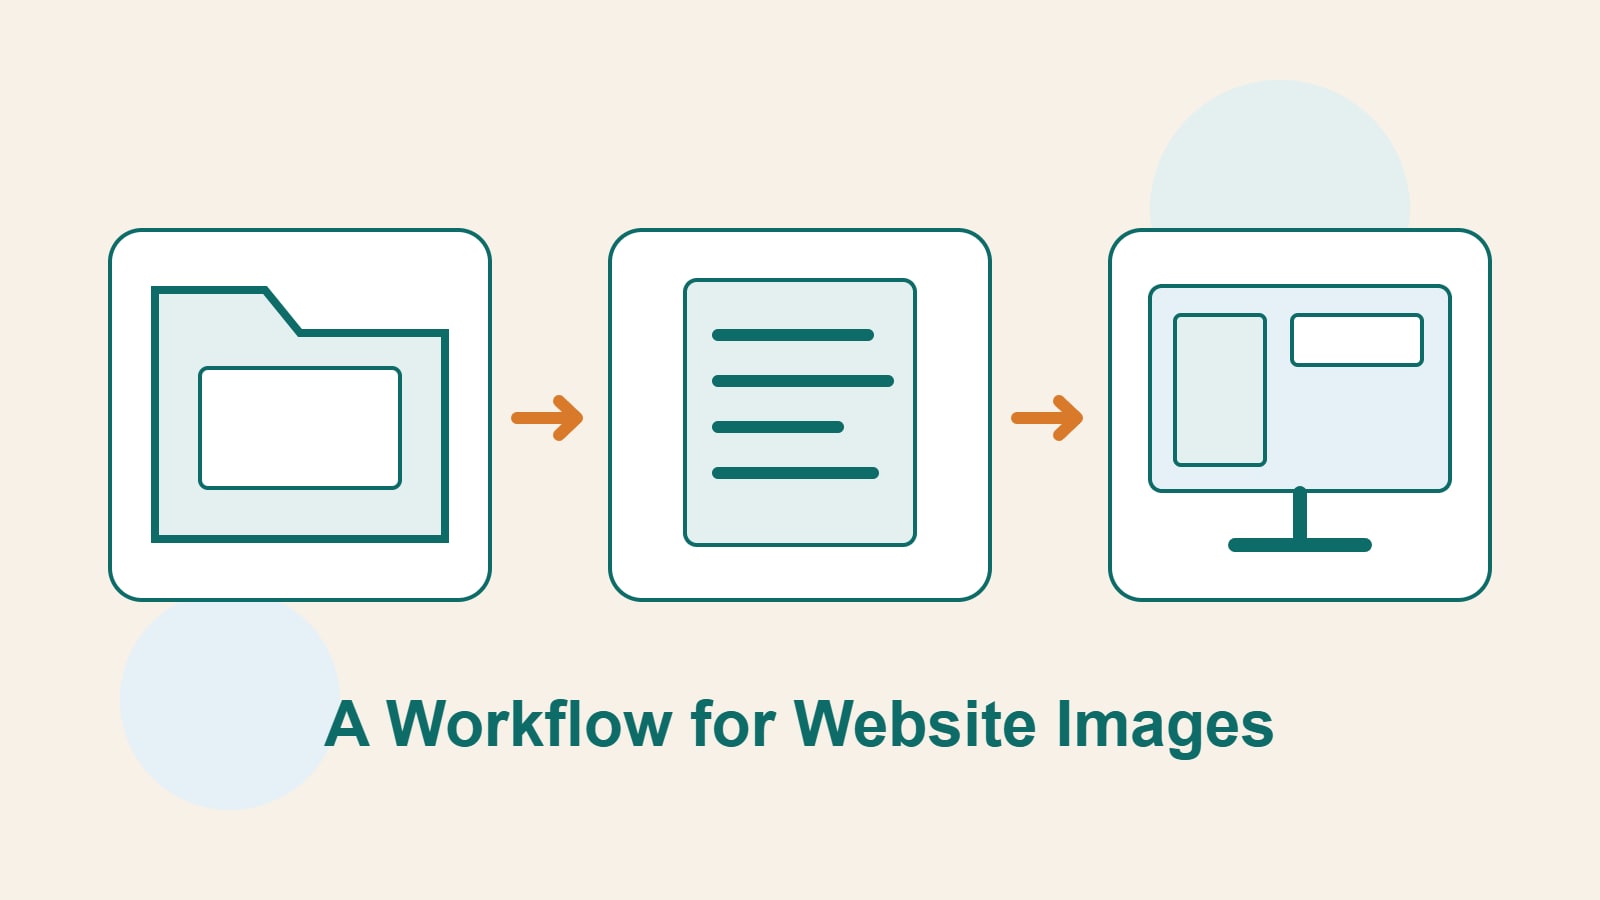
A herb-repotting tutorial has ten photos, all compressed, yet readers cannot tell which shows the roots being inspected and which shows soil being added. Start image work by asking what each picture must explain. Dimensions, description, and download size should serve that purpose.
Treat each image as a small asset package with a job: keep the master, make a web version, explain its use, and inspect the published page. This makes problems easier to trace after a redesign or tool change and keeps image-search performance from resting on one plugin score.
Decide what information each image adds
Before inserting an image, write the question it answers. A close-up of the roots might show whether the root ball is overcrowded; a finished photo might show the distance between the soil surface and pot rim. Although both show the same plant, they serve different purposes and should not share an identical file name and description.
If removing an image would make readers miss a necessary step, make sure the important information is understandable in text too. For a complex flowchart, spell out the sequence and conditions in the article; dense labels in a small picture cannot carry the entire lesson. Placing the image near its related section also helps people and search systems understand its context.
A plain background texture or other decoration that adds no information needs different treatment. Do not create noise by forcing keywords into every image field. Mark images as informative, functional, or decorative first; that gives you a consistent basis for writing alt text later.
Export dimensions and formats for the way images appear
Check the content column, phone layout, and need for enlarged viewing before choosing export dimensions. A photo master may be much larger than the page needs, but lesson details must not become blurry. Keep the high-quality original, and adjust the crop, resolution, and compression in a separate web version so you can remake it later.
Try suitable formats for photos, transparent graphics, and screenshots with text. Google Images supports formats including JPEG, PNG, WebP, AVIF, and SVG, but support does not mean one format is smallest for every asset. Compare actual file size and clarity, especially fine screenshot text, edges, transparency, and color changes.
Responsive images can offer several sizes for the browser to choose under different conditions. Google recommends a standard img element; when using srcset or picture, still provide a fallback src URL. Do not treat an image shown only as a CSS background as a content image available for Google Images indexing. Check the output, not just the editor thumbnail.
Give file names and alt text separate jobs
Before upload, use a short, recognizable name such as herb-root-check instead of a camera serial number. A file name can provide context without stacking city names, brands, and every popular query. On an existing site, renaming also requires handling old references; bulk changes can break images.
Write alt text for the image's meaning in this article. For a root photo, 'After removing the plant from the pot, dense roots coil along the pot wall' helps someone who cannot see it understand this step. The emphasis could change if the same photo appears on a pot sales page. Alt text is not a permanent advertising slogan for an asset, and it need not begin 'This is an image of.'
The W3C's decision process also covers function and decoration: an image-only button needs text for its action or destination, while a purely decorative img can have an empty alt attribute. An empty value differs from omitting the attribute. A caption adds visible context for all readers; filling it in does not replace alt text.
Check image fields on each WordPress page
After uploading or choosing media through the Image block, check resolution, crop, and related text. WordPress documentation says changing alt text in block settings affects only that page or post; Media Library alt text is the default for future insertions. After editing the library, inspect the actual output of important older posts as well.
Reducing the displayed width does not necessarily reduce the downloaded file. Open the public page and check that the browser loads an image version and file size suited to the layout. If the theme crops a landscape picture into a square, make sure roots, gestures, and essential labels remain in frame.
Galleries, post covers, and content blocks can have different settings, so sample them separately. For the repotting article, check a close-up of one step, a full view, and a diagram, then verify that the remaining images follow the same process. Checking only the home-page cover does not prove the whole media library is ready.
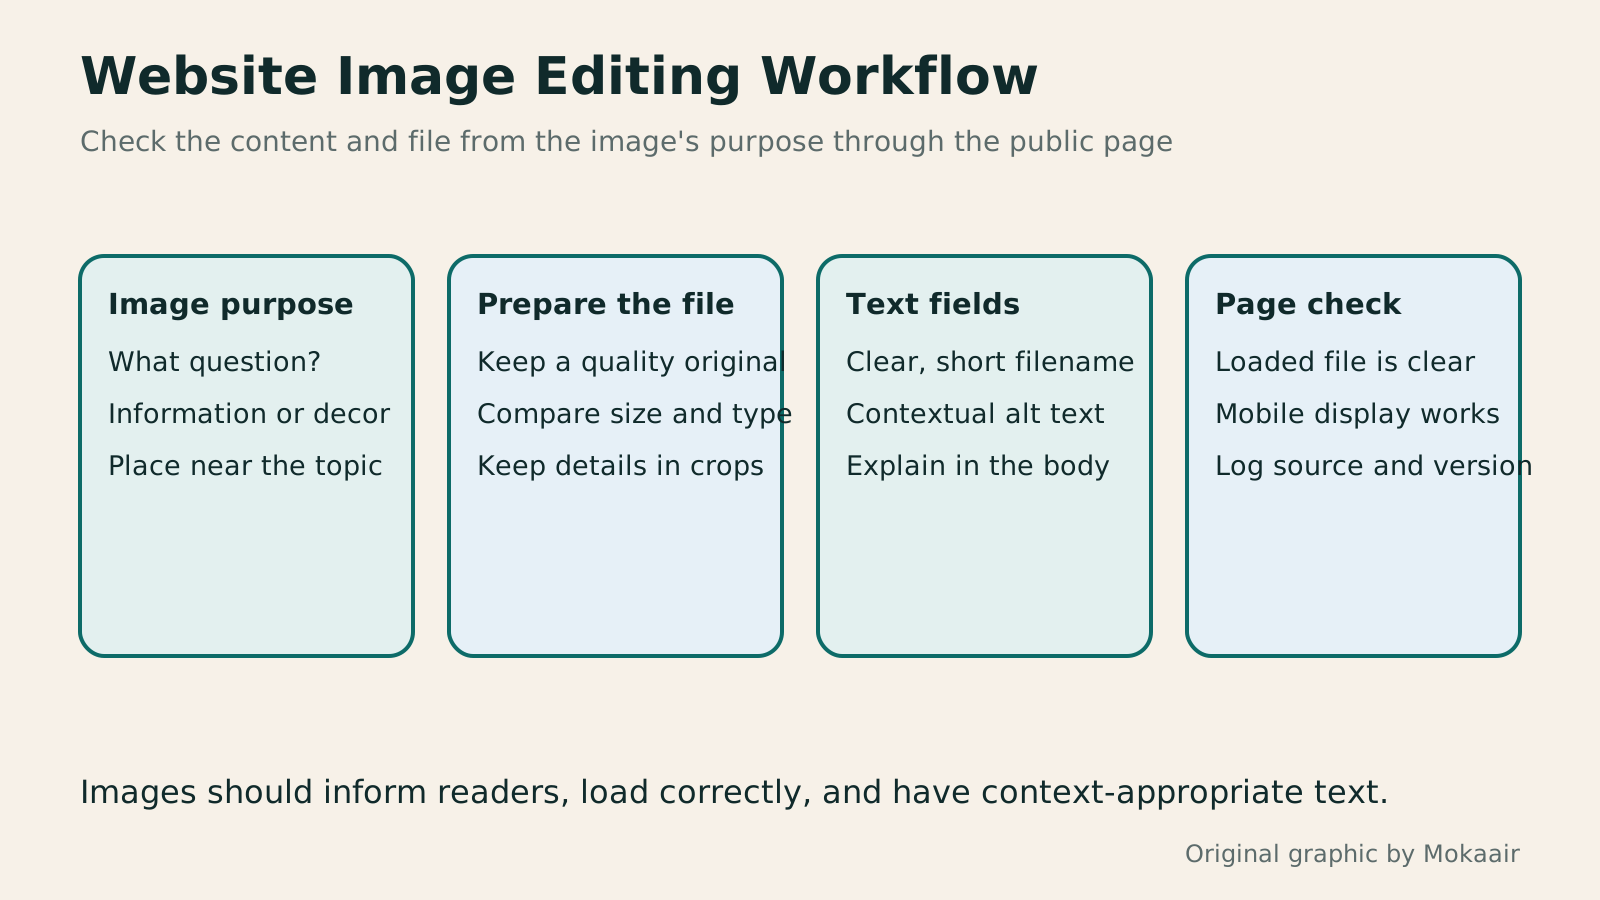
- Organize master and web versions; note purpose, dimensions, and source.
- Insert an Image block and choose a resolution and crop that suit the layout.
- Write alt text for this page's context or confirm that the image is decorative.
- Check the actual image, text fields, and phone display on the public page.
Use Smush to assist, starting with a small comparison batch
The official Smush plugin page lists compression on upload, individual and bulk processing, and lazy loading; it marks features such as the image CDN as Pro. Before installing, check the current version and plan. If the host or another plugin already processes images, establish which tool is responsible for each stage.
In a recoverable environment, first choose a few representative images and keep the files and page views from before and after processing. Confirm that the settings preserve lesson details before considering a bulk run. Back up masters separately and check what the tool can actually restore; a 'compression complete' message does not prove that originals, thumbnails, and off-site files are all recoverable.
A plugin's compression ratio cannot stand in for content review. If fine root fibers disappear, screenshot text becomes hard to read, or diagram lines blend into the background, adjust quality or exclude that image. A compression tool also cannot decide what a photo means in its section; alt text and captions still require editorial judgment.
Check readability at publication and keep an update record
Check whether readers can understand each image in the flow of the article, whether its URL loads, and whether essential information is hidden in tiny text. Cropped, missing, or overflowing images on phones are concrete issues to record. 'Bad image SEO' alone does not identify a problem you can fix.
Use an asset log to retain file names, articles using each image, master locations, sources or original-art records, exported versions, and alt text. For licensed photos, keep the creator, license terms, and source link too, so you know whether you may remake them later. This log also helps when replacing images or removing unused assets.
Afterward, record download weight, visual quality, and search readability separately. An image being discoverable does not guarantee indexing or any ranking, and a smaller file does not guarantee a faster whole page. Keep the reason and result for each change so the next round can target the image, layout, or other loading resources.
| Field or task | Main purpose | Common misuse |
|---|---|---|
| Dimensions and compression | Balance clarity and download weight | Changing displayed width only |
| File name | Identify the asset and provide context | Stuffing it with keywords |
| Alt text | Convey meaning or function in context | Copying the post title everywhere |
| Caption and body text | Add visible explanation | Hiding an essential step in a small image |
| Asset record | Trace versions and usage rights | Keeping only the downloaded copy |
Check how the article's sharing card presents its image.
Set an order for technical SEO checks on the site.
Back up WordPress files and data before major image changes.
Lifestyle
Technical SEO audit order: crawling, indexing, rendering, and site structure
A useful technical SEO audit needs reproducible evidence and a sensible repair order. Using a site relaunch as an example, this guide explains how to sample page templates and check public access, indexing directives, JavaScript rendering, canonical URLs, and site structure. It separates urgent repairs, scheduled improvements, and later observation so that a general site owner can hand actionable findings to maintainers without treating a passing test as a ranking guarantee.
Lifestyle
How to write article titles: Show search readers the scope and purpose
A useful title tells readers before they click what problem an article addresses, when it applies, and what information they will get. Using original rewrites of everyday tutorials, this guide checks the topic, purpose, limits, and evidence behind title promises. It explains why the page heading, HTML title, and Google search title may differ, then offers prepublication checks and post-change observation without stuffing keywords, claiming tests that never happened, or adding an unverified year.
Lifestyle
How to Identify Search Intent: Turn Keywords into Questions Worth Answering
The same keyword can signal learning, comparison, finding a specific entry point or taking action. Using original luggage-storage examples, this guide shows how to judge intent from wording, time and place, result formats and your own query data, then turn a hypothesis into a clear content task. It includes an observation table, ways to handle mixed intent, content-format choices and later validation. Do not copy ranking pages or treat one search-results screen as the answer for every reader.
Lifestyle
A beginner's SEO learning roadmap: make your site readable before measuring traffic and results
SEO beginners need not memorize ranking factors or buy a suite of tools. Using a small Taiwan website, this guide orders five topics: how search works, site readability, content planning, Search Console metrics, and results. Exercises by stage, a resource table, and a change log help you make pages readers and search engines can understand, then plan further work from data instead of tool scores or short-term swings.
Latest travel guides

GuideTokyo
Where to Stay in Tokyo: Comparing Shinjuku, Ueno, Tokyo Station, Shibuya, Asakusa, Ikebukuro, and Ginza, Plus Airport Access, Accommodation Tax, and Luggage Delivery
Where should you stay in Tokyo? Compare Shinjuku, Ueno, Tokyo Station, Shibuya, Asakusa, Ikebukuro, and Ginza by the same criteria: access from Narita and Haneda, transit routes, nearby attractions, neighborhood character, and who each area suits. Includes a comparison table, a Yamanote Line diagram, Tokyo’s accommodation tax as verified in 2026/9 (changing to 3% in 2027/4), and Airport TA-Q-BIN luggage shipping rules.
- Budget
- Hotels
GuideTokyo
How to Choose Tokyo Transit Passes: Are Suica, Welcome Suica, the Tokyo Subway Ticket, and the JR Pass Worth It?
On a first Tokyo trip, start with an IC card and pay per ride (Welcome Suica has no deposit and is valid for 28 days). If you take four or more subway rides in a day, add a 72-hour Tokyo Subway Ticket for 2,000 yen; a JR Pass is never worthwhile if you stay in Tokyo and do not go to Kansai. See what TOURIST PASMO, Suica on iPhone, and the Tokyo Metro day pass do and do not cover, with a decision chart. Prices verified in September 2026.
- Transport
- Budget

GuideTokyo
Tokyo Disneyland and DisneySea Guide: Ticket Prices, Fantasy Springs, Disney Premier Access (DPA), Standby Pass, and Which Park to Choose for Your First Visit
Tokyo Disney one-day Passport prices vary: most weekdays in 9/2026 cost ¥9,900 and weekends ¥10,900. At 14:00 daily, tickets go on sale for the same date two months later. Free Priority Pass is no longer on the official service list; only paid Disney Premier Access (¥1,000–3,500 per person per use) shortens waits. Covers hours, the 25th anniversary, Standby Pass, Entry Request, Fantasy Springs access and first-visit park choice; checked on the official site in 9/2026.
- Itineraries
- Family
Sources
- Google Images SEO best practices · Checked:
- W3C: An alt text decision tree · Checked:
- WordPress Image Block · Checked:
- Smush plugin features on WordPress.org · Checked: