Lifestyle
WordPress tables of contents: heading structure, anchors, and mobile reading
A table of contents can help readers find the right section in a long WordPress article, but its headings and jump targets need care. This guide covers manual anchors and Easy Table of Contents settings, fixed headers that obscure headings, mobile navigation, repeated headings, and checks after editing an article. The aim is useful reading navigation, not merely another box above the text.
About 6 min read
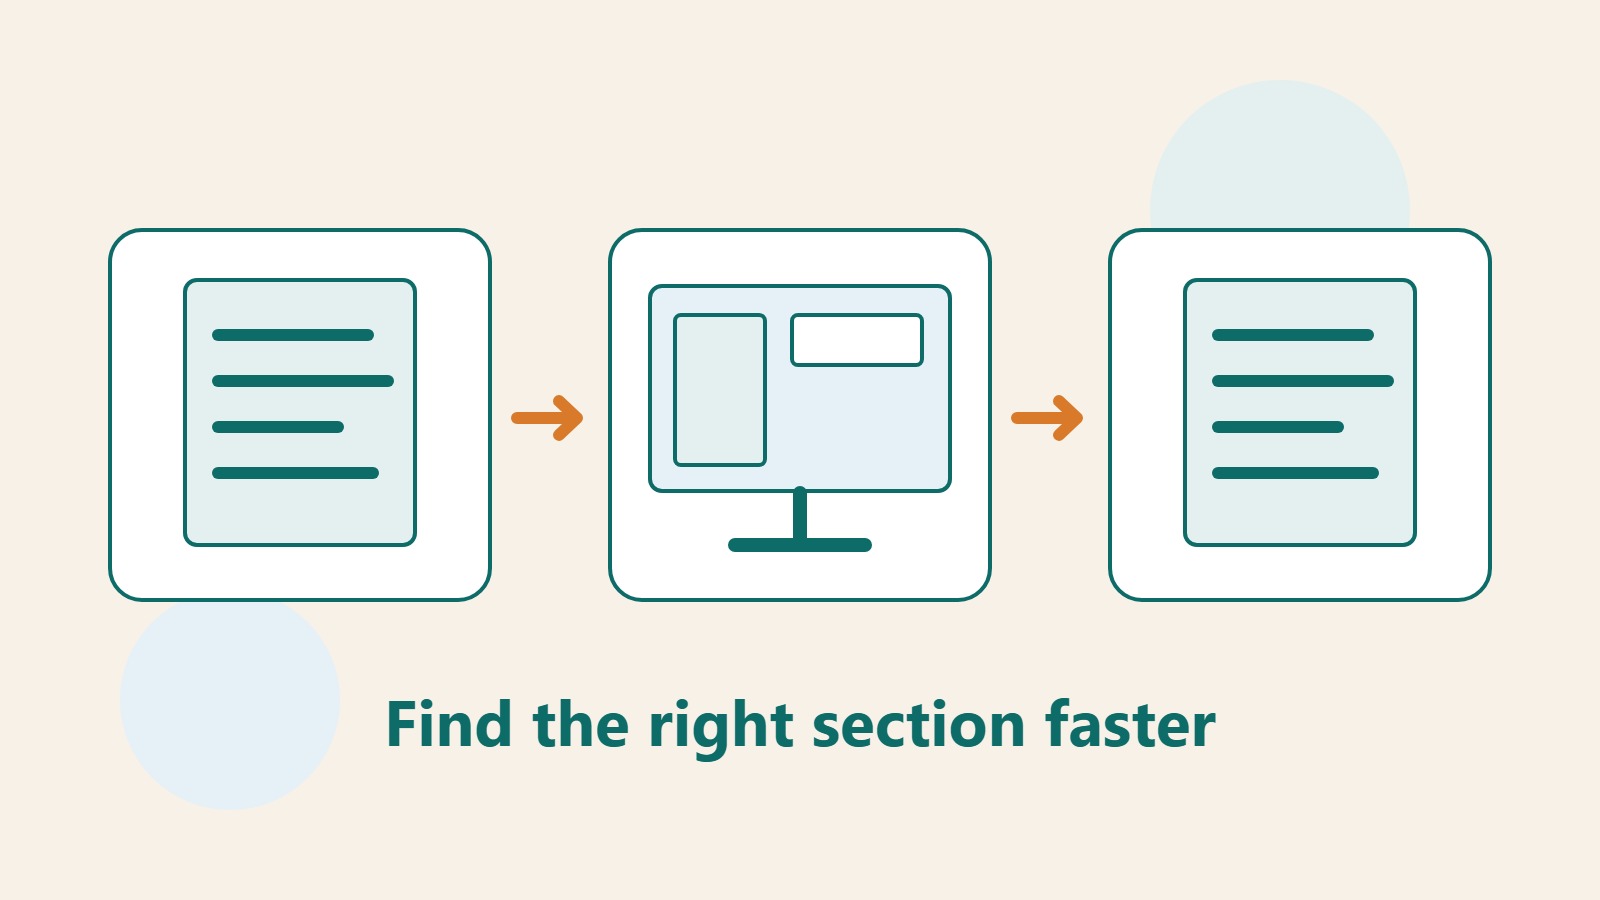
Someone opening a site-migration tutorial may only want the section on URL redirects. Even a thorough article is hard to use if they must scroll endlessly. A table of contents lets readers see the scope first and jump to the place they need; it should reflect the logic of the article.
Using a long article with preparation, steps, checks, and FAQs as an example, this guide explains WordPress anchors and Easy Table of Contents. Clarify the sections first, then choose automatic generation or manual upkeep, and finally check the result on desktop and mobile.
Make section names answer readers' questions
Read all the subheadings on their own. A sequence such as Introduction, More Introduction, and Other Matters tells readers little. Try specific questions instead: What do I need before starting? How do I move the files? How do I check the site afterward? A table of contents should show the main reading path, not list every sentence.
Use real Heading blocks in the editor, with H2 and H3 levels matching the content hierarchy. Do not merely enlarge and bold normal paragraphs, or jump between levels to change their size. Use H2 for major steps and H3 for details within a step; let theme styles control visual size.
Give repeated FAQs or cautions a subject, such as Precautions before moving files and Precautions when changing URLs. Readers can then tell where they are when moving between the table and body. Editors and support staff can also reference a specific section later.
For a few key sections, start with manual anchors
In a Heading block's Advanced settings, enter an HTML Anchor such as prepare-files. Then add a #prepare-files link to a list or button near the start of the article to jump to that section. A link from another article uses the full page URL followed by the same fragment.
WordPress advises that anchors must be unique within a document, are case-sensitive, and cannot contain spaces. For sections likely to be linked over time, choose a short, clear name and keep it in editorial records. Changing the visible heading does not always require changing an anchor others already use.
Manual anchors work well on service pages or features with few, stable sections. When sections are added or removed, however, you must update the table yourself. Do not forget the list after creating it: click every item during review and check for missing destinations or the wrong section with a repeated name.
Generate a table with Easy Table of Contents
After enabling Easy Table of Contents, first choose which content types it supports, then choose which should receive an automatically inserted table. Support and auto-insertion are separate settings. To start, you might select ordinary posts only so a home page, checkout page, or short announcement does not acquire an unwanted table.
Choose a position and display threshold to suit the article, such as showing a table only when enough sections exist. Placing it after a short introduction lets readers first learn what the article solves. Set a clear label and heading levels; major sections and necessary subsections are usually enough, without listing every H1 through H6.
- Enable the content types you need and test auto-insertion on a representative long article.
- Set the position, display conditions, and included heading levels.
- Check whether the theme or another plugin already generates a table, so the page does not show two.
Remove noise and keep the table readable
If related posts, footer, or ad headings appear in the table, investigate why those blocks are counted as article content. The plugin offers heading-exclusion settings. Its documentation lists exclusion by CSS class as a Pro feature, so check the edition before depending on that option.
Some page builders or shortcodes produce headings dynamically. The editor preview may therefore look right while the public table differs. Test the actual published layout, not only the editor sidebar. Recheck representative pages after plugin updates, especially repeated headings, collapsible content, and dynamic blocks.
Do not make the table text too small. Let long headings wrap, keep indentation understandable, and consider showing main sections first or offering an obvious expand control for a very long article. Readers must recognize that the table is interactive; collapsing it by default should not hide its purpose.
Check sticky tables and fixed headers together
Easy Table of Contents lists Fixed/Sticky TOC as a Pro feature. Before choosing a persistent table, decide whether readers really need it while scrolling. Space for a desktop sidebar does not mean a full list belongs in the corner of a phone screen; contact buttons, Cookie notices, and back-to-top controls may compete for that space.
If a fixed header covers a section heading after a jump, adjust the offset. First check whether the plugin or theme has a relevant setting. When custom CSS is needed, a maintainer can consider scroll-margin-top and verify it against the header's actual height. Do not assume one numeric value works on every device.
Smooth scrolling is a visual effect, not a substitute for reaching the right target. Test long pages and slower devices, and watch whether images loading afterward shift the destination. If animation makes reading harder, simplify it while retaining clear links and stable section positions.
Add table checks to the editing workflow
Before publication, click the first, middle, and last entries, then test every item. Use a keyboard to operate expansion controls and links and make sure focus is visible. On narrow screens, check for overflow and covered body text; rotate a phone and inspect fixed elements again.
Share a URL with an anchor fragment into a fresh signed-out window and confirm it opens at the intended section. If images or ads change page height after loading, pay particular attention to deep links opened directly. This differs from clicking the table after the page has fully loaded; keep both tests.
When updating an article, check whether a referenced section was removed, renamed, or moved, then update the table. If an anchor must change, repair related internal and support links so they do not open the page without finding the section. Maintaining the table with the content keeps saving readers time.
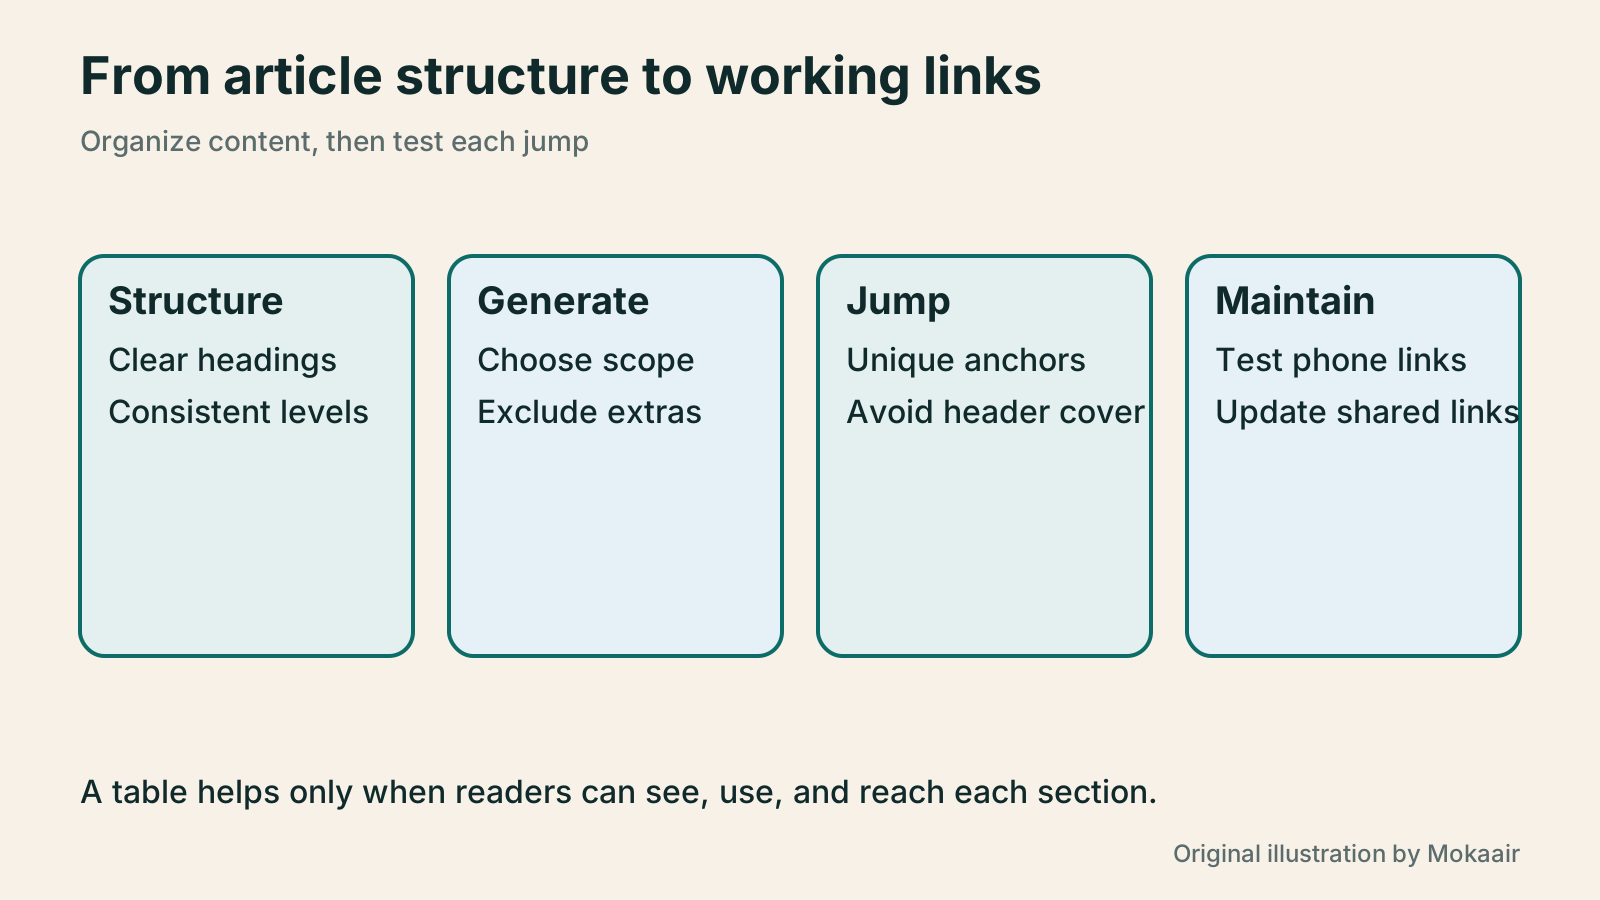
| Method | Suitable content | Ongoing work |
|---|---|---|
| Manual anchors and list | A few stable sections | Update links when sections change |
| Automatic table of contents | Long articles edited often | Check heading levels, exclusions, and duplicate tables |
| Sticky table | Reading that requires repeated jumps | Check paid features and screen obstructions |
Organize WordPress posts and pagesWordPress posts and pages: choose the right content type and URLWordPress posts and pages both hold text and images, but serve different purposes and are organized differently. Using a fictional community baking school, this guide explains when to use each, then covers blocks, excerpts, featured images, URLs and prepublication checks. Follow a repeatable workflow for your first item, and keep links stable when updating published content instead of assuming that a title edit leaves its URL and layout untouched.Read the full article
Plan website categories and navigationWordPress categories, tags and menus: help readers find the next articleCategories, tags and navigation menus organize posts, connect details and provide entry points in different ways. Using a fictional home-cooking site, this guide explains naming and creating categories and tags, setting up navigation in block or classic themes, and checking mobile and keyboard use. It also covers what URLs and mappings to preserve when renaming, changing a slug, merging or deleting, so a growing site remains easy to explore without listing every post in an oversized menu.Read the full article
Lifestyle
After a WordPress Move: Check Search Traffic, the Old Host, and Renewals
A completed WordPress move still needs checks that the new host is stable, search entry points work, backups can be used, and old services can safely stop. This guide provides a cutover observation checklist, a way to interpret search traffic, an inventory of old-host dependencies, and renewal closeout steps. Individual site owners and studios can retain the information needed for rollback without confusing temporary fluctuations, ending renewal, and immediately deleting a site.
Lifestyle
Move WordPress to a New Host Without Changing the Domain: Migration, Testing, and DNS Cutover
When WordPress moves to a new host, its URLs can stay the same, but files, the database, certificates, and external services still need a handoff. This guide covers preparation of the new host, restricted previews, the final data sync, and DNS cutover in order. A verification table and rollback criteria help individual site owners and studios keep their domain while moving hosts, without canceling the old service before recovery options are secure.
Lifestyle
Changing a WordPress Domain: Check Redirects, Search Signals, and Email
Changing a WordPress domain means handling internal URLs, redirects from old links, search signals, and email together. Starting with a URL mapping, this guide explains how to preview database replacements, check permanent redirects, test sending and receiving on the new domain, and monitor the change after launch. It helps personal brands and studios plan a name change without assuming that editing the WordPress site address completes the move.
Lifestyle
Moving from WordPress.com to Self-Hosted WordPress: Content, Media, and URLs
Before moving a WordPress.com site to self-hosted WordPress, check your plan, domain, and the handoff for each kind of content. This guide covers the options available to free and paid sites, XML export and import, verification of actual image files, subscriber migration, and when Site Redirect is available. It helps individual creators in Taiwan plan the move and identifies features and billing items that need separate attention after the new site is ready.
Latest travel guides

GuideTokyo
Where to Stay in Tokyo: Comparing Shinjuku, Ueno, Tokyo Station, Shibuya, Asakusa, Ikebukuro, and Ginza, Plus Airport Access, Accommodation Tax, and Luggage Delivery
Where should you stay in Tokyo? Compare Shinjuku, Ueno, Tokyo Station, Shibuya, Asakusa, Ikebukuro, and Ginza by the same criteria: access from Narita and Haneda, transit routes, nearby attractions, neighborhood character, and who each area suits. Includes a comparison table, a Yamanote Line diagram, Tokyo’s accommodation tax as verified in 2026/9 (changing to 3% in 2027/4), and Airport TA-Q-BIN luggage shipping rules.
- Budget
- Hotels

GuideTokyo
How to Choose Tokyo Transit Passes: Are Suica, Welcome Suica, the Tokyo Subway Ticket, and the JR Pass Worth It?
On a first Tokyo trip, start with an IC card and pay per ride (Welcome Suica has no deposit and is valid for 28 days). If you take four or more subway rides in a day, add a 72-hour Tokyo Subway Ticket for 2,000 yen; a JR Pass is never worthwhile if you stay in Tokyo and do not go to Kansai. See what TOURIST PASMO, Suica on iPhone, and the Tokyo Metro day pass do and do not cover, with a decision chart. Prices verified in September 2026.
- Transport
- Budget

GuideTokyo
Tokyo Disneyland and DisneySea Guide: Ticket Prices, Fantasy Springs, Disney Premier Access (DPA), Standby Pass, and Which Park to Choose for Your First Visit
Tokyo Disney one-day Passport prices vary: most weekdays in 9/2026 cost ¥9,900 and weekends ¥10,900. At 14:00 daily, tickets go on sale for the same date two months later. Free Priority Pass is no longer on the official service list; only paid Disney Premier Access (¥1,000–3,500 per person per use) shortens waits. Covers hours, the 25th anniversary, Standby Pass, Entry Request, Fantasy Springs access and first-visit park choice; checked on the official site in 9/2026.
- Itineraries
- Family
Sources
- WordPress: Page Anchors · Checked:
- Easy Table of Contents official plugin page · Checked:
- Easy Table of Contents settings guide · Checked:
- Pro feature: Exclude headings by class · Checked:
- MDN: scroll-margin-top · Checked: