Lifestyle
Setting up a Namecheap domain: connecting it to a website and email after registration
After buying a Namecheap domain, identify its DNS manager to connect your website and email. Official documentation explains Nameservers, Advanced DNS and Mail Settings, with two routes: change nameservers or keep the current DNS. This guide provides preparation checks, step-by-step verification and fault-reporting details for people using different domain, hosting and email providers, helping prevent accidental deletion of existing email records while bringing a website online.
About 7 min read
Namecheap may be where you bought the domain, but it is not necessarily where its DNS records are currently managed. An absent button for adding records after you sign in does not necessarily mean the account is broken. First check which nameservers the domain uses, then make changes at the service that actually handles DNS resolution. Finding the correct place matters more than repeatedly adding the same record.
This guide describes procedures from public official documentation. It does not sign in to your account for you or claim to have tested a particular hosting service. The example scenario keeps the domain at Namecheap, the website at another host and email with a separate provider. Obtain every IP address, target hostname and verification value from your own providers; do not copy someone else's examples directly.
Find the domain you want to manage in Domain List
Open the official website yourself, sign in and enter Domain List. Find the full domain name and select Manage. Check its spelling and extension first, then review expiration, renewal and contact details. If a friend or vendor registered it for you, clarify the registrant and management permissions first. Do not share their primary account just to continue setup; use the authorization method the service permits or complete a formal handover.
Before editing, record the existing Nameservers and the records used by the website, email and other verification services. You can export them or save a clearly readable list. Do not put passwords, payment details or secret verification keys into a public document. If you do not know what a TXT record is for, check the original service before deciding whether to keep it, rather than deleting a verification setting that is still used as if it were clutter.
Choose between changing DNS hosting and editing records
If the web host requires you to use its nameservers, selecting them under Nameservers delegates DNS hosting to that service. Namecheap's documentation provides Custom DNS for entering third-party nameservers. This changes where you must manage records afterward, so first make sure the new service has the website, email and necessary verification records ready.
The other option is to keep the current DNS service and create website records using the host's supplied details. Both approaches can connect a website, but the management location and migration work differ. If existing email works and you only want to change the website, ask the host whether you can update only the relevant records. That usually makes the scope of the change easier to define, although suitability still depends on the service's conditions.
Check the conditions for using Advanced DNS
According to Namecheap, the corresponding Host Records are managed in its Advanced DNS when the domain uses BasicDNS, PremiumDNS or FreeDNS. If it uses third-party nameservers or Namecheap's hosting nameservers, manage records in the relevant DNS or hosting control panel instead. If there is no add button, check this condition first.
When creating a record, check Type, Host, Value and TTL field by field. An A record's value is an IPv4 address, while CNAME points to another hostname. If the host requires separate settings for the root domain and www, configure both. Follow the interface's rules for the Host field; do not treat the https prefix or page path of a full URL as part of a DNS name.
A new domain may already have parking-page or redirect records. If there is a conflict, first establish whether the record is the one you intend to replace, then remove or update it. Do not clear all records and start guessing again. In particular, aliases and other record types at the same name have compatibility restrictions. If the provider's requirements are unclear, give support the complete record types to check.
Configure email using the receiving provider's information
Mail Settings serve a different purpose from website records. For example, Microsoft's official Microsoft 365 instructions require domain verification first, followed by MX and other records using information from the admin center. For custom email records at Namecheap, the document specifies Custom MX. Obtain target values from your own tenant instead of copying values shown in tutorial images.
MX determines where incoming email is delivered, but an MX record alone does not mean that a mailbox exists or that sending authentication is complete. Add SPF, DKIM or other records as required by the email provider, and confirm the migration plan for the old mailbox first. If SPF is already configured, combine the actual sending sources and official requirements appropriately; do not add another conflicting configuration just because another tutorial shows one.
- Request the required records separately from the website and email providers, noting each record's purpose, name, type, value and priority.
- Identify where DNS is currently managed and save the original settings. If changing nameservers, prepare the complete record set in the new zone first.
- Enter and save each item, then compare it against the original requirement. Avoid deleting unrelated entries as an incidental part of the same operation.
- Query website and email records, then actually test opening the site, receiving email from outside and sending email out. Record the results in the change log.
Verify DNS and website status separately
A successful save means only that the interface accepted the settings. DNS resolution may still be affected by existing caches, and different networks may see an update at different times. Record the change time, previous TTL and query results rather than repeatedly switching nameservers and hoping for success. The official documentation gives general timing guidance; it cannot guarantee that every visitor will see the new value in the same minute.
If DNS points to the expected destination but the page still shows an error, next check whether the host has added the domain, whether the website software is ready and whether the HTTPS certificate covers that name. If the website works but email does not arrive, inspect email records, whether the mailbox has been created and the email provider's error messages. Checking these layers separately avoids blaming every problem on DNS not having updated yet.
Provide support with information it can assess
Provide the affected domain, the time and time zone of the problem, expected behavior, current nameservers, and the record types and values returned by queries. Mask account, billing and unrelated information in screenshots. A description such as ‘The root domain opens, but www shows a certificate error’ helps support identify the right scope more readily than ‘The website is broken.’
After finishing, keep a final configuration record and responsibility list as the starting point for adding a subdomain or changing email services next time. Include only necessary information in the management register; you do not need to reorganize the entire account every time. If you changed the DNS hosting service, update the handover document too, so the next maintainer knows where to edit and does not use an old interface that no longer takes effect.
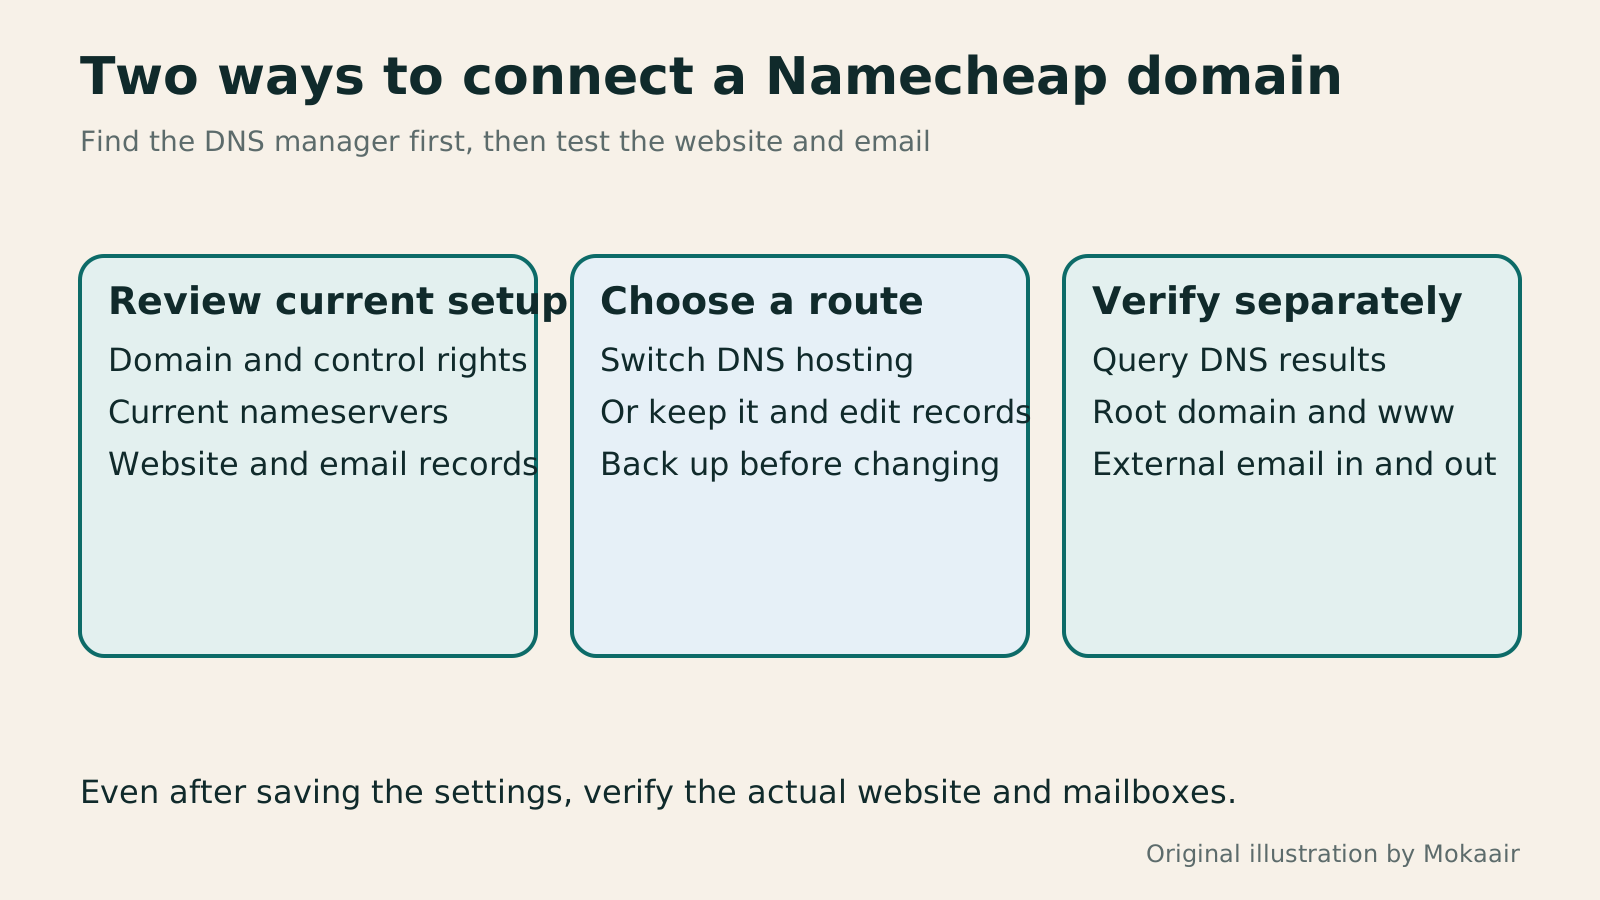
Read the full description
First inventory the current setup, then choose between changing nameservers and editing existing records, and finally verify the website and email separately.
| Need | Main location | Check first |
|---|---|---|
| Move DNS management to another provider | Nameservers | The new service has all necessary records ready |
| Edit website records at Namecheap | Advanced DNS | The domain currently uses an eligible Namecheap DNS service |
| Switch to a chosen receiving email service | MX and other settings in the active DNS service | Mailboxes and migration arrangements are ready |
| Website still fails despite correct DNS | Hosting and certificate management | Domain binding, website software and HTTPS |
Before buying a domain: choosing a name, establishing ownership and managing renewalsBefore You Buy a Domain: Name, Registrant, and Renewal ManagementA domain is the entrance to your website and an important record for email, future moves, and brand identity. This guide covers name choice; the roles of the registrant, registrar, host, and DNS; initial and renewal costs; account protection; and transfer prerequisites. A small-studio management sheet records the holder, notice destination, and handover when collaboration ends, so delegated setup does not leave you with website-admin access but no domain-management control.Read the full article
Checking DNS settings: from A and CNAME to email records
Lifestyle
Changing domain registrars: transfer locks, authorization codes and keeping DNS working
Moving a domain to another registrar changes who manages its registration; it does not automatically move your website or email. This guide covers eligibility, common locks, authorization codes and the application process. DNS, nameserver and email checks help users in Taiwan hand over domains such as .com, while reminding them to check the separate rules for .tw and other extensions.
Lifestyle
Comparing WordPress hosting: assess providers with one requirements worksheet
To compare WordPress hosting, align site content, service responsibilities and billing periods before interpreting plan differences. This guide offers a worksheet and verification process, separates official specifications from your own measurements and unresolved conditions, and covers renewal, backups, support and exit costs. It is for users in Taiwan choosing their first host or considering a different provider, without ranking services by a single speed test or promotional monthly price.
Lifestyle
Managing a Gandi domain: registration, DNS and renewal checks
Gandi keeps registration, DNS, email and renewal settings in separate places. Based on current official documentation, this guide covers post-purchase checks, LiveDNS records, backups, transfers and what the 2026 Classic DNS migration means for existing users. Check your own account and build a domain register others can take over, avoiding outdated tutorial nameservers and the assumption that paying means your website and email are fully configured.
Lifestyle
What happens when a domain or hosting expires: a checklist before renewal or shutdown
Domains, hosting and email can expire separately, with different effects if unpaid. Check orders, expiry details and admin access before renewal, recovery eligibility after expiry, and data to save before closing or moving a site. Build a checklist in time order; manage the domain, site backups, email and external accounts separately. Avoid cancelling a service only to lose verification emails, or keeping a content export without images and site settings.
Latest travel guides

GuideTokyo
Where to Stay in Tokyo: Comparing Shinjuku, Ueno, Tokyo Station, Shibuya, Asakusa, Ikebukuro, and Ginza, Plus Airport Access, Accommodation Tax, and Luggage Delivery
Where should you stay in Tokyo? Compare Shinjuku, Ueno, Tokyo Station, Shibuya, Asakusa, Ikebukuro, and Ginza by the same criteria: access from Narita and Haneda, transit routes, nearby attractions, neighborhood character, and who each area suits. Includes a comparison table, a Yamanote Line diagram, Tokyo’s accommodation tax as verified in 2026/9 (changing to 3% in 2027/4), and Airport TA-Q-BIN luggage shipping rules.
- Budget
- Hotels

GuideTokyo
How to Choose Tokyo Transit Passes: Are Suica, Welcome Suica, the Tokyo Subway Ticket, and the JR Pass Worth It?
On a first Tokyo trip, start with an IC card and pay per ride (Welcome Suica has no deposit and is valid for 28 days). If you take four or more subway rides in a day, add a 72-hour Tokyo Subway Ticket for 2,000 yen; a JR Pass is never worthwhile if you stay in Tokyo and do not go to Kansai. See what TOURIST PASMO, Suica on iPhone, and the Tokyo Metro day pass do and do not cover, with a decision chart. Prices verified in September 2026.
- Transport
- Budget

GuideTokyo
Tokyo Disneyland and DisneySea Guide: Ticket Prices, Fantasy Springs, Disney Premier Access (DPA), Standby Pass, and Which Park to Choose for Your First Visit
Tokyo Disney one-day Passport prices vary: most weekdays in 9/2026 cost ¥9,900 and weekends ¥10,900. At 14:00 daily, tickets go on sale for the same date two months later. Free Priority Pass is no longer on the official service list; only paid Disney Premier Access (¥1,000–3,500 per person per use) shortens waits. Covers hours, the 25th anniversary, Standby Pass, Entry Request, Fantasy Springs access and first-visit park choice; checked on the official site in 9/2026.
- Itineraries
- Family
Sources
- Namecheap: connecting a domain to hosting · Checked:
- Namecheap: conditions for managing Host Records · Checked:
- Microsoft: connecting Microsoft 365 DNS at Namecheap · Checked: