Lifestyle
Building a website with HostGator: installation, domain connection and handover
Before building WordPress with HostGator, distinguish customer accounts, site administration, domain registration and DNS. Official documentation informs installation and domain connection steps, plus site acceptance, backup and handover checklists for small shops and creators in Taiwan. Check purchase and feature eligibility against your own plan: installation, backup generation or domain connection alone does not complete the launch.
About 7 min read
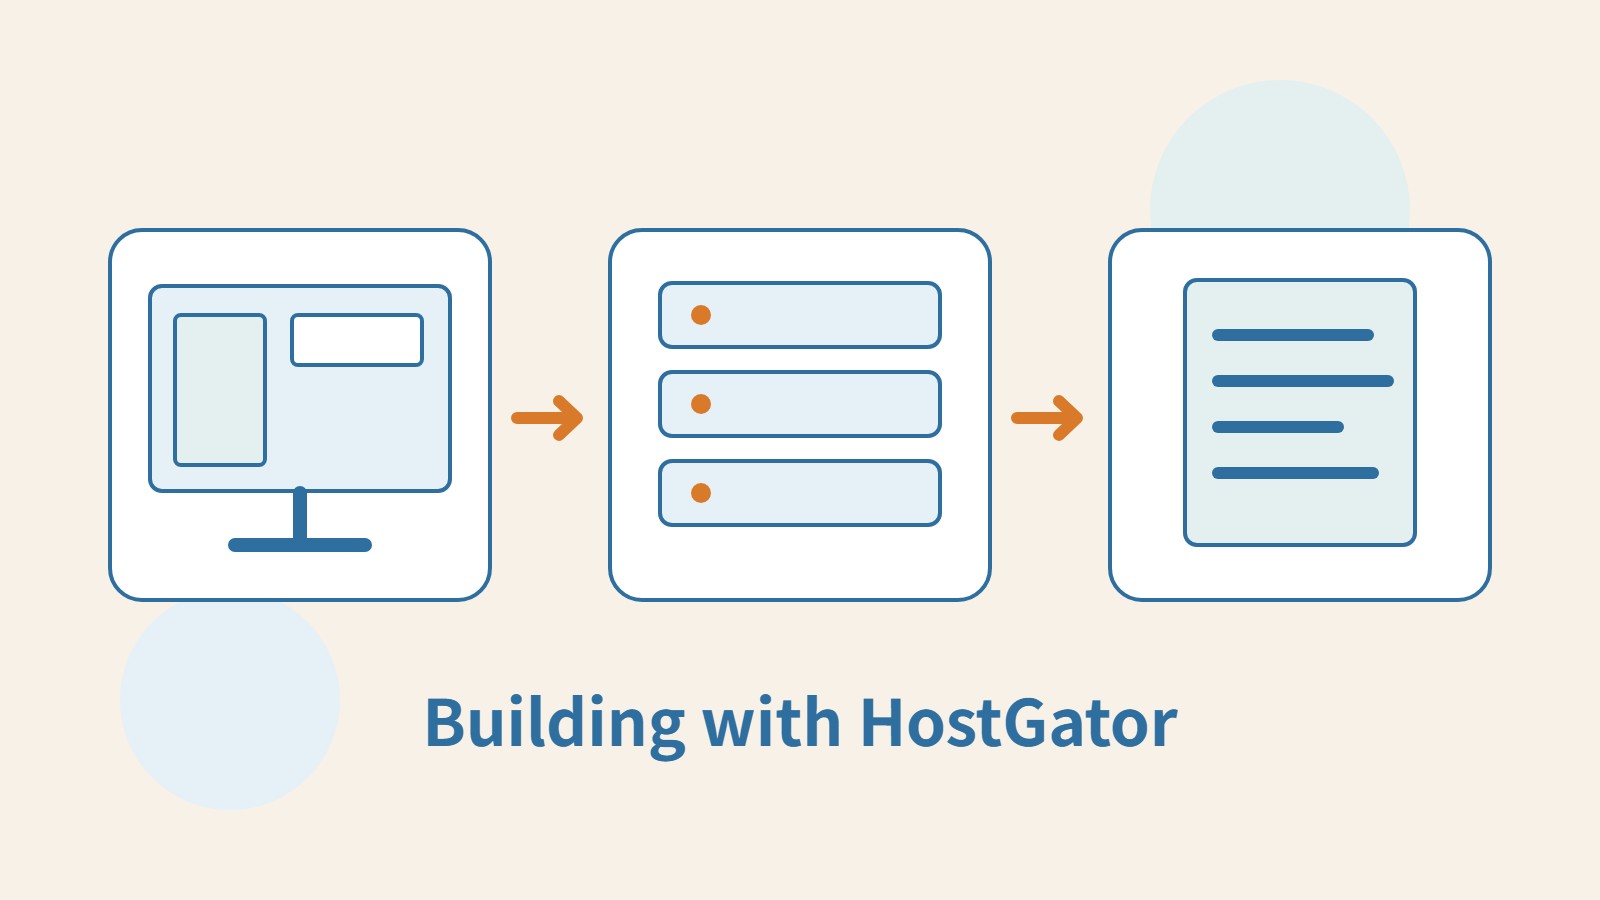
On your first HostGator login, you may see entry points for billing, hosting, websites and domains at the same time. Each serves a different purpose: being able to pay a bill does not mean you can edit articles, and access to WordPress does not mean you control domain renewal. Map the relationships between accounts and services first; collaboration and troubleshooting will be much clearer later.
This guide focuses on creating a new WordPress website and follows HostGator's public instructions; no account was used for hands-on testing. Consider a handmade-goods studio preparing to launch: arrange its portfolio, contact details and responsibility for updates, then complete installation and connection step by step. If you are moving an operating store, you must also plan synchronization of the latest data and how long to retain the old site.
List who manages each service
Create a service register covering the HostGator customer account, WordPress administrators, domain registrar, DNS service and email provider. For each, record the responsible person, account recovery method and expiry date. Keep passwords in a suitable password manager rather than the handover document itself. If a freelancer helps build the site, agree on account ownership and delivery arrangements in advance.
Before buying, list your expected website count, content storage, email, backups and assistance needs, and check initial payments, renewals and add-ons. If the studio currently needs only a portfolio, finish the presentation and inquiry journey first; a setup wizard offering store features is not a reason to activate payments as well. Fewer requirements make the first acceptance check easier to complete thoroughly.
Create WordPress from the customer portal
The current official installation instructions start at Websites in the Customer Portal: click Add Site, choose WordPress, then click Start Setup after installation. If your account has several hosting plans, confirm which plan and location will receive the site. When the screens differ, consult the instructions and support for that plan instead of repeatedly installing to guess which entry point works.
The following steps ask about the site's purpose, name, description and layout preferences, then apply the settings and open WordPress administration. These choices help create initial pages, but you must review the generated content individually. Do not publish sample addresses, services you do not offer or unverifiable customer reviews from a template. A template containing an image does not establish that its usage rights have been checked.
Next, add a real piece of content and try saving a draft, previewing, editing and publishing it, then confirm that you can sign in again. This tests the daily updating process rather than just the completion screen. Reserve administrator accounts for people who need administrative functions, and assign contributors the narrower permissions their work requires. Avoid sharing a single login among everyone.
- Sign in to Customer Portal, confirm the intended plan, then select WordPress through Websites → Add Site.
- Wait for installation, open Start Setup and enter the site's real name and purpose.
- Review the layout, pages and extra features, finish setup and enter WordPress.
- Create test content, verify sign-in, preview and editing, and record the maintenance entry points.
Connecting a domain does not necessarily require changing registrar
HostGator's official explanation says that using its hosting does not require transferring your domain registration to it. A domain transfer changes the registrar relationship; changing nameservers or DNS records changes resolution. If your domain already renews with another company, connect the website according to your setup without also transferring the registrar just to launch it.
In the current Websites interface, a site's Settings lets you connect or manage a domain under Site Information by entering the name you want to use. This associates the site within the platform; external DNS still needs configuration wherever resolution is actually managed. If using HostGator nameservers, read the values provided in your own account. If keeping external DNS, set the required records using the hosting details.
Before changing nameservers, save the existing DNS configuration and identify records needed for email. The studio's inquiry mailbox may use a different provider, so a working homepage must not come at the cost of incoming email. Afterward, check the root domain, www, HTTPS and email separately, and retain the change time and previous values for troubleshooting. DNS caching takes time, but waiting will not automatically correct a wrong destination.
Confirm backup contents and restoration methods
HostGator's backup documentation describes several tools, whose applicability depends on your plan and backup service. In your own account, confirm which data is included, how often backups are made, how long they are retained and how to download them. Website files, databases, email and external services may not be covered by the same backup. Record any missing coverage individually.
The official guidance explains that restoring a full cPanel account backup requires the appropriate privileges or support assistance; not every user can restore one directly from the regular panel. Do not wait for a failure to ask how to use your downloaded files. Understand restoration eligibility, fees and compatibility first, then arrange a suitable practice restore in an isolated environment and record exactly which data was recovered.
Backup files may contain website data and configuration. Store downloads somewhere with restricted access, rather than in a publicly accessible website directory. Obtain a fresh backup before updating an important plugin or changing the layout. If the site continues to receive forms or orders, also understand how restoring an older backup would affect subsequently added data.
Test what visitors will actually do
Open the site in a signed-out browser and on a phone, then move from the homepage to portfolio pages, the contact form and important links. Submit test form data and confirm it reaches the administration system or recipient, then delete unnecessary test records. Images should be clear without needless cropping, and button text should explain what clicking will do.
Group problems into four categories: content, WordPress, domain resolution and hosting services. Save the URL, time and error message. Give support the information it needs while redacting login passwords, keys and customer data. This makes it easier to identify who should handle the issue than simply saying “the website is broken,” and helps prevent several people from changing different settings simultaneously.
Leave a record the next person can use
At handover, have the new maintainer actually sign in, edit a passage, view form results and find the backup instructions. Record who handles updates, billing and the first contact during a failure, and which tasks cost extra. Do not leave administrator rights, domain renewal or image licensing as verbal agreements.
Finally, schedule regular checks of updates, backups, contact details and renewal reminders. When management changes, remove access that is no longer needed and update account contact information through the service's process. Keeping a website usable depends on a repeatable maintenance routine; initial installation simply provides a working starting point for that routine.
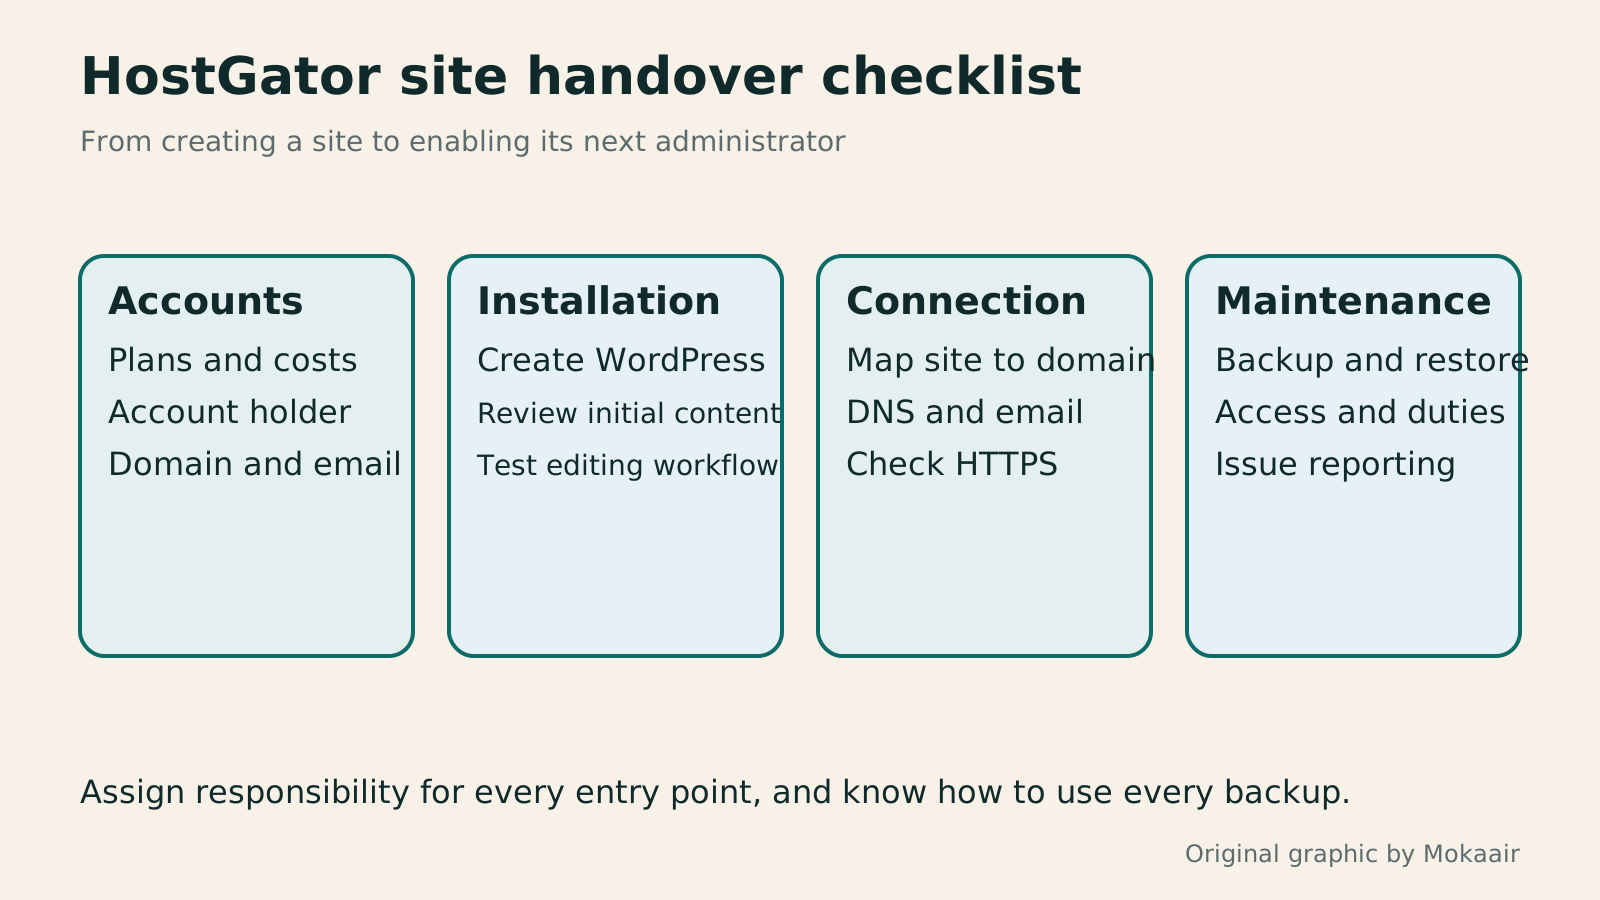
Read the full description
A HostGator website checklist covering the four stages of accounts, installation, connection and maintenance.
| Managed item | Main purpose | Confirm at handover |
|---|---|---|
| Customer Portal | Plans, billing and website access | Account holder and renewal |
| WordPress administration | Articles, layouts and users | Sign-in and editing permissions |
| Domain registrar | Domain ownership and renewal | Contact details and expiry date |
| DNS service | Website and email resolution | Previous records and management location |
| Backup service | Data retention and recovery | Coverage and restoration method |
Before buying a domain: names, ownership and renewal managementBefore You Buy a Domain: Name, Registrant, and Renewal ManagementA domain is the entrance to your website and an important record for email, future moves, and brand identity. This guide covers name choice; the roles of the registrant, registrar, host, and DNS; initial and renewal costs; account protection; and transfer prerequisites. A small-studio management sheet records the holder, notice destination, and handover when collaboration ends, so delegated setup does not leave you with website-admin access but no domain-management control.Read the full article
What website maintenance involves: a routine for backups, updates and issue reportingWhat website maintenance involves: a routine for backups, updates, and incident reportsWebsite maintenance includes more than plugin updates: check content, accounts, backups, outgoing email, and expiring services. Using a small WordPress content site, this guide covers routine observation, pre- and post-update checks, restoration, and incident reports, with a worksheet for owners, editors, and maintainers. Set a schedule by update frequency, identify urgent cases, and keep records the next collaborator can use.Read the full article
Lifestyle
After a WordPress Move: Check Search Traffic, the Old Host, and Renewals
A completed WordPress move still needs checks that the new host is stable, search entry points work, backups can be used, and old services can safely stop. This guide provides a cutover observation checklist, a way to interpret search traffic, an inventory of old-host dependencies, and renewal closeout steps. Individual site owners and studios can retain the information needed for rollback without confusing temporary fluctuations, ending renewal, and immediately deleting a site.
Lifestyle
Move WordPress to a New Host Without Changing the Domain: Migration, Testing, and DNS Cutover
When WordPress moves to a new host, its URLs can stay the same, but files, the database, certificates, and external services still need a handoff. This guide covers preparation of the new host, restricted previews, the final data sync, and DNS cutover in order. A verification table and rollback criteria help individual site owners and studios keep their domain while moving hosts, without canceling the old service before recovery options are secure.
Lifestyle
Changing a WordPress Domain: Check Redirects, Search Signals, and Email
Changing a WordPress domain means handling internal URLs, redirects from old links, search signals, and email together. Starting with a URL mapping, this guide explains how to preview database replacements, check permanent redirects, test sending and receiving on the new domain, and monitor the change after launch. It helps personal brands and studios plan a name change without assuming that editing the WordPress site address completes the move.
Lifestyle
Moving from WordPress.com to Self-Hosted WordPress: Content, Media, and URLs
Before moving a WordPress.com site to self-hosted WordPress, check your plan, domain, and the handoff for each kind of content. This guide covers the options available to free and paid sites, XML export and import, verification of actual image files, subscriber migration, and when Site Redirect is available. It helps individual creators in Taiwan plan the move and identifies features and billing items that need separate attention after the new site is ready.
Latest travel guides

GuideTokyo
Where to Stay in Tokyo: Comparing Shinjuku, Ueno, Tokyo Station, Shibuya, Asakusa, Ikebukuro, and Ginza, Plus Airport Access, Accommodation Tax, and Luggage Delivery
Where should you stay in Tokyo? Compare Shinjuku, Ueno, Tokyo Station, Shibuya, Asakusa, Ikebukuro, and Ginza by the same criteria: access from Narita and Haneda, transit routes, nearby attractions, neighborhood character, and who each area suits. Includes a comparison table, a Yamanote Line diagram, Tokyo’s accommodation tax as verified in 2026/9 (changing to 3% in 2027/4), and Airport TA-Q-BIN luggage shipping rules.
- Budget
- Hotels
GuideTokyo
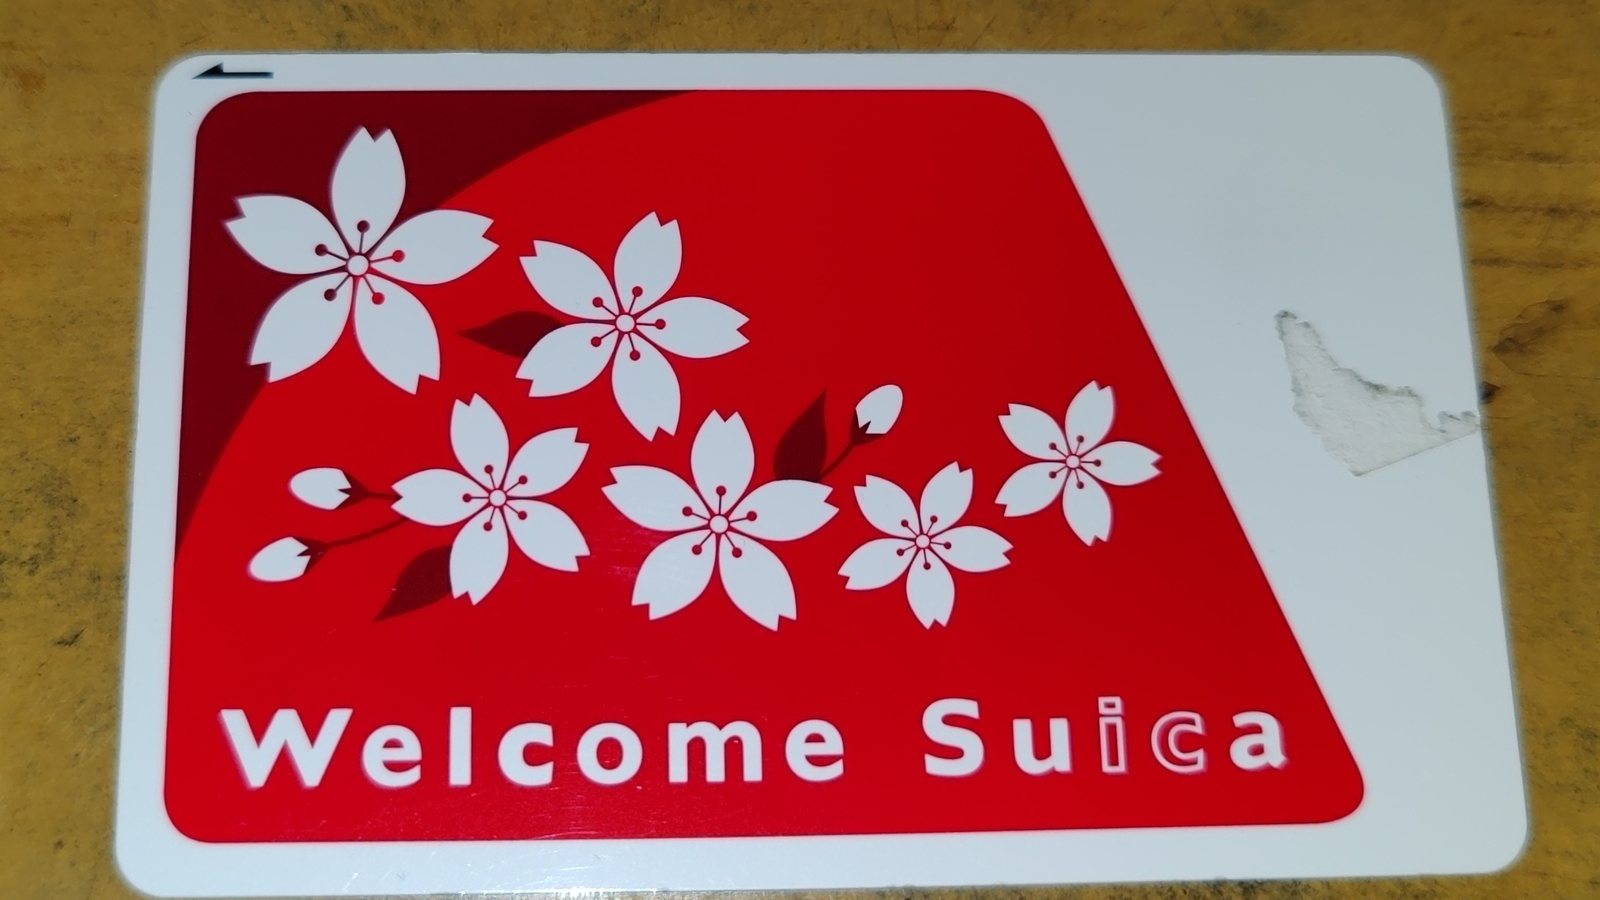
How to Choose Tokyo Transit Passes: Are Suica, Welcome Suica, the Tokyo Subway Ticket, and the JR Pass Worth It?
On a first Tokyo trip, start with an IC card and pay per ride (Welcome Suica has no deposit and is valid for 28 days). If you take four or more subway rides in a day, add a 72-hour Tokyo Subway Ticket for 2,000 yen; a JR Pass is never worthwhile if you stay in Tokyo and do not go to Kansai. See what TOURIST PASMO, Suica on iPhone, and the Tokyo Metro day pass do and do not cover, with a decision chart. Prices verified in September 2026.
- Transport
- Budget

GuideTokyo
Tokyo Disneyland and DisneySea Guide: Ticket Prices, Fantasy Springs, Disney Premier Access (DPA), Standby Pass, and Which Park to Choose for Your First Visit
Tokyo Disney one-day Passport prices vary: most weekdays in 9/2026 cost ¥9,900 and weekends ¥10,900. At 14:00 daily, tickets go on sale for the same date two months later. Free Priority Pass is no longer on the official service list; only paid Disney Premier Access (¥1,000–3,500 per person per use) shortens waits. Covers hours, the 25th anniversary, Standby Pass, Entry Request, Fantasy Springs access and first-visit park choice; checked on the official site in 9/2026.
- Itineraries
- Family
Sources
- HostGator: installing WordPress · Checked:
- HostGator: connecting a domain in Websites · Checked:
- HostGator: domain transfers versus nameserver changes · Checked:
- HostGator: generating and downloading website backups · Checked: