Lifestyle
WordPress Social Login: Checking LINE, Google, and Facebook Connections
Adding LINE, Google, or Facebook login to WordPress takes more than a few buttons. This guide explains how the social-login plugin and provider applications divide the work, how to verify callback URLs, link existing accounts, assign registration roles, and prepare another route before disabling a provider. Using Nextend Social Login as an example, it helps Taiwan-based site owners confirm that ordinary visitors can actually reach their original member accounts.
About 7 min read
Contents
- 1. Check the plugin edition and your membership rules first
- 2. Copy and check the callback URL exactly
- 3. Complete each provider application
- 4. Test an ordinary visitor before showing the buttons
- 5. Link existing accounts instead of merging them casually
- 6. Give members another route before disabling a provider
A reader first registered with an email address, then clicked Google login and found an empty favorites list. Their data may not have been deleted; the site may have created or connected a different account. The core of social login is mapping the provider identity to the right site member while keeping another usable login route.
Start by completing the flow for one provider your readers use, then decide whether to add others. Nextend Social Login is the setup example here, with the main differences among LINE, Google, and Facebook. Provider dashboards change, so use the application’s actual screen labels and review status on the day you configure it.
Check the plugin edition and your membership rules first
The official Nextend plugin page lists Google and Facebook among free providers, while LINE requires a Pro Addon; some membership-form integrations are also paid features. Identify which tool generates your login page and check that specific integration. A free edition showing social buttons does not mean every membership form can use them directly.
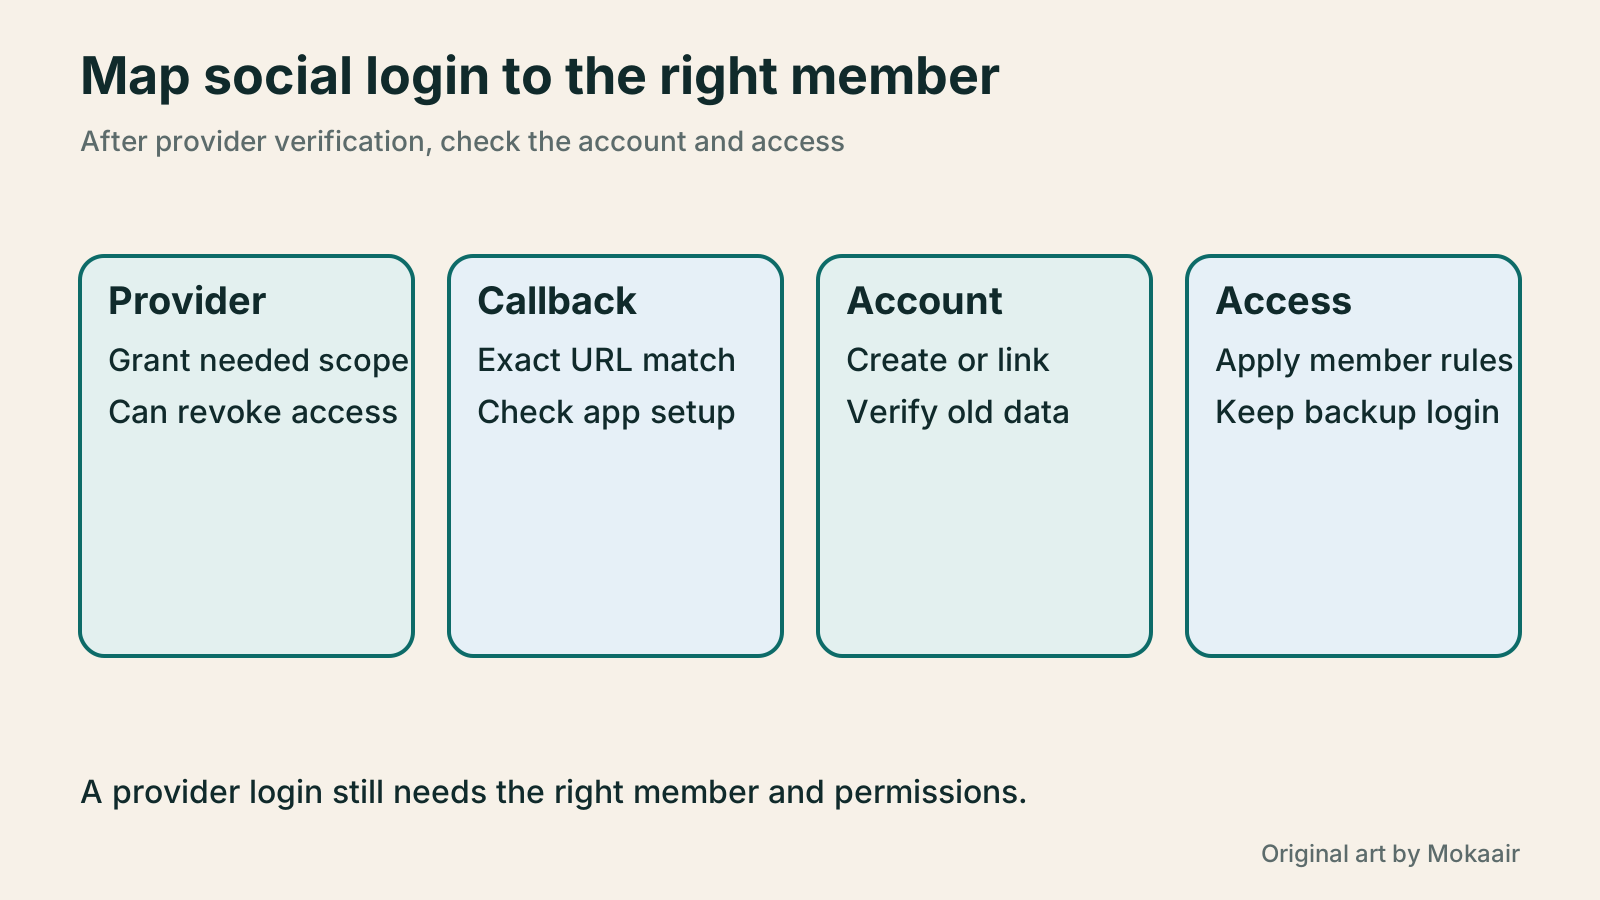
The role granted after social login, whether new members may register, and whether accounts awaiting review may sign in must still follow the existing membership system. If the site requires manual approval, test specifically that a social entry does not bypass it. Receiving data from a provider and gaining membership on the site are separate steps to verify.
- List the providers to support, the source of your membership form, and the plugin edition required.
- Record new-member roles, links to existing accounts, and treatment of accounts awaiting review.
- Create a test application or isolated environment and complete the whole flow for one provider first.
Copy and check the callback URL exactly
Choose a provider in the plugin and read its Getting Started instructions to obtain the required callback URL. Enter that URL when creating the provider application. The callback is where the provider returns the verification result to the site; it is not necessarily the homepage or the member center shown after login. Do not swap those two URLs.
Google explicitly requires redirect_uri to match an approved URL exactly, including scheme, capitalization, and trailing slash. LINE also requires a registered callback in the Channel’s LINE Login settings. When copying it, check whether it belongs to production or testing and whether the plugin uses a proxy page, so you do not import another environment’s settings.
Keep Client Secret or Channel Secret only in the plugin’s designated admin settings or controlled server configuration. Do not paste it into a page, public screenshot, or front-end code. After moving the site, changing its domain, or changing the login URL, update the corresponding callbacks with each provider and test again.
Complete each provider application
For Google login, create a web-application client in a Google Cloud project, set branding information, audience, and authorized redirect URI, then enter Client ID and Secret in the plugin. Request only the data scopes required for login. If the project accesses other services too, assess their extra permissions and verification requirements separately.
For LINE, create a LINE Login Channel, select Web app, and set the callback. If you need an email address, LINE officially requires an Email address permission application and an explanation of the collection purpose. Do not assume every login returns every personal detail; if the site needs a contact email entered later, test that additional flow separately.
For Facebook, Nextend’s current setup chapter covers application creation, privacy and data-deletion information, Business Verification, App Review, and publishing. An older FAQ still describes requirements from a different period, so do not reuse a “no review needed” conclusion. Check the actual requirements and approval state currently shown in Meta’s dashboard.
Test an ordinary visitor before showing the buttons
The plugin’s configuration check can reveal ID, secret, and callback errors, but it cannot prove every user can sign in. A provider’s development or test status may limit eligible accounts. After the required publishing or review is complete, ask an authorized tester to check as an ordinary user.
At minimum, test a first login, a repeat login, refusal to authorize, and returning to the previous page. Someone who declines authorization should reach an understandable login screen with another option, not a blank page or redirect loop. If the expected email address is absent, check how the plugin responds so it does not create a member account that cannot be recovered.
Test mobile entry points separately, including an ordinary browser and pages opened inside a social app. Some providers restrict embedded browsers. Nextend has button handling for unsupported WebViews; you can guide users to open an external browser, but do not promise the same flow works inside every app.
Link existing accounts instead of merging them casually
Nextend can add or remove social accounts from a WordPress profile. For a member who already has important data, a clearer route is to sign in with the original method, link the provider identity in account settings, sign out and back in, then verify that the same data and the same WordPress user appear.
A plugin may match or link accounts automatically. Read the current version’s rules and test matching and different email addresses as well as already-linked accounts on a test site. Do not manually merge members just because two people display the same name. For a conflict, first verify control of both accounts and preserve their data mapping.
Provider identity verification is not a substitute for the site’s permission checks. A reader who can log in should not thereby gain the ability to publish articles or manage other people. Test existing two-factor rules, membership limits, and third-party login integrations through each entry point instead of checking only the traditional password form.
Give members another route before disabling a provider
Before removing a login provider, confirm members have a usable, verified contact route and can set or reset a site password. Unlink a test account and verify it can still reach the same member account. Simply hiding a button can immediately lock out someone who relied on that provider alone.
Signing out of the site, unlinking an account, revoking provider authorization, and deleting member data are different operations. Describe them separately in account guidance and check what the plugin and other services actually retain. The site may still hold an earlier member record after authorization is revoked, so provide a clear data-handling contact route.
When setup is complete, save each provider application owner, callback URL, required scopes, test results, and check date. Route provider notices to someone who continues to manage the site; do not leave an application in a former contractor’s account. When provider rules or versions change, this record shows where to retest.
| Provider | Setup focus | Acceptance check |
|---|---|---|
| Web client and authorized callback | Account selection and ordinary-user login | |
| LINE | Login Channel and email permission | Missing email and mobile return path |
| App permissions, review, and publishing | Usable beyond development accounts | |
| All providers | WordPress account links and roles | Old data, revoked authorization, and backup login |
Complete member registration and account recoveryWordPress Member Registration: Forms, Verification, and Account RecoveryA visible form is only the first step in WordPress member registration. Using Ultimate Member, this guide connects role assignment, email activation, manual review, password resets, and profile visibility. It also explains when LoginPress helps with the appearance of the login page. A full acceptance sequence and troubleshooting table help Taiwan-based site owners build a clear, recoverable membership flow without collecting more data than needed.Read the full article
Plan WordPress user roles
Found this guide helpful? Share it with someone who needs it
Lifestyle
Before Resetting WordPress: Separate Content, Theme Settings, and Full Restore
Starting over in WordPress does not always require wiping the site. This guide compares style resets, content revisions, database resets, and full restores; explains the scope of WP Reset and the limits of its snapshots; and walks through a test site, backup checks, and acceptance after a reset. It helps ordinary users in Taiwan identify the actual problem and choose a suitably narrow action with a recovery plan.
Lifestyle
WordPress Performance Plugins: Caching, Images, and Feature Conflicts
WordPress performance plugins need settings matched to the actual site; enabling every option at once is unsafe. Using a small Taiwan-based course and shop site, this guide compares WP Rocket and NitroPack, divides responsibility for caching and images, and shows how to diagnose conflicts caused by CSS and JavaScript optimization. A comparison table, staged workflow, and original diagram help administrators retain a measurement baseline and verify forms, menus, and shopping flows.
Lifestyle
Handling WordPress Comment Spam: Review Rules and Akismet
Stopping spam in WordPress comments takes sensible moderation rules and a way to correct mistakes, as well as a plugin. This guide covers discussion settings, Akismet activation and plan eligibility, reporting spam, and rescuing legitimate comments. Its daily review checklist helps small-site owners reduce the workload while leaving room for readers with real questions to join the discussion.
Lifestyle
Build a personal blog with WordPress: from categories to your first post
To start a personal blog, decide what questions you want to answer over time, then plan the homepage, post list and basic pages. Using WordPress as an example, this guide develops a writing workflow from content categories and reading layouts through the first post and later updates. It also covers checks for post cards, pagination and comments. It is for readers in Taiwan who want to turn their notes into public content: finish a small but complete site first, then add features as needed.
Sources
- Official Nextend plugin featuresChecked:
- Nextend LINE setupChecked:
- Integrating LINE Login with a websiteChecked:
- Nextend Google setupChecked:
- Google web OAuth flowChecked:
- Nextend Facebook setupChecked:
- Nextend general settingsChecked:
Compiled from the references and verification dates listed above; fares, schedules, product features, and terms can change, so please confirm the latest details on the relevant official website before travelling, booking, or purchasing.