Lifestyle
WordPress contact forms: fields, spam protection, and delivery checks
A contact form must be easy for visitors to complete and reliable for the site owner to receive and follow up. Using Contact Form 7, this guide covers field design, mail templates, reply addresses, Turnstile spam protection, and message storage with Flamingo. It gives Taiwan-based small-site owners phone and inbox checks so an on-screen success message is never mistaken for a completed contact process.
About 7 min read
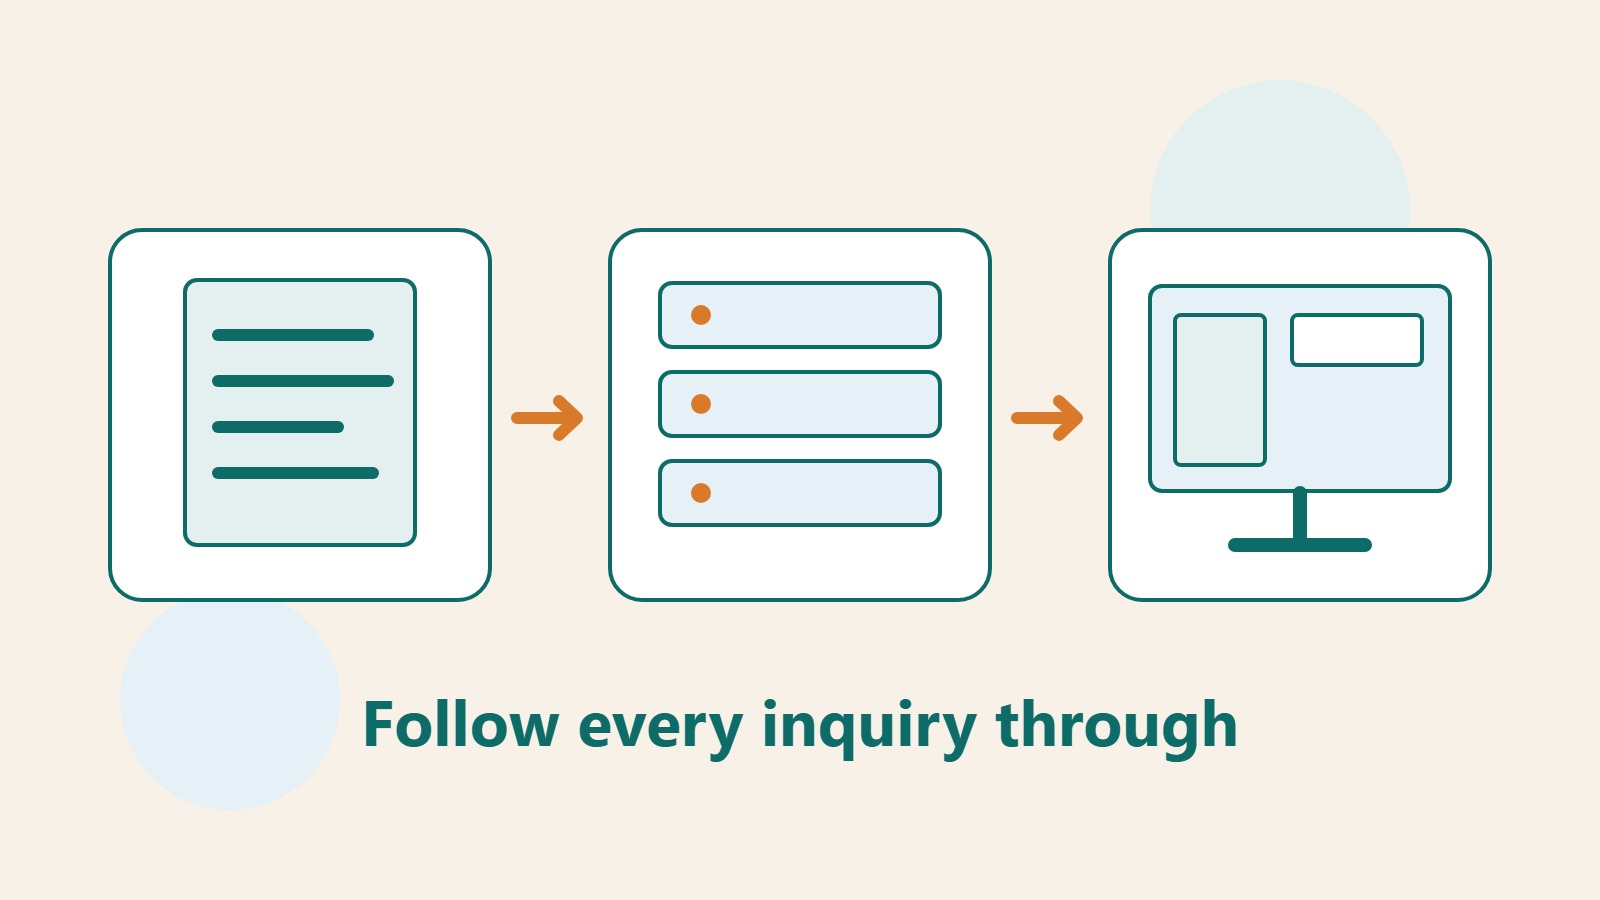
A studio website has a contact form, but nobody is assigned to check its inbox—or the notification contains a name but omits what the visitor needs. Problems like these often delay replies more than the form's appearance does. Before designing it, answer three questions: what information is needed, who receives the message, and when it will be handled.
The example below uses a general service-inquiry form to explain how to configure Contact Form 7. Completion means checking entry, notification, storage, and reply. Verify each step with a test message before placing the form in the main navigation.
Start with a small set of purposeful fields
An initial version can ask for a name, email address, inquiry type, and message. Make a phone number mandatory only if a call is genuinely needed. Do not require a full address or identity information from someone making a first inquiry just to collect everything at once. For every added field, be able to say who will use it and why.
Mark required and optional fields in their labels rather than relying on color alone. Give a clear email example; the message field can prompt visitors to mention the service and a suitable contact time, while asking them not to enter passwords or unnecessary sensitive details. Unless attachments serve a defined need, leave uploads out of the first version to keep it manageable.
Above the form, state your reply hours and an alternative way to get in touch. Promise only what your team can do, such as reviewing inquiries on working days, rather than automatically promising a reply within an hour. Explain before visitors spend time filling in the form whether urgent matters should use another channel.
Create the form and put it on a contact page
After installing and activating Contact Form 7, manage forms under Contact > Contact Forms. Add or duplicate a test form and use the field generator on the Form tab. Give each field a distinct, recognizable name because the mail template uses that name to retrieve the submitted value.
For example, the field your-email corresponds to the mail-tag [your-email]. If you rename a field, update the Mail tab too; otherwise the page may collect the answer while the email still refers to the old name. Wrap inputs in visible labels instead of relying only on placeholder text that disappears as someone types.
- Create an inquiry form with clearly named fields, required entries, and choices.
- Add the Contact Form 7 block to the contact page and select the form, or use its shortcode.
- Save the page, open it in a signed-out window, and check the fields, line breaks, and submit button.
Set the notification recipient and reply direction correctly
The To field on the Mail tab is the inbox for notifications and should be managed by the person responsible for responding. Following the plugin's guidance, use an address on your own site's domain for From and align it with the sending service's verification. Do not use a visitor's Gmail or other outside address as the site's sender; that can create a mismatch in sender identity.
To let support staff reply directly to the visitor, set Reply-To in Additional headers using the email field's mail-tag. List every needed value in the message body, including inquiry type and message. Keep a fixed identifier in the subject so the work inbox can route it, and avoid blank or vague notifications.
Mail (2) can send an automatic response, but the plugin says it sends only after the primary Mail succeeds. The response can explain that an inquiry was received and how it will be handled; it should not imply that a booking or transaction is confirmed. A visitor may mistype an address, so avoid repeating sensitive details at length in the auto-reply and configure abuse protection.
Check notifications and message storage separately
Contact Form 7 does not store submitted messages by itself. If you need a way to trace inquiries when email fails, consider Flamingo, from the same author, which stores form messages in the database. This adds a separate data-retention duty: decide who can view the messages, how long to keep them, and how to dispose of data that is no longer needed.
After enabling Flamingo, inspect the test message under Inbound Messages. If you customized field names, the official flamingo_email, flamingo_name, and flamingo_subject settings map values to its list. Confirm the displayed sender and subject make sense instead of checking only that a database row exists.
The plugin also offers do_not_store for forms that should not be retained. Whichever policy you choose, explain the data flow on the site: the type of work inbox receiving messages, whether the website stores them, and who handles them. Storage does not replace regular inbox checks or guarantee delivery to an inbox.
Add spam protection while keeping a route for real people
Current Contact Form 7 versions include a Cloudflare Turnstile integration. Follow its instructions to create a Turnstile widget and obtain a site key and secret key, then enter them under Contact > Integration. The standard integration does not require embedding the verification script yourself. Put keys in the integration settings, never in an article or support conversation.
After enabling Turnstile, test the form on a phone and in different browsers. If verification does not load, investigate caching, the content security policy, or other script restrictions instead of asking visitors to resubmit repeatedly. Provide a clear alternative contact route so legitimate inquiries do not stop entirely when the protection tool fails.
If a specific consent is needed, use an acceptance field and explain its purpose next to the checkbox. Keep the contact inquiry separate from an optional subscription; avoid preselecting a box or combining distinct purposes under one vague choice. These are form-design principles. Confirm actual notices and retention arrangements against your site's data-handling context.
Use one test checklist to complete acceptance
At minimum, test valid entries, missing required fields, a malformed email address, longer text, and switching the phone keyboard. Navigate with Tab and check that focus order is sensible and errors identify the field to fix. After submission, explain what happens next so visitors do not send the form repeatedly because the page seems unresponsive.
Check notifications and automatic replies with different receiving services. Verify the subject, every field, Reply-To, and spam folder. If storage is enabled, compare the same test record there too. A unique test phrase connecting the page, email, and admin record shows which step failed and prevents you from replacing several plugins at once.
Finally, assign a regular reviewer and backup. Retest after a site move, sending-service change, or form update. Remove test data periodically and reconsider unnecessary fields so the contact page stays easy to complete, easy to handle, and easy to diagnose.
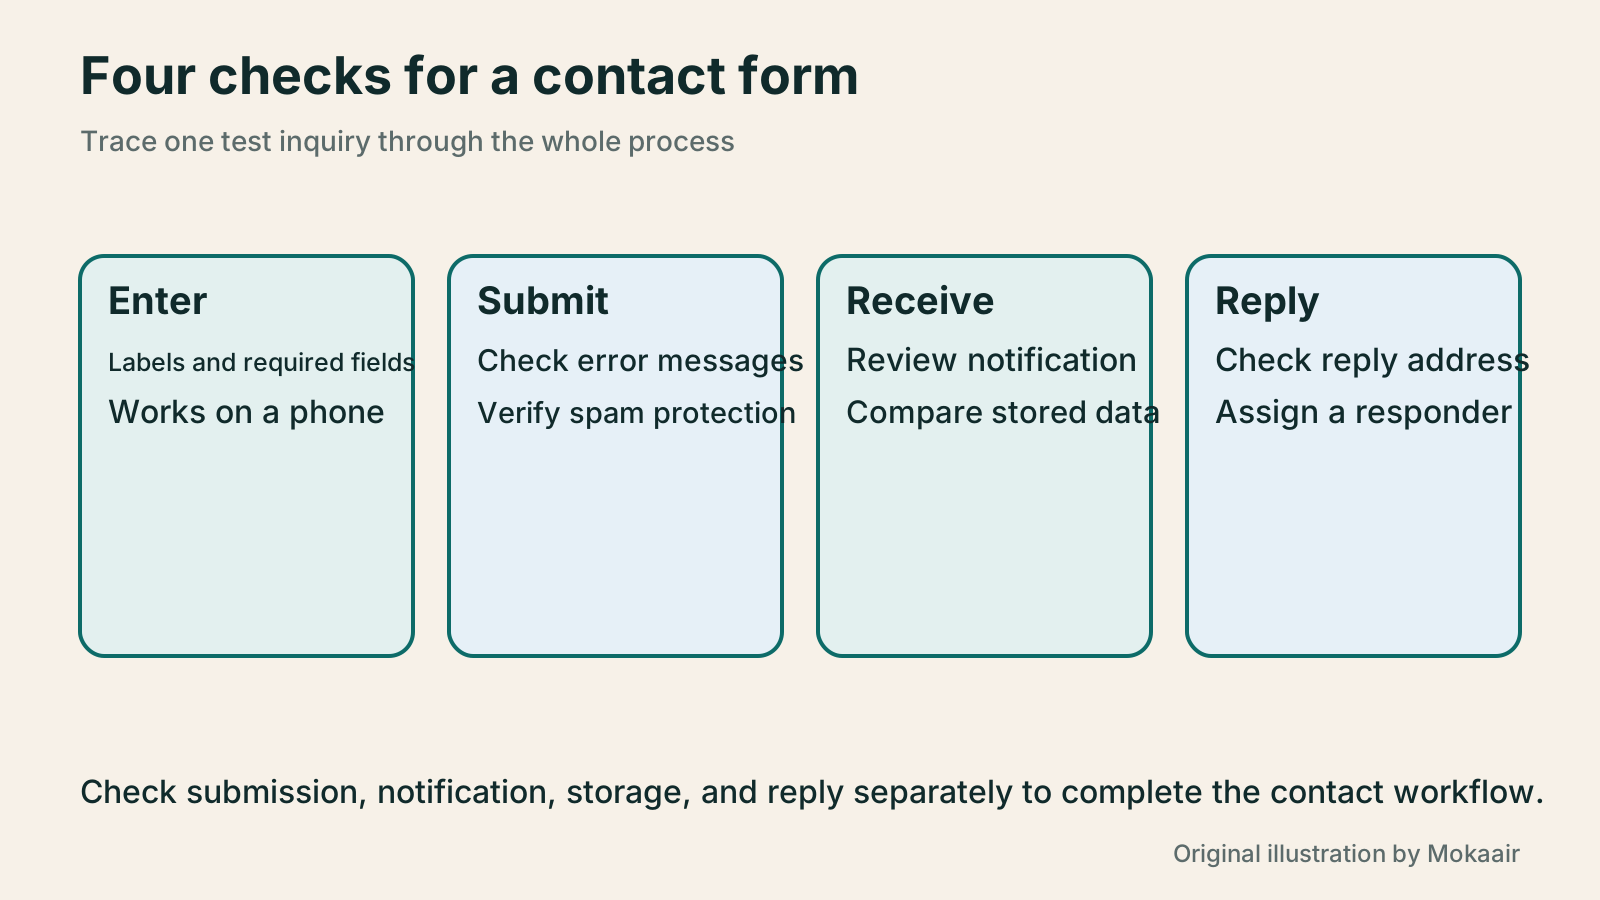
| Where to check | What it establishes | What to check next |
|---|---|---|
| Visitor's success message | The form reports the result of this submission | Whether the notification arrived |
| Notification and auto-reply | The relevant messages reached those mailboxes | Complete content and reply address |
| Flamingo admin record | The site stored the message | Access, handling responsibility, and retention |
Review website user permissions
Correct Traditional Chinese wording in plugin interfaces
Lifestyle
After a WordPress Move: Check Search Traffic, the Old Host, and Renewals
A completed WordPress move still needs checks that the new host is stable, search entry points work, backups can be used, and old services can safely stop. This guide provides a cutover observation checklist, a way to interpret search traffic, an inventory of old-host dependencies, and renewal closeout steps. Individual site owners and studios can retain the information needed for rollback without confusing temporary fluctuations, ending renewal, and immediately deleting a site.
Lifestyle
Move WordPress to a New Host Without Changing the Domain: Migration, Testing, and DNS Cutover
When WordPress moves to a new host, its URLs can stay the same, but files, the database, certificates, and external services still need a handoff. This guide covers preparation of the new host, restricted previews, the final data sync, and DNS cutover in order. A verification table and rollback criteria help individual site owners and studios keep their domain while moving hosts, without canceling the old service before recovery options are secure.
Lifestyle
Changing a WordPress Domain: Check Redirects, Search Signals, and Email
Changing a WordPress domain means handling internal URLs, redirects from old links, search signals, and email together. Starting with a URL mapping, this guide explains how to preview database replacements, check permanent redirects, test sending and receiving on the new domain, and monitor the change after launch. It helps personal brands and studios plan a name change without assuming that editing the WordPress site address completes the move.
Lifestyle
Moving from WordPress.com to Self-Hosted WordPress: Content, Media, and URLs
Before moving a WordPress.com site to self-hosted WordPress, check your plan, domain, and the handoff for each kind of content. This guide covers the options available to free and paid sites, XML export and import, verification of actual image files, subscriber migration, and when Site Redirect is available. It helps individual creators in Taiwan plan the move and identifies features and billing items that need separate attention after the new site is ready.
Articles that cite this one
Latest travel guides

GuideTokyo
Where to Stay in Tokyo: Comparing Shinjuku, Ueno, Tokyo Station, Shibuya, Asakusa, Ikebukuro, and Ginza, Plus Airport Access, Accommodation Tax, and Luggage Delivery
Where should you stay in Tokyo? Compare Shinjuku, Ueno, Tokyo Station, Shibuya, Asakusa, Ikebukuro, and Ginza by the same criteria: access from Narita and Haneda, transit routes, nearby attractions, neighborhood character, and who each area suits. Includes a comparison table, a Yamanote Line diagram, Tokyo’s accommodation tax as verified in 2026/9 (changing to 3% in 2027/4), and Airport TA-Q-BIN luggage shipping rules.
- Budget
- Hotels
GuideTokyo
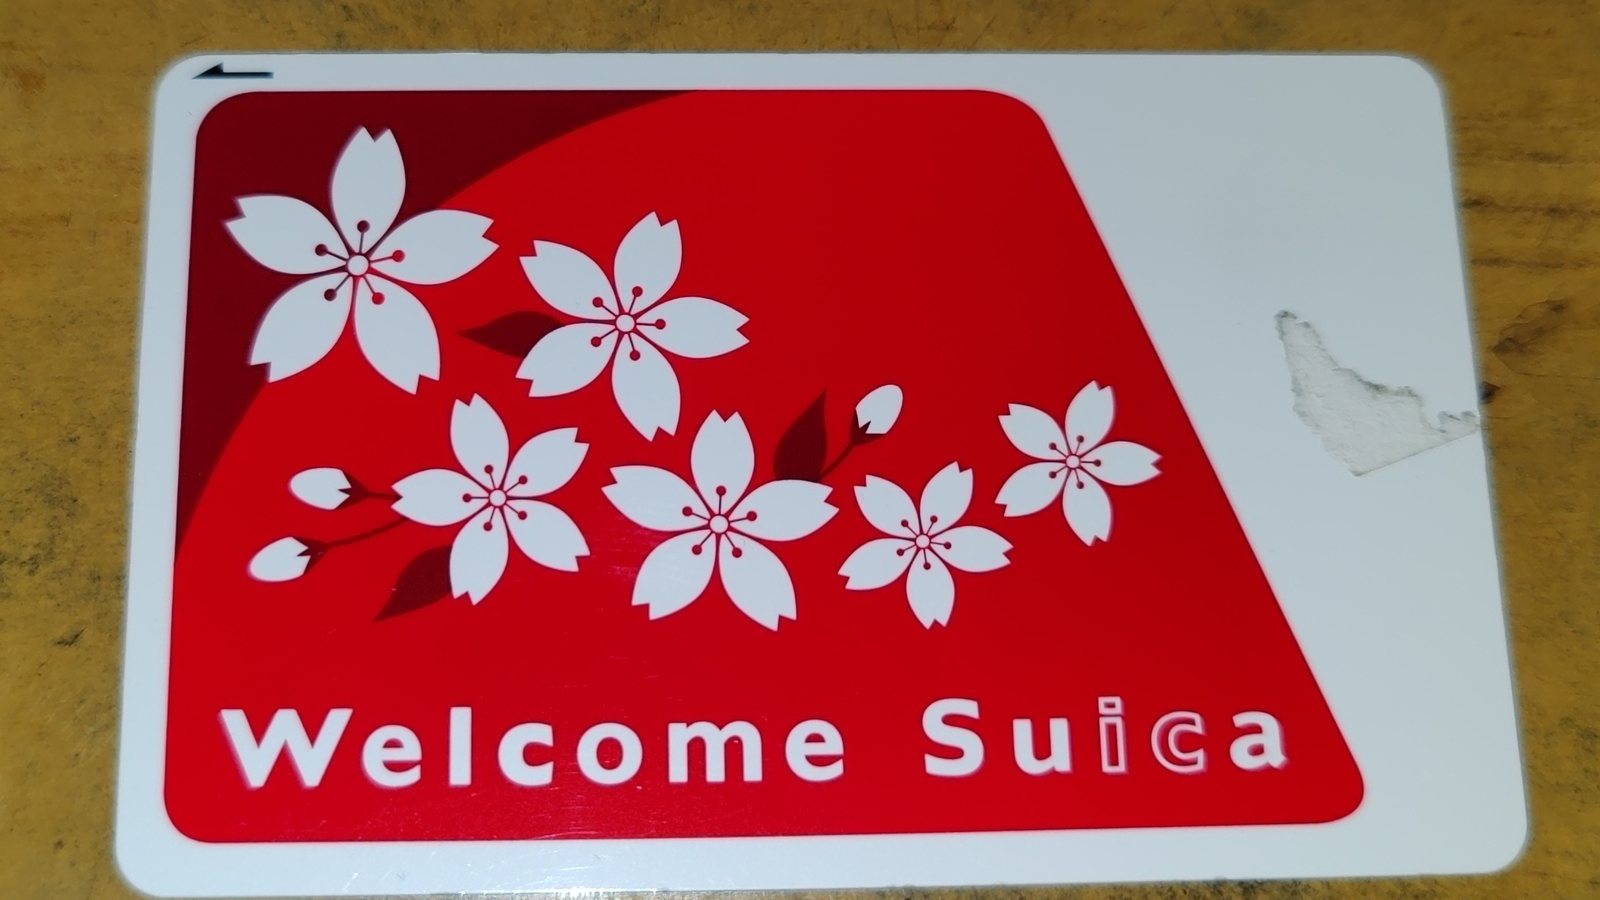
How to Choose Tokyo Transit Passes: Are Suica, Welcome Suica, the Tokyo Subway Ticket, and the JR Pass Worth It?
On a first Tokyo trip, start with an IC card and pay per ride (Welcome Suica has no deposit and is valid for 28 days). If you take four or more subway rides in a day, add a 72-hour Tokyo Subway Ticket for 2,000 yen; a JR Pass is never worthwhile if you stay in Tokyo and do not go to Kansai. See what TOURIST PASMO, Suica on iPhone, and the Tokyo Metro day pass do and do not cover, with a decision chart. Prices verified in September 2026.
- Transport
- Budget

GuideTokyo
Tokyo Disneyland and DisneySea Guide: Ticket Prices, Fantasy Springs, Disney Premier Access (DPA), Standby Pass, and Which Park to Choose for Your First Visit
Tokyo Disney one-day Passport prices vary: most weekdays in 9/2026 cost ¥9,900 and weekends ¥10,900. At 14:00 daily, tickets go on sale for the same date two months later. Free Priority Pass is no longer on the official service list; only paid Disney Premier Access (¥1,000–3,500 per person per use) shortens waits. Covers hours, the 25th anniversary, Standby Pass, Entry Request, Fantasy Springs access and first-visit park choice; checked on the official site in 9/2026.
- Itineraries
- Family
Sources
- Getting started with Contact Form 7 · Checked:
- Setting up mail templates · Checked:
- Best practices for sender and reply addresses · Checked:
- Storing messages with Flamingo · Checked:
- Official Turnstile integration · Checked:
- Acceptance checkbox field · Checked: