Lifestyle
WordPress contact buttons: LINE, customer support, and alternatives to the old Messenger plugin
A contact button should lead visitors to a channel someone actually handles without blocking key actions on a phone. This guide shows a small Taiwanese website how to plan LINE Official Account links, support and form entry points, replace the old Messenger Chat Plugin, and test offline hours, device differences, and removal of old code.
About 7 min read
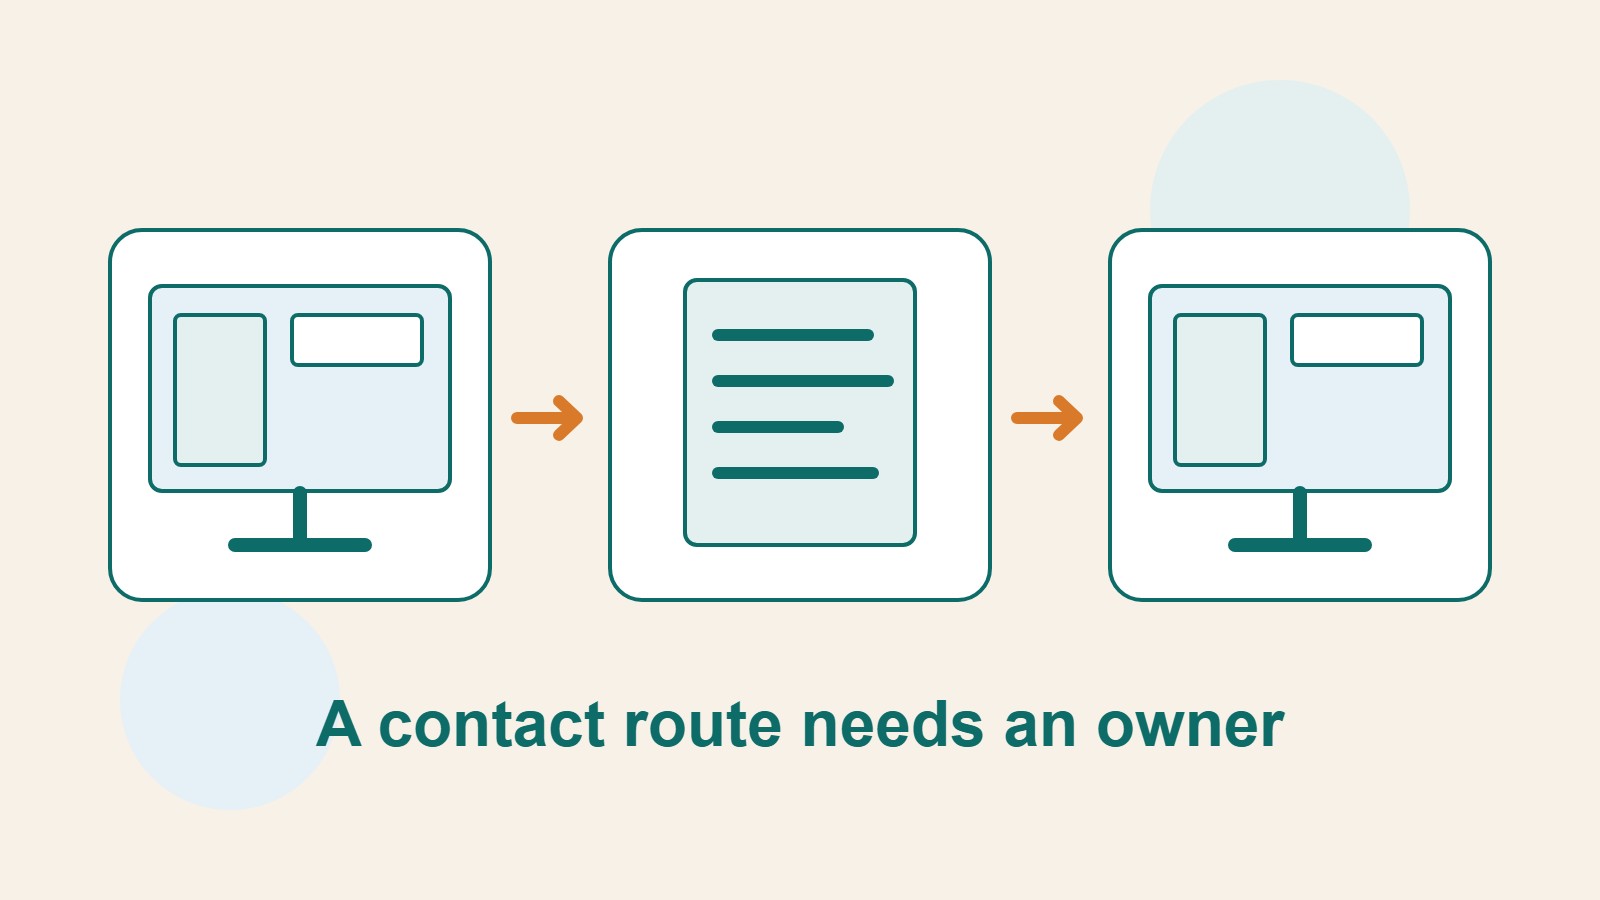
A chat bubble sits at the bottom right of a website, but nothing happens when a visitor opens it. Or a visitor sees “Contact us now” at midnight and receives no reply. These problems involve more than plugins: entry-point wording, device support, and the team’s process matter too. Decide where staff will answer before choosing buttons for the site.
For a small studio in Taiwan, a LINE Official Account can be the mobile contact entry point while the website keeps a form. The goal is not to crowd the screen with every messaging platform, but to give visitors on different devices a path they can complete.
State the purpose of each contact route and who handles it
List common visitor questions first, such as service coverage, available booking times, and the status of an existing case. General inquiries can go to LINE; matters requiring more detail can use a form or email. If different people handle each route, label its purpose so visitors do not send the same inquiry several times because they cannot choose.
Button text should describe the action, such as “Ask us on LINE” or “Describe your service request”; that is clearer than an icon alone. Do not promise an immediate reply when nobody is on live duty. State response hours and what happens next near the entry point, and keep another contact option available.
Plan customer-data retention and handover together. Business inquiries should go to an organization-controlled account, not a former colleague’s personal chat account. Assign at least a primary owner and a backup, and confirm both know how to check new messages.
Use links supplied by LINE
Check the Official Account ID in LINE Official Account Manager, then use an add-friend link supplied by its interface or a URL supported in official documentation. Different LINE URLs do different things: some open an account page, while others open an Official Account chat. Decide what the visitor should accomplish before choosing one.
LINE Developers documents a chat link built from https://line.me/R/oaMessage/ followed by the encoded account ID. If you add prefilled text, percent-encode both the account and the text correctly. Prefilling only puts text in the input field; the user still decides whether to send it. A button click is not proof that an inquiry was received.
LINE currently recommends the HTTPS form of its URL scheme and has deprecated the old line:// scheme. These URLs support LINE on iOS and Android, while the documentation says LINE for desktop is unsupported. Offer desktop visitors another route, such as an add-friend QR code, account details, or a working form; do not promise every device will open a chat directly.
Start with a standard button
Add a Button block to a WordPress page, write an explicit label, and paste the verified official link. Place it after the service description or on the contact page so visitors understand its purpose before clicking. An external link alone does not justify installing a full support suite with extensive tracking and automatic pop-ups.
If the whole site needs a floating button, choose a maintained tool that can limit where it appears. Configure its position, label, and on/off settings on a test site first. Enable only channels someone manages, and check for duplicate loading of the same platform’s code. Before paying, verify which placement or device rules require a paid tier.
- Confirm the destination account and URL, then make a recognizable button on the contact page.
- Test on a phone with LINE installed and confirm it opens the correct Official Account.
- Test without LINE and on desktop too; an installation prompt is not a successful chat.
Replace the old Messenger Chat Plugin
Do not reinstall the old Facebook Chat Plugin from an outdated tutorial just because its directory page still exists. The changelog of Facebook’s WooCommerce integration records removal of the discontinued Messenger Chat feature in 2024, while the old plugin page retains historical installation instructions. An existing document does not establish that the feature still suits a current website.
If the team still handles messages in Messenger, obtain and actually test a contact link that works for its current account and sends visitors to the platform. If conversations must happen within the website, assess a maintained customer-support service and a form instead. These approaches differ in account requirements, data retention, and cost; choose according to the need.
Before replacing the bubble, identify where it loads: a plugin, theme setting, header or footer code, or tag manager may be responsible. Build and verify the new route before disabling the old Chat-specific component. Shared Meta code may support other features; do not remove every related integration at once.
Check whether floating controls cover mobile actions
Open the service page, form page, and a page with bottom navigation on a narrow screen. See whether the button covers Submit, Next, cookie choices, or Back to top, and whether an expanded chat panel can be closed. If it obscures a primary action, move it or disable the floating control on that page.
Test with the phone keyboard open too. A control fixed at the bottom of the viewport may move as the visible area changes and make the form hard to use. Desktop can show a fuller panel on the right, while mobile can use a compact button; the two layouts need not have identical size or expansion behavior.
Give the button an accessible name, visible keyboard focus, and sufficient contrast; do not rely on hover alone for its explanation. The label should warn users when it opens an external app. If a chat panel pops up automatically, check whether it interrupts reading or repeatedly reappears.
Test the staff handoff after contact
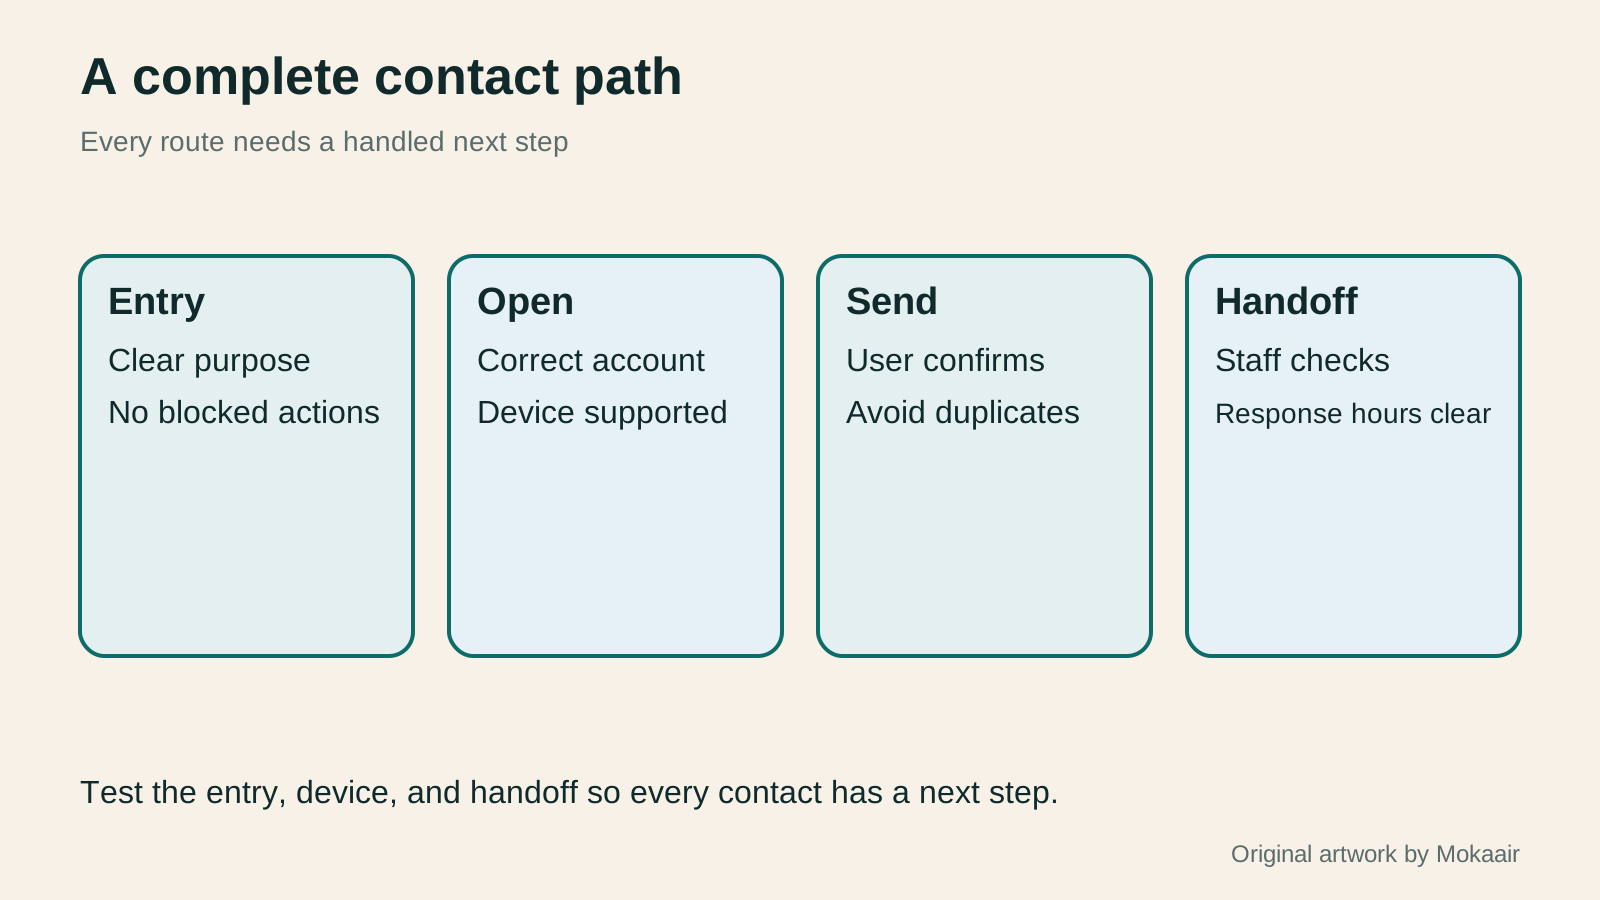
Send one test inquiry through the complete path: click, open the channel, send, and confirm staff receipt. Check whether support staff can tell which service page the visitor came from. If the source needs to be prefilled, include only brief useful context; do not put personal data, account credentials, or full browsing history into the URL.
Test automated replies outside staffed hours. They should explain when someone will check the message and what other routes are available. An automated reply is neither human acceptance nor confirmation of a booking. A clear next step reduces repeated messages and misunderstandings while visitors wait.
Finally, record each button’s location, destination account, responsible staff, and test date. Repeat acceptance checks after an account change, plugin update, or mobile redesign. If nobody temporarily handles a route, change its wording or send visitors to a form so every public button leads to sustainable service.
| Entry point | Suitable need | Limits to verify |
|---|---|---|
| LINE Official Account link | General inquiries on a phone | Device support, correct account, and staffed handoff |
| Website contact form | Structured details or asynchronous handling | Submission, notification, and data retention |
| On-site support service | Conversation must stay on the site | Staffing, privacy, cost, and mobile layout |
| External platform contact link | Team already uses that platform | Login requirements and actual destination |
Build a trackable WordPress contact formWordPress contact forms: fields, spam protection, and delivery checksA contact form must be easy for visitors to complete and reliable for the site owner to receive and follow up. Using Contact Form 7, this guide covers field design, mail templates, reply addresses, Turnstile spam protection, and message storage with Flamingo. It gives Taiwan-based small-site owners phone and inbox checks so an on-screen success message is never mistaken for a completed contact process.Read the full article
Troubleshoot broken social-content embeds
Lifestyle
After a WordPress Move: Check Search Traffic, the Old Host, and Renewals
A completed WordPress move still needs checks that the new host is stable, search entry points work, backups can be used, and old services can safely stop. This guide provides a cutover observation checklist, a way to interpret search traffic, an inventory of old-host dependencies, and renewal closeout steps. Individual site owners and studios can retain the information needed for rollback without confusing temporary fluctuations, ending renewal, and immediately deleting a site.
Lifestyle
Move WordPress to a New Host Without Changing the Domain: Migration, Testing, and DNS Cutover
When WordPress moves to a new host, its URLs can stay the same, but files, the database, certificates, and external services still need a handoff. This guide covers preparation of the new host, restricted previews, the final data sync, and DNS cutover in order. A verification table and rollback criteria help individual site owners and studios keep their domain while moving hosts, without canceling the old service before recovery options are secure.
Lifestyle
Changing a WordPress Domain: Check Redirects, Search Signals, and Email
Changing a WordPress domain means handling internal URLs, redirects from old links, search signals, and email together. Starting with a URL mapping, this guide explains how to preview database replacements, check permanent redirects, test sending and receiving on the new domain, and monitor the change after launch. It helps personal brands and studios plan a name change without assuming that editing the WordPress site address completes the move.
Lifestyle
Moving from WordPress.com to Self-Hosted WordPress: Content, Media, and URLs
Before moving a WordPress.com site to self-hosted WordPress, check your plan, domain, and the handoff for each kind of content. This guide covers the options available to free and paid sites, XML export and import, verification of actual image files, subscriber migration, and when Site Redirect is available. It helps individual creators in Taiwan plan the move and identifies features and billing items that need separate attention after the new site is ready.
Latest travel guides

GuideTokyo
Where to Stay in Tokyo: Comparing Shinjuku, Ueno, Tokyo Station, Shibuya, Asakusa, Ikebukuro, and Ginza, Plus Airport Access, Accommodation Tax, and Luggage Delivery
Where should you stay in Tokyo? Compare Shinjuku, Ueno, Tokyo Station, Shibuya, Asakusa, Ikebukuro, and Ginza by the same criteria: access from Narita and Haneda, transit routes, nearby attractions, neighborhood character, and who each area suits. Includes a comparison table, a Yamanote Line diagram, Tokyo’s accommodation tax as verified in 2026/9 (changing to 3% in 2027/4), and Airport TA-Q-BIN luggage shipping rules.
- Budget
- Hotels
GuideTokyo
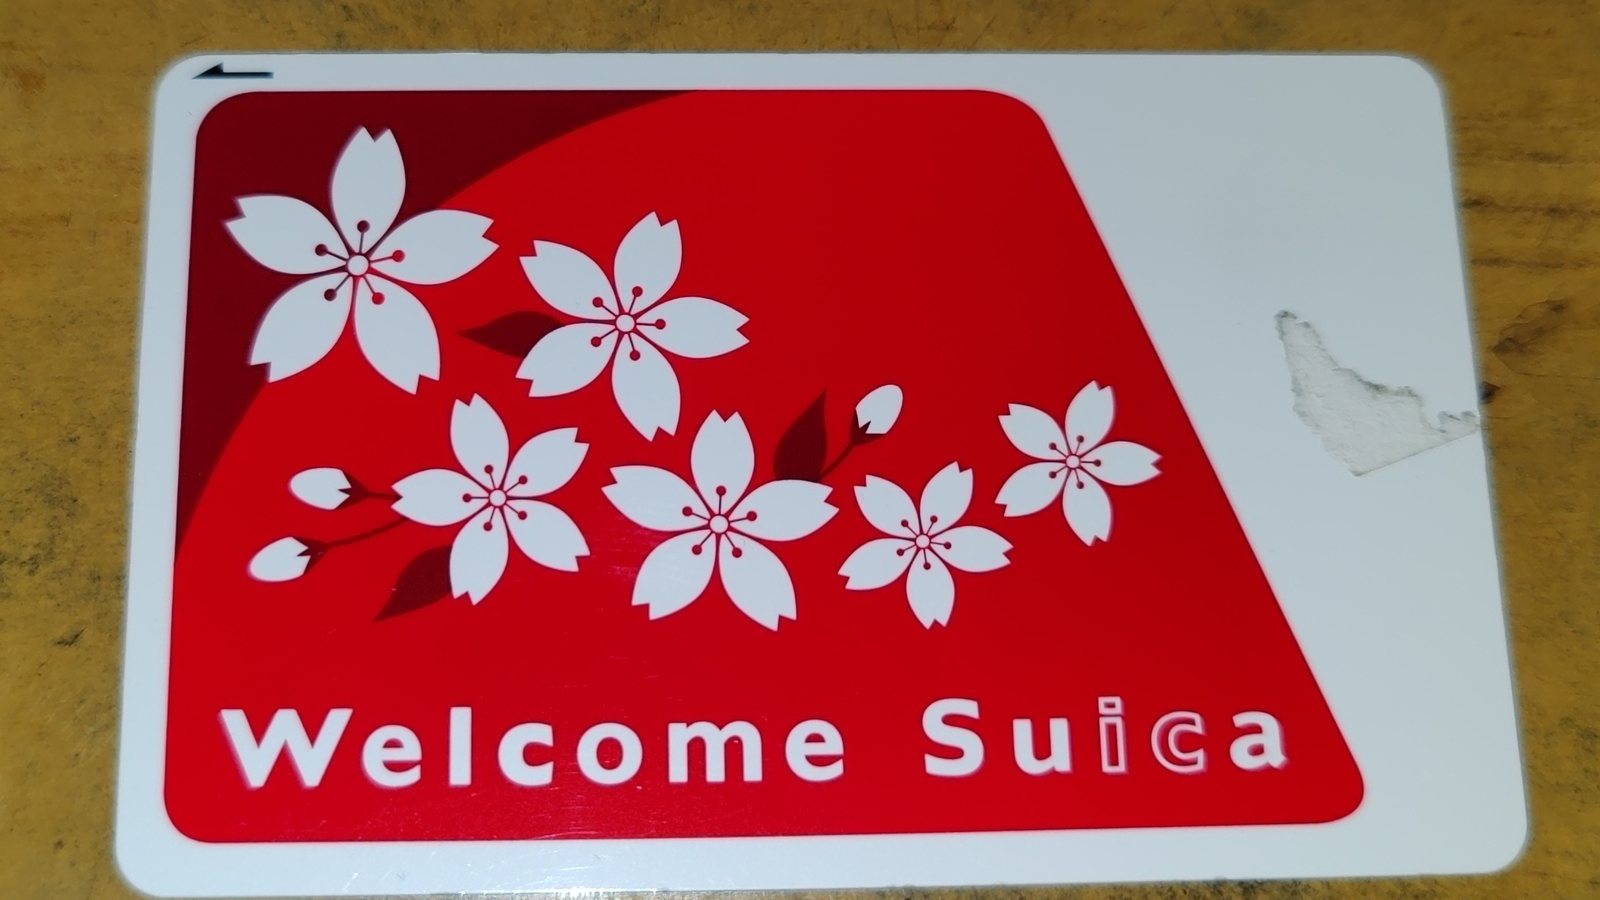
How to Choose Tokyo Transit Passes: Are Suica, Welcome Suica, the Tokyo Subway Ticket, and the JR Pass Worth It?
On a first Tokyo trip, start with an IC card and pay per ride (Welcome Suica has no deposit and is valid for 28 days). If you take four or more subway rides in a day, add a 72-hour Tokyo Subway Ticket for 2,000 yen; a JR Pass is never worthwhile if you stay in Tokyo and do not go to Kansai. See what TOURIST PASMO, Suica on iPhone, and the Tokyo Metro day pass do and do not cover, with a decision chart. Prices verified in September 2026.
- Transport
- Budget

GuideTokyo
Tokyo Disneyland and DisneySea Guide: Ticket Prices, Fantasy Springs, Disney Premier Access (DPA), Standby Pass, and Which Park to Choose for Your First Visit
Tokyo Disney one-day Passport prices vary: most weekdays in 9/2026 cost ¥9,900 and weekends ¥10,900. At 14:00 daily, tickets go on sale for the same date two months later. Free Priority Pass is no longer on the official service list; only paid Disney Premier Access (¥1,000–3,500 per person per use) shortens waits. Covers hours, the 25th anniversary, Standby Pass, Entry Request, Fantasy Springs access and first-visit park choice; checked on the official site in 9/2026.
- Itineraries
- Family
Sources
- LINE: URL scheme support and limitations · Checked:
- LINE: Official Account chat links · Checked:
- LINE: Official Account add-friend entry points · Checked:
- Facebook official integration changelog · Checked:
- Historical Facebook Chat Plugin page · Checked: