Lifestyle
What to check before building or migrating a website with SiteGround
A new SiteGround website and a migration of existing WordPress need different preparation. Check the plan, backups and test environment before buying. Using official documentation, this guide covers new-site setup, Migrator and Staging, plus content, email and user-flow checks before switching over. A timeline should preserve the old site and a recovery path, so a completed copy is not mistaken for a completed migration or used to overwrite newer orders on the live site.
About 7 min read
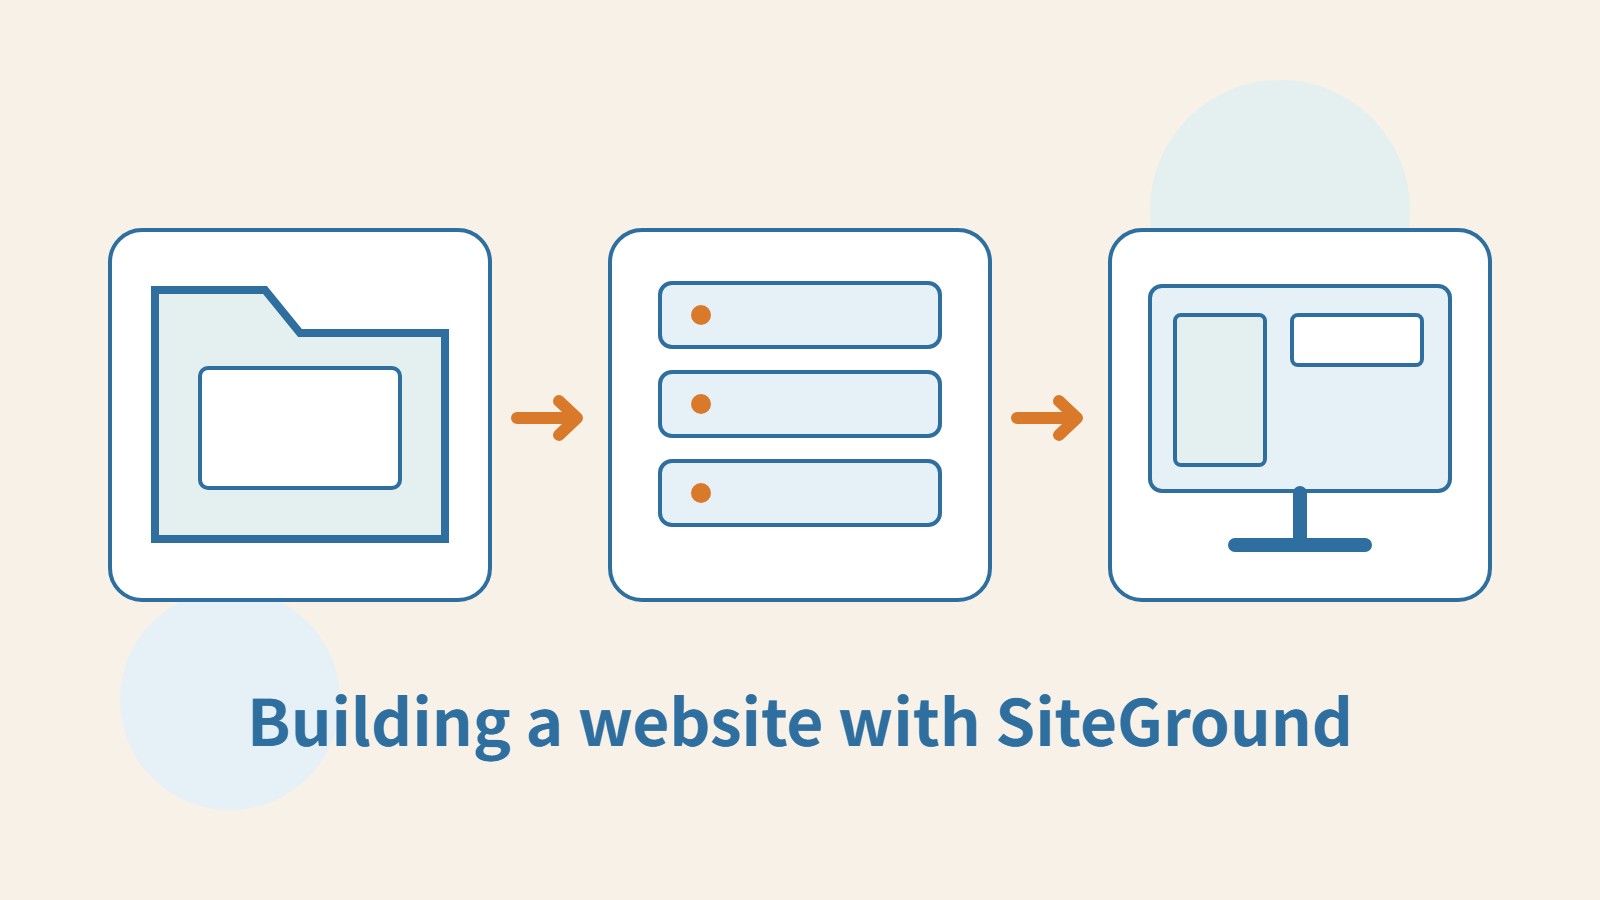
Before using SiteGround, decide whether you are building a website from scratch or moving a WordPress site that people already use. A new site mainly needs content and management arrangements; a migration also involves existing data, update timing and switch-over risks. Both can begin with the platform's tools, but the same completion message cannot stand in for all acceptance checks.
This article follows SiteGround's public documentation for new websites, WordPress Migrator and Staging; it does not report hands-on account testing. If your site continually takes orders, accepts member registrations or collects forms, pay particular attention to data that keeps changing during migration. Assign responsibility for final synchronization and the switch before starting, so new data is not missed.
Check the tools and resources you need before buying
List the number of websites, file and database sizes, required plugins, mailboxes, backups and testing needs, then compare them with the current plans. Staging, on-demand backups and collaboration permissions may depend on the plan. Check current product documentation and your account rather than assuming that every feature on the platform overview is included in every plan.
When comparing costs, record the initial payment, renewals, extras and required labor separately. If you need official migration assistance, first confirm its scope, the information to provide and the fee. Ask whether email, external services and custom programs are included. A migration should let your existing work continue, not merely deliver a new homepage that looks similar.
Create a new website with the setup wizard
For the current initial setup, go to Websites in the Client Area and select Finish Site Setup, then confirm the domain and WordPress. To add another site, use New Website and select WordPress, then follow the screens to set the location, domain and administrator details. Buying a domain and using one you already own are different options. Decide which you need rather than buying another name simply to proceed to the next step.
After creation, enter the WordPress dashboard and complete the homepage, main content and contact information before working on navigation and appearance. For a tutoring website, for example, start with subjects, lesson arrangements and an enquiry form. Do not add student results or reviews for which you have no real information. Installation provides a starting point for content; you still need to verify the public information and image usage rights.
Prepare both source and destination before migration
For an existing site, first obtain restorable file and database backups and record the current URLs, plugins, scheduled tasks, email and important integrations. Confirm that the source can install a suitable migration plugin and that the destination host has enough resources. If the source is a restricted platform, a multisite network or a special structure, check tool compatibility and limitations first, and use official assistance if necessary.
In SiteGround's official process, open WordPress and then Migrator in the destination's Site Tools. Select the target domain and path to generate a Migration Token, then enter it in the SiteGround Migrator plugin on the source site. First confirm that the target location has no content you need to keep. Treat the token as sensitive information and use it only for the corresponding migration.
When migration finishes, inspect the copy using the official preview or test method, and keep the old site for the time being. A successful copy does not automatically prove that email, domain registration or all external services have moved too. Check how the site's outgoing mail, scheduled tasks and cache configuration work in the new environment. Matching the article count alone is not enough to finish acceptance checks.
- Back up the source site and list plugins, data, email and features that are still generating new content.
- Generate a token for the intended destination in Site Tools under WordPress → Migrator.
- Install the official Migrator plugin on the source WordPress site, confirm the destination, submit the migration and save the result.
- Preview the new site and sample its data and functions before arranging final synchronization, the DNS switch and how long to retain the old service.
Staging is for testing changes, not a permanently synchronized live site
Eligible accounts can create a test copy in Site Tools under WordPress and Staging. The official documentation explains that the tool copies website files and the database, so the test environment may also contain production data. Restrict access and review external integrations. Give it a name that clearly describes its purpose, such as testing a new layout, instead of creating several indistinguishable 'new websites'.
SiteGround's documentation states that Staging copies disable the default WordPress cron functionality to reduce duplicated automated actions. This does not mean that every third-party external call is prevented. Still check payments, newsletters, Webhooks and external schedulers, using test mode or test credentials where needed. Do not make a real charge in a copy merely because its URL contains staging.
Before moving tested changes back to the live site, understand which files or database tables deployment will update. If the live site received new orders during testing, overwriting it directly with the old database could lose them. Someone who understands the data structure should confirm the appropriate deployment scope and synchronization method. Obtain a fresh backup before operating; a one-click deployment is not free of data risks.
Check data and functions when switching to production
Agree on a cutoff point for data updates before the switch. If necessary, pause workflows that create new data, then complete final synchronization. Configure DNS according to your domain and DNS services, preserve the original values and a recovery method, and check that email records were not accidentally changed. Once the production domain reaches the new site, recheck HTTPS, the root domain, www and important deep links.
Use a signed-out browser and a phone to test the main visitor flows, including articles, images, search, forms and login. For a migrated site, also verify recently added data rather than sampling only old articles. If there is a store, use the platform's testing procedures to check checkout, notifications and dashboard data. Reaching the homepage does not establish that the whole business workflow has recovered.
Keep the old site until handover conditions are clear
After confirming that the new site is stable, arrange cancellation of the old service under the original provider's conditions. First check whether mailboxes, backups or other websites still depend on that plan, and save the necessary data. If you need to revert the new site, specify how to handle content added after the switch. Changing DNS back does not automatically make all the data consistent.
Finally, create a management sheet naming the people responsible for Site Tools, WordPress, the domain, DNS, backups and renewals. Record the migration and acceptance methods used this time. These records will help with the next update or migration without starting the investigation from scratch. Tools can shorten copying time; continued maintenance still requires clear responsibilities, preserved data and verifiable completion criteria.
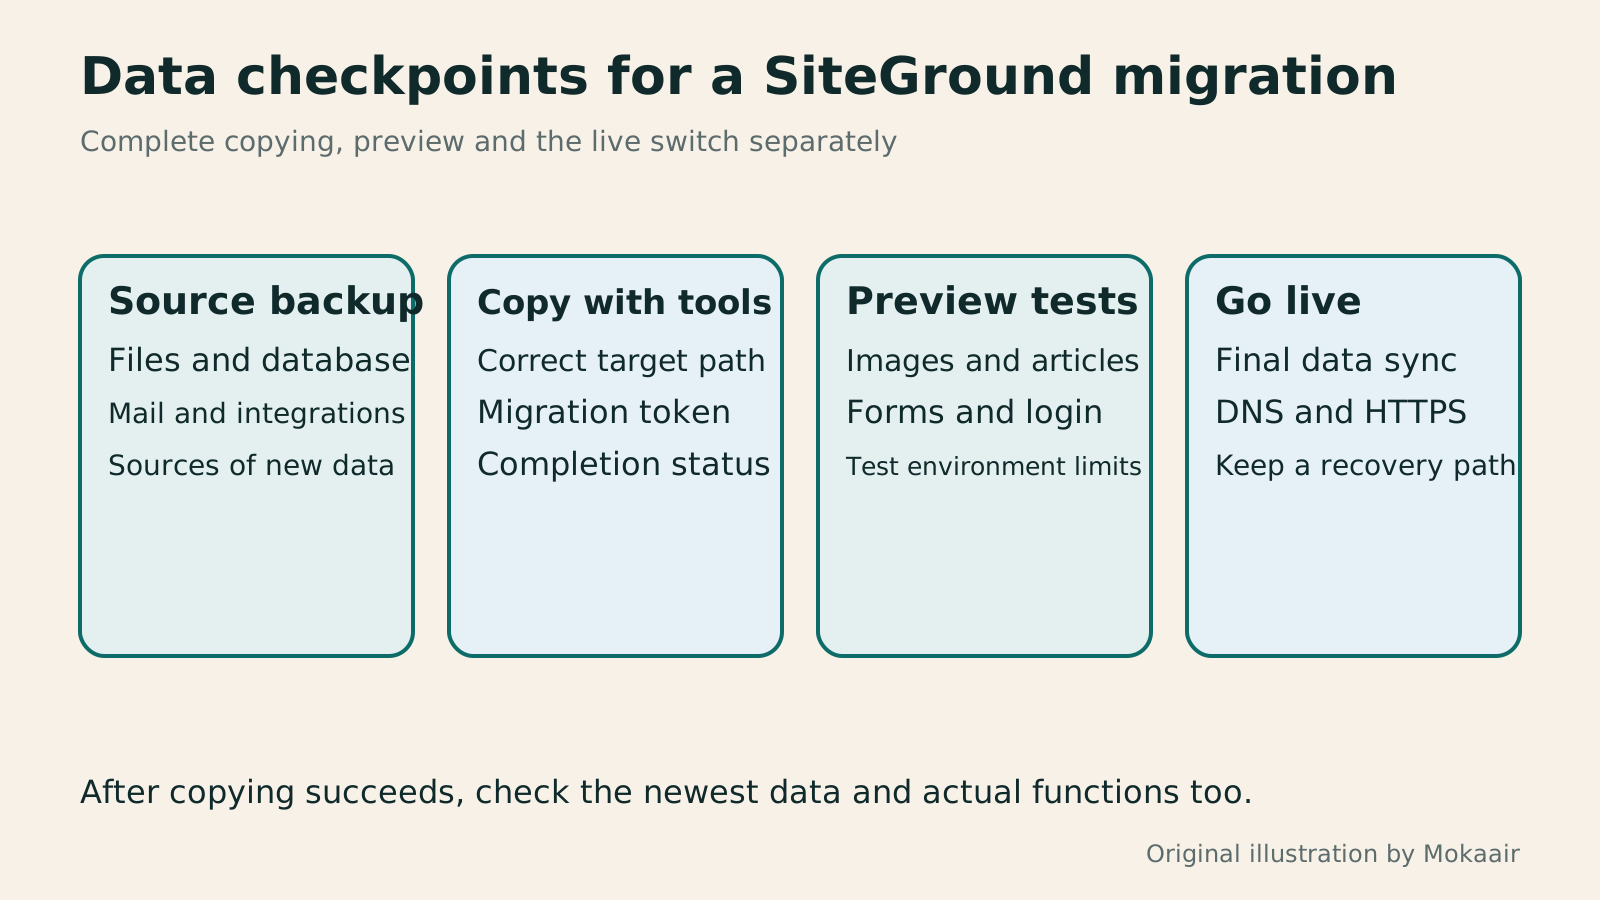
Read the full description
A SiteGround migration proceeds through source backup, copying with the tool, preview testing and the production switch, retaining verification evidence at each stage.
| Task | Tool or method | Additional checks required |
|---|---|---|
| Create a new website | Website setup wizard | Content, domain and visitor flows |
| Migrate WordPress | Migrator and destination token | Data completeness, email and external integrations |
| Test changes | Staging copy | Access restrictions and test mode |
| Deploy tested changes | Applicable deployment process | Whether new production data is preserved |
| End the old service | Original provider's cancellation procedure | Mailboxes, backups and other dependencies |
Everyday website maintenance: backups, updates and fault reportingWhat website maintenance involves: a routine for backups, updates, and incident reportsWebsite maintenance includes more than plugin updates: check content, accounts, backups, outgoing email, and expiring services. Using a small WordPress content site, this guide covers routine observation, pre- and post-update checks, restoration, and incident reports, with a worksheet for owners, editors, and maintainers. Set a schedule by update frequency, identify urgent cases, and keep records the next collaborator can use.Read the full article
Checking DNS settings: from A and CNAME to email records
Lifestyle
After a WordPress Move: Check Search Traffic, the Old Host, and Renewals
A completed WordPress move still needs checks that the new host is stable, search entry points work, backups can be used, and old services can safely stop. This guide provides a cutover observation checklist, a way to interpret search traffic, an inventory of old-host dependencies, and renewal closeout steps. Individual site owners and studios can retain the information needed for rollback without confusing temporary fluctuations, ending renewal, and immediately deleting a site.
Lifestyle
Move WordPress to a New Host Without Changing the Domain: Migration, Testing, and DNS Cutover
When WordPress moves to a new host, its URLs can stay the same, but files, the database, certificates, and external services still need a handoff. This guide covers preparation of the new host, restricted previews, the final data sync, and DNS cutover in order. A verification table and rollback criteria help individual site owners and studios keep their domain while moving hosts, without canceling the old service before recovery options are secure.
Lifestyle
Changing a WordPress Domain: Check Redirects, Search Signals, and Email
Changing a WordPress domain means handling internal URLs, redirects from old links, search signals, and email together. Starting with a URL mapping, this guide explains how to preview database replacements, check permanent redirects, test sending and receiving on the new domain, and monitor the change after launch. It helps personal brands and studios plan a name change without assuming that editing the WordPress site address completes the move.
Lifestyle
Moving from WordPress.com to Self-Hosted WordPress: Content, Media, and URLs
Before moving a WordPress.com site to self-hosted WordPress, check your plan, domain, and the handoff for each kind of content. This guide covers the options available to free and paid sites, XML export and import, verification of actual image files, subscriber migration, and when Site Redirect is available. It helps individual creators in Taiwan plan the move and identifies features and billing items that need separate attention after the new site is ready.
Latest travel guides

GuideTokyo
Where to Stay in Tokyo: Comparing Shinjuku, Ueno, Tokyo Station, Shibuya, Asakusa, Ikebukuro, and Ginza, Plus Airport Access, Accommodation Tax, and Luggage Delivery
Where should you stay in Tokyo? Compare Shinjuku, Ueno, Tokyo Station, Shibuya, Asakusa, Ikebukuro, and Ginza by the same criteria: access from Narita and Haneda, transit routes, nearby attractions, neighborhood character, and who each area suits. Includes a comparison table, a Yamanote Line diagram, Tokyo’s accommodation tax as verified in 2026/9 (changing to 3% in 2027/4), and Airport TA-Q-BIN luggage shipping rules.
- Budget
- Hotels
GuideTokyo
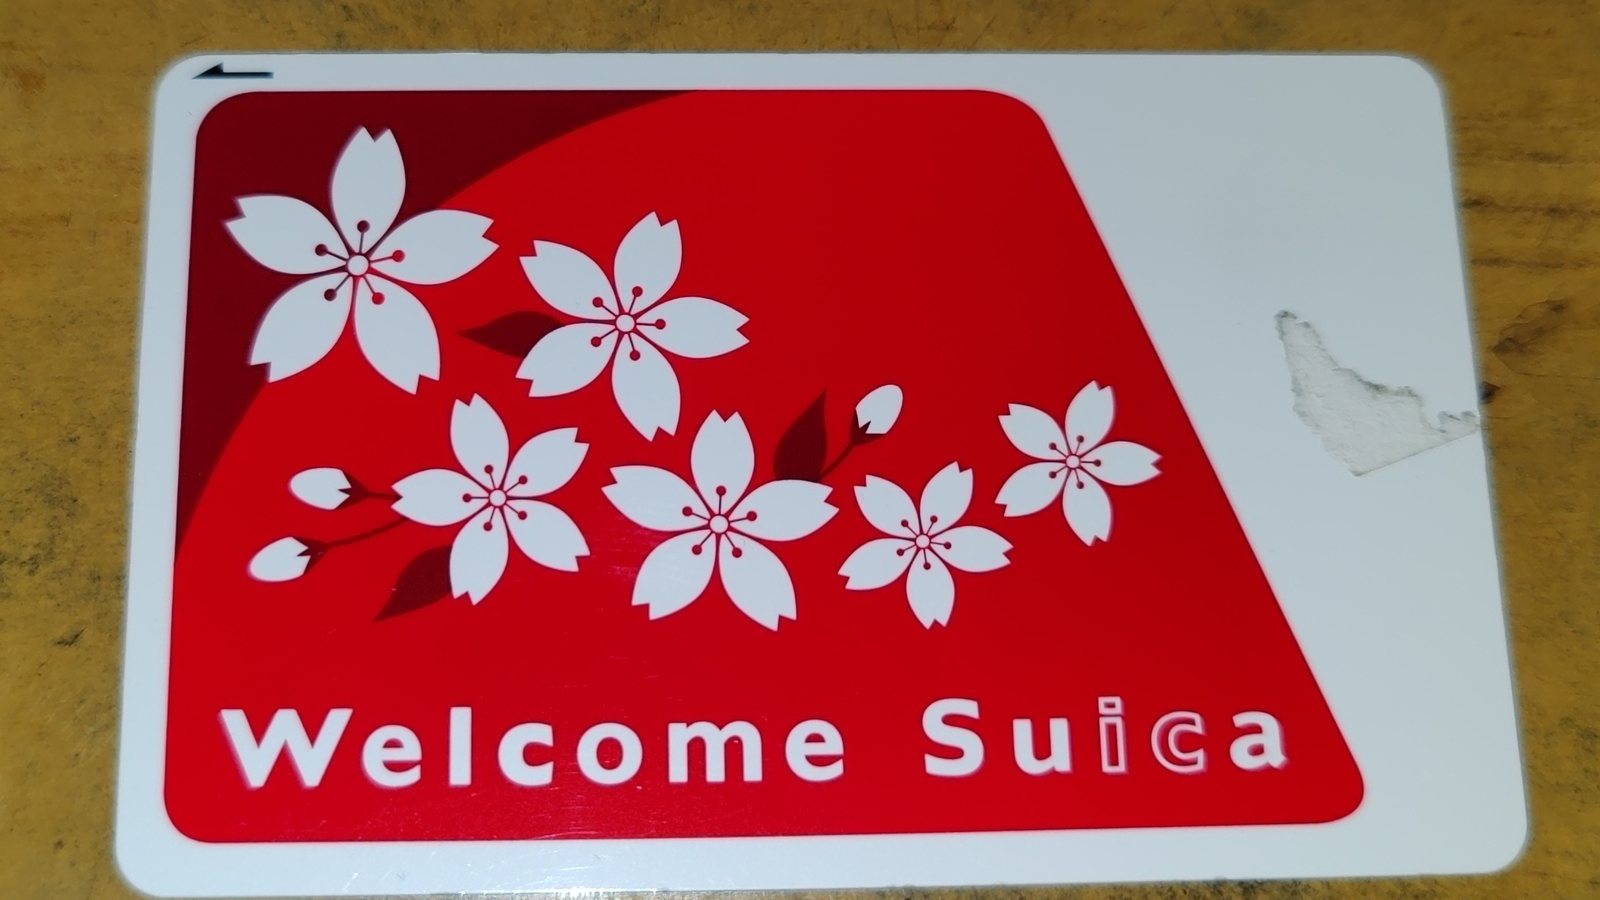
How to Choose Tokyo Transit Passes: Are Suica, Welcome Suica, the Tokyo Subway Ticket, and the JR Pass Worth It?
On a first Tokyo trip, start with an IC card and pay per ride (Welcome Suica has no deposit and is valid for 28 days). If you take four or more subway rides in a day, add a 72-hour Tokyo Subway Ticket for 2,000 yen; a JR Pass is never worthwhile if you stay in Tokyo and do not go to Kansai. See what TOURIST PASMO, Suica on iPhone, and the Tokyo Metro day pass do and do not cover, with a decision chart. Prices verified in September 2026.
- Transport
- Budget

GuideTokyo
Tokyo Disneyland and DisneySea Guide: Ticket Prices, Fantasy Springs, Disney Premier Access (DPA), Standby Pass, and Which Park to Choose for Your First Visit
Tokyo Disney one-day Passport prices vary: most weekdays in 9/2026 cost ¥9,900 and weekends ¥10,900. At 14:00 daily, tickets go on sale for the same date two months later. Free Priority Pass is no longer on the official service list; only paid Disney Premier Access (¥1,000–3,500 per person per use) shortens waits. Covers hours, the 25th anniversary, Standby Pass, Entry Request, Fantasy Springs access and first-visit park choice; checked on the official site in 9/2026.
- Itineraries
- Family
Sources
- SiteGround: create a new website · Checked:
- SiteGround: automatic WordPress migration · Checked:
- SiteGround: create a Staging copy · Checked:
- SiteGround: Site Tools features · Checked: