Lifestyle
Building a site on Cloudways: servers, applications and account verification
Cloudways manages servers, applications and projects separately, each with its own role and costs. This guide covers WordPress on Flexible: account activation, server creation, adding an application, connecting a domain and pre-launch checks. It explains why stopping a server may not stop charges, and how to verify official support channels and handle individual account-verification requests so that costs and maintenance responsibilities are clear before you start.
About 7 min read
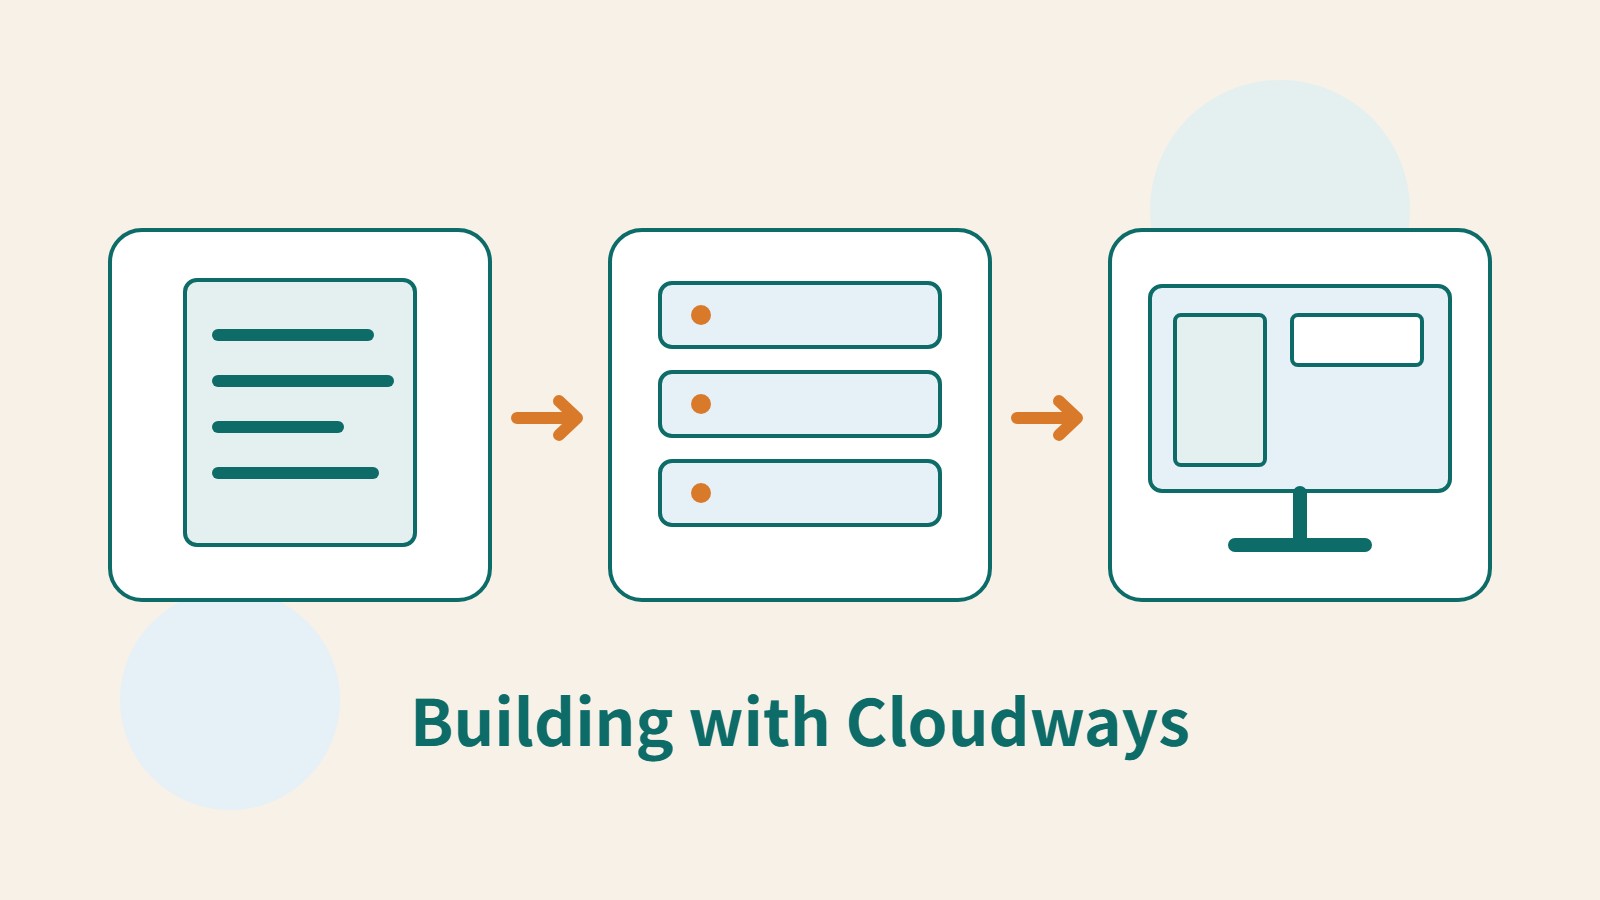
When you build a site on Cloudways, the server is the runtime environment, an application is a website inside it, and projects organize your work. Keeping these levels separate makes it easier to understand the difference between adding a website, adding a server and changing a plan. Do not let an installed WordPress site distract you from other resources in the account that are still generating charges.
This guide mainly follows the public documentation for Cloudways Flexible. Autonomous is a different product experience: check its own deployment and billing terms rather than applying Flexible server steps directly. No testing in a user's account was performed, and no speed ranking of cloud providers is offered. Choose according to your website's needs, available regions and actual account conditions.
Complete account activation and any individual verification requirements
Register through the official Cloudways entry point, using an email account you can continue to receive messages at, and follow the required email or other activation steps on screen. If the account is awaiting verification, save the message and the time it appeared, then confirm the next step through official support. This status is unrelated to DNS settings; changing the website's domain will not remove an account-level restriction.
No single document checklist or approval time applicable to every new account was found, so there is no promise that sending a particular set of documents will guarantee approval. If you receive a request for additional documents, first use your official account to confirm that the request is genuine, how to submit them and what is necessary, then handle the individual case. Do not send identity documents to an old email address copied from an online article, or create false details or duplicate accounts to try to bypass verification.
Check the billing units and stopping conditions before creating resources
Cloudways Flexible billing depends on the servers and add-ons you use, with charges calculated and invoiced under the applicable rules. Before creating anything, record the provider, size, region, estimated cost and extra services. A monthly estimate does not promise that multiple environments will cost the same total amount, nor does it remove storage, transfer or other applicable extras.
The official billing documentation warns that stopping a server or leaving it unused may not stop charges; different infrastructure providers may retain resources such as disks and IP addresses. When ending a trial or removing an environment, save your data first, then follow the product's process to delete unused resources and disable paid add-ons, and check subsequent invoices. A website with no visitors is not evidence that it costs nothing.
Choose a server for the work your website needs to do
In the Flexible server-creation flow, choose the application, provider, specifications and location. Start with the essential features and current data volume of your site; there is no need to choose the largest size immediately. If most readers are in Taiwan, include candidate regions in your tests, but remember that distance is only one factor. A region's name alone cannot guarantee actual loading speed.
Give servers, applications and projects distinct names, for example separating a live portfolio site from a test site. This reduces the chance of changing or deleting the wrong environment later. If you already have a server, first check which sites it hosts and its resource status, then decide whether to put the new application there or create a separate environment.
Add WordPress to the correct server
According to the Cloudways documentation, to add an application to an existing Flexible server, open Servers, select the target server, then use Add App or the corresponding application-creation entry. Choose the WordPress type you need, enter an application name and project, and submit the request. If the platform warns that PHP or database requirements are not met, check compatibility first rather than immediately upgrading an environment that hosts other live sites.
After creation, open application management, review the access details and temporary URL, and confirm that the WordPress dashboard works. The hosting management account, application login and WordPress administrator are separate levels and should be stored separately. Also check the site's name, time zone, administrative email and content so that initial installation details do not become the live settings by default.
- Confirm that the account is usable and that you are using Flexible, and record server and add-on billing terms.
- Create a server or choose to add an application to an existing one; check the location, specifications and effect on other sites.
- Choose WordPress, assign recognizable application and project names, and wait for the platform's creation result.
- Use the application access details to check the temporary site and dashboard, then organize live content, accounts and backup arrangements.
Connect the live domain through Domain Management
Cloudways' launch documentation treats domain management and DNS configuration as separate steps. First add the name you intend to use in the application's Domain Management, then use the details supplied by the platform to configure records at the active DNS service. The domain registrar, DNS host and Cloudways may be different companies; confirm the correct management location before each change.
Save the existing records before making changes, especially email and service-verification records. Keep the intended use of the main domain, www and other subdomains consistent, then install a certificate covering the required names and check HTTPS. If the site connects but email or form notifications do not work, inspect the email service and the application's sending configuration separately. A page opening successfully does not mean every integration is complete.
Check the site before launch and plan how to leave
As a visitor who is not signed in, check the homepage, articles, navigation, search and contact flow, then review the main layouts on a phone. If you are migrating a site, also compare the old site's images, attachments and required URLs to ensure the new environment has not lost data. Keep a rollback plan and the original service until the main functions and the destinations of new data have been verified, then handle any shutdowns.
After launch, record the backup frequency, available restore points, who handles updates and who checks invoices. Even for a short test, schedule when to export data and remove resources so the test site does not stay in the account indefinitely. Platform management is complete only when you can explain which server hosts the site, who can restore it and how to end charges when you stop using it.
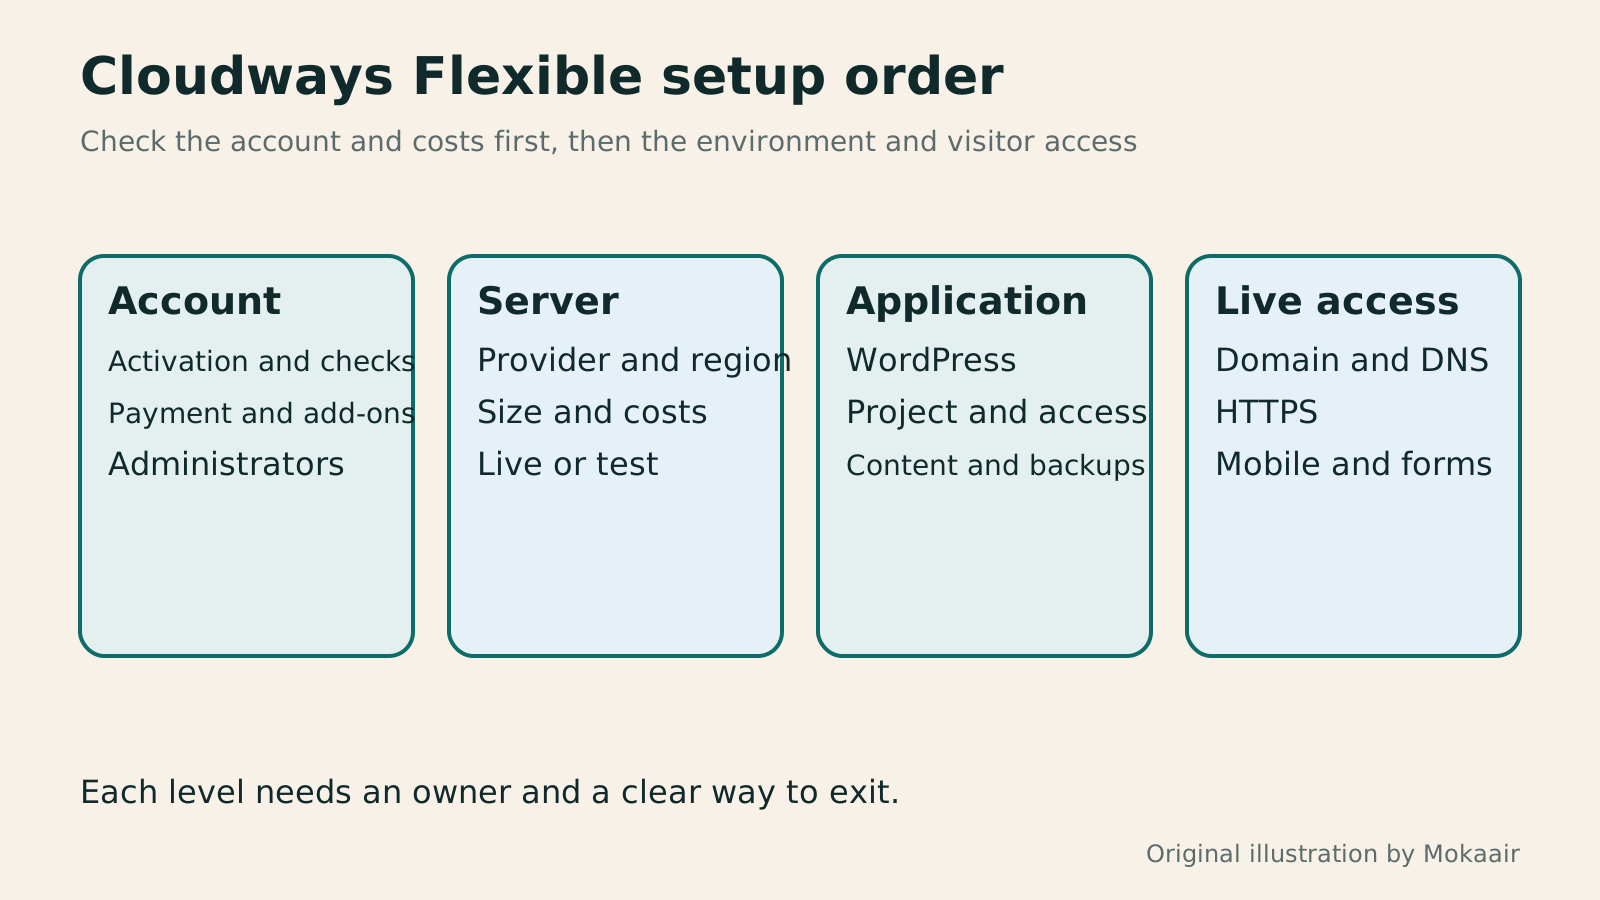
Read the full description
Building on Cloudways involves checking four levels in order: account, server, application and live domain.
| Level | What it handles | Common confusion |
|---|---|---|
| Account | Activation, members and payment | Mistaking verification issues for site settings |
| Server | Resources and runtime environment | Assuming that stopping operation stops billing |
| Application | Site, domains and access details | Confusing an additional site with an additional server |
| WordPress | Content, plugins and users | Confusing the hosting login with the site administrator |
| Project | Organizing applications and work | Selecting the wrong live environment because names are similar |
Checking HTTPS on Cloudways: DNS, certificates and renewal
Shared hosting, VPS and managed cloud hosting: how to choose for a small siteShared Hosting, VPS, and Managed Cloud: How a Small Website Should ChooseShared hosting, VPS, and managed cloud services often share one price list, but the terms may describe resource allocation or maintenance responsibility. This guide uses a small site to compare storage, memory, transfer, backups, and support. Find the real constraint before adjusting settings, upgrading a plan, or moving hosts. You do not need to memorize specifications first: take this concrete checklist to a provider.Read the full article
Lifestyle
After a WordPress Move: Check Search Traffic, the Old Host, and Renewals
A completed WordPress move still needs checks that the new host is stable, search entry points work, backups can be used, and old services can safely stop. This guide provides a cutover observation checklist, a way to interpret search traffic, an inventory of old-host dependencies, and renewal closeout steps. Individual site owners and studios can retain the information needed for rollback without confusing temporary fluctuations, ending renewal, and immediately deleting a site.
Lifestyle
Move WordPress to a New Host Without Changing the Domain: Migration, Testing, and DNS Cutover
When WordPress moves to a new host, its URLs can stay the same, but files, the database, certificates, and external services still need a handoff. This guide covers preparation of the new host, restricted previews, the final data sync, and DNS cutover in order. A verification table and rollback criteria help individual site owners and studios keep their domain while moving hosts, without canceling the old service before recovery options are secure.
Lifestyle
Changing a WordPress Domain: Check Redirects, Search Signals, and Email
Changing a WordPress domain means handling internal URLs, redirects from old links, search signals, and email together. Starting with a URL mapping, this guide explains how to preview database replacements, check permanent redirects, test sending and receiving on the new domain, and monitor the change after launch. It helps personal brands and studios plan a name change without assuming that editing the WordPress site address completes the move.
Lifestyle
Moving from WordPress.com to Self-Hosted WordPress: Content, Media, and URLs
Before moving a WordPress.com site to self-hosted WordPress, check your plan, domain, and the handoff for each kind of content. This guide covers the options available to free and paid sites, XML export and import, verification of actual image files, subscriber migration, and when Site Redirect is available. It helps individual creators in Taiwan plan the move and identifies features and billing items that need separate attention after the new site is ready.
Latest travel guides

GuideTokyo
Where to Stay in Tokyo: Comparing Shinjuku, Ueno, Tokyo Station, Shibuya, Asakusa, Ikebukuro, and Ginza, Plus Airport Access, Accommodation Tax, and Luggage Delivery
Where should you stay in Tokyo? Compare Shinjuku, Ueno, Tokyo Station, Shibuya, Asakusa, Ikebukuro, and Ginza by the same criteria: access from Narita and Haneda, transit routes, nearby attractions, neighborhood character, and who each area suits. Includes a comparison table, a Yamanote Line diagram, Tokyo’s accommodation tax as verified in 2026/9 (changing to 3% in 2027/4), and Airport TA-Q-BIN luggage shipping rules.
- Budget
- Hotels
GuideTokyo
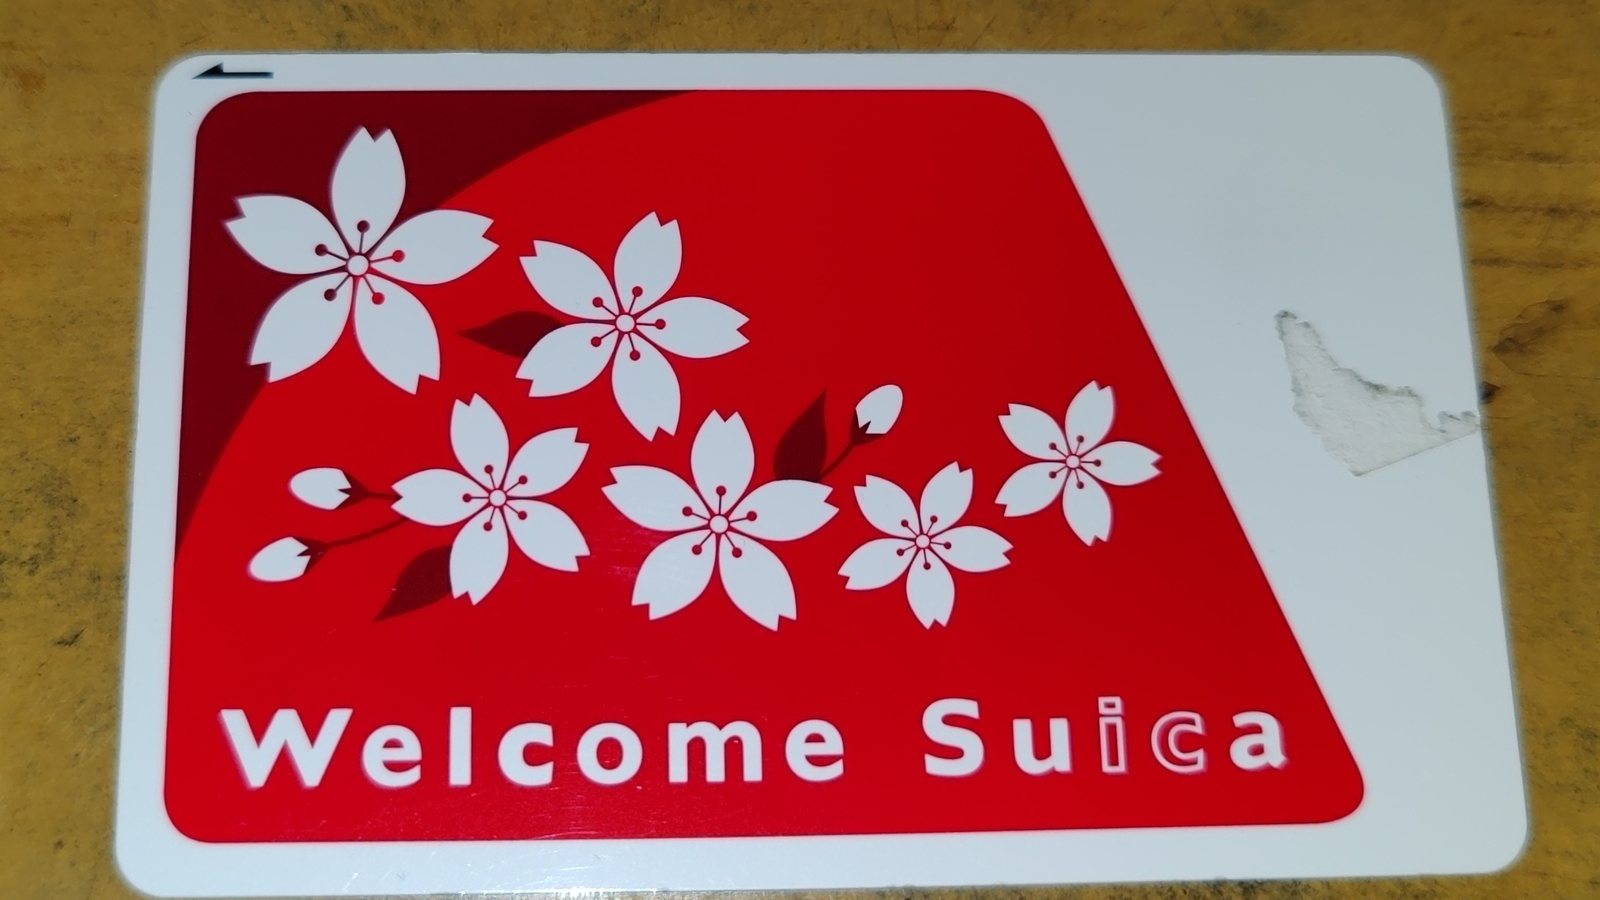
How to Choose Tokyo Transit Passes: Are Suica, Welcome Suica, the Tokyo Subway Ticket, and the JR Pass Worth It?
On a first Tokyo trip, start with an IC card and pay per ride (Welcome Suica has no deposit and is valid for 28 days). If you take four or more subway rides in a day, add a 72-hour Tokyo Subway Ticket for 2,000 yen; a JR Pass is never worthwhile if you stay in Tokyo and do not go to Kansai. See what TOURIST PASMO, Suica on iPhone, and the Tokyo Metro day pass do and do not cover, with a decision chart. Prices verified in September 2026.
- Transport
- Budget

GuideTokyo
Tokyo Disneyland and DisneySea Guide: Ticket Prices, Fantasy Springs, Disney Premier Access (DPA), Standby Pass, and Which Park to Choose for Your First Visit
Tokyo Disney one-day Passport prices vary: most weekdays in 9/2026 cost ¥9,900 and weekends ¥10,900. At 14:00 daily, tickets go on sale for the same date two months later. Free Priority Pass is no longer on the official service list; only paid Disney Premier Access (¥1,000–3,500 per person per use) shortens waits. Covers hours, the 25th anniversary, Standby Pass, Entry Request, Fantasy Springs access and first-visit park choice; checked on the official site in 9/2026.
- Itineraries
- Family
Sources
- Cloudways: Launching a server and adding an application · Checked:
- Cloudways: Conditions for stopping billing · Checked:
- Cloudways: Monthly and hourly billing explained · Checked:
- Cloudways: Taking a website live · Checked:
- Cloudways: Getting started FAQs and support scope · Checked: