Lifestyle
Desk cable organization isn't just about looks: label each cable's purpose, specs, and where it's used
A USB-C connector can look identical from cable to cable, yet charging and data capability may differ. Identify what each cable does before you plan the routing and labels, so daily plugging in and out doesn't turn into guesswork.
About 4 min read
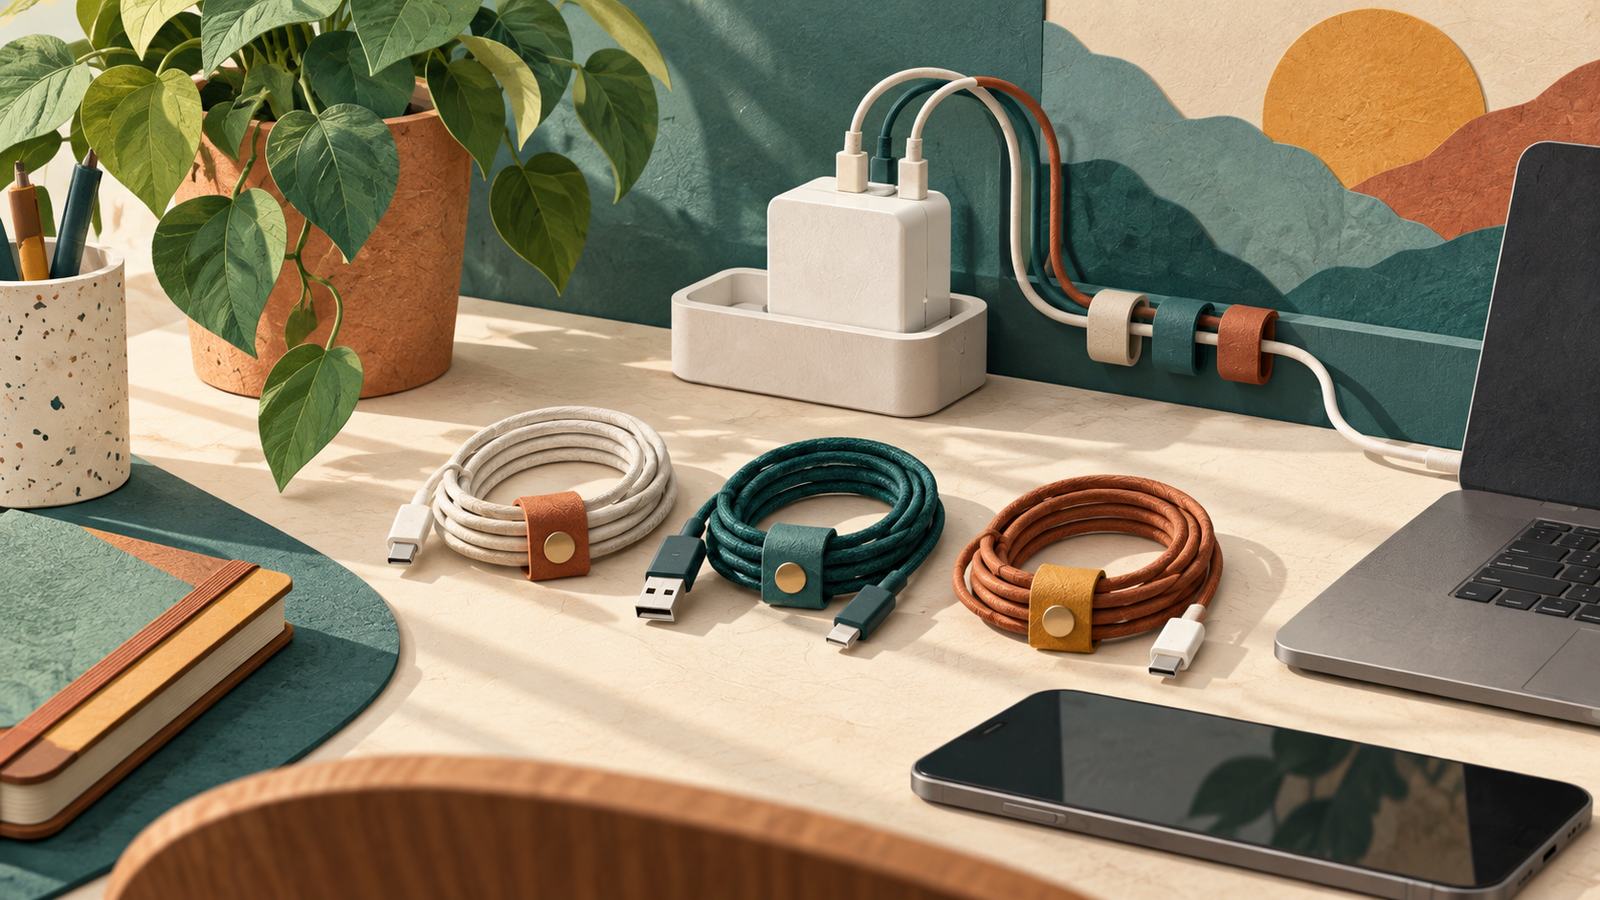
A desk often looks messy because every cable is kept just in case, and when you actually need one you can't tell which connects to the monitor and which is only good for charging. The result of organizing cables isn't hiding everything inside one box — it's knowing why each cable is still there. This guide covers general desktop storage and identification; it does not provide instructions for electrical modification or self-repair.
List your devices and their uses before unplugging anything you can't identify
Note the devices you regularly use at your desk, and what they need — charging, data transfer, video, or another connection. Before moving anything, check the device's state, save your work, and follow the product's instructions to eject any external storage. For a cable whose purpose you don't know, trace both ends first, photograph it, and label it, rather than unplugging an entire row just to tidy the desk. Check first that no one else is using a shared device, too.
USB-IF's cable information lists supported power and data speed separately, a reminder that an identical connector shape doesn't mean identical capability. When buying a cable or organizing your cables, check the device's requirements, the cable's labeling, and the manufacturer's documentation — not just whether the plug fits. This guide doesn't recommend a specific wattage or model, because the right spec depends on your actual device and use.
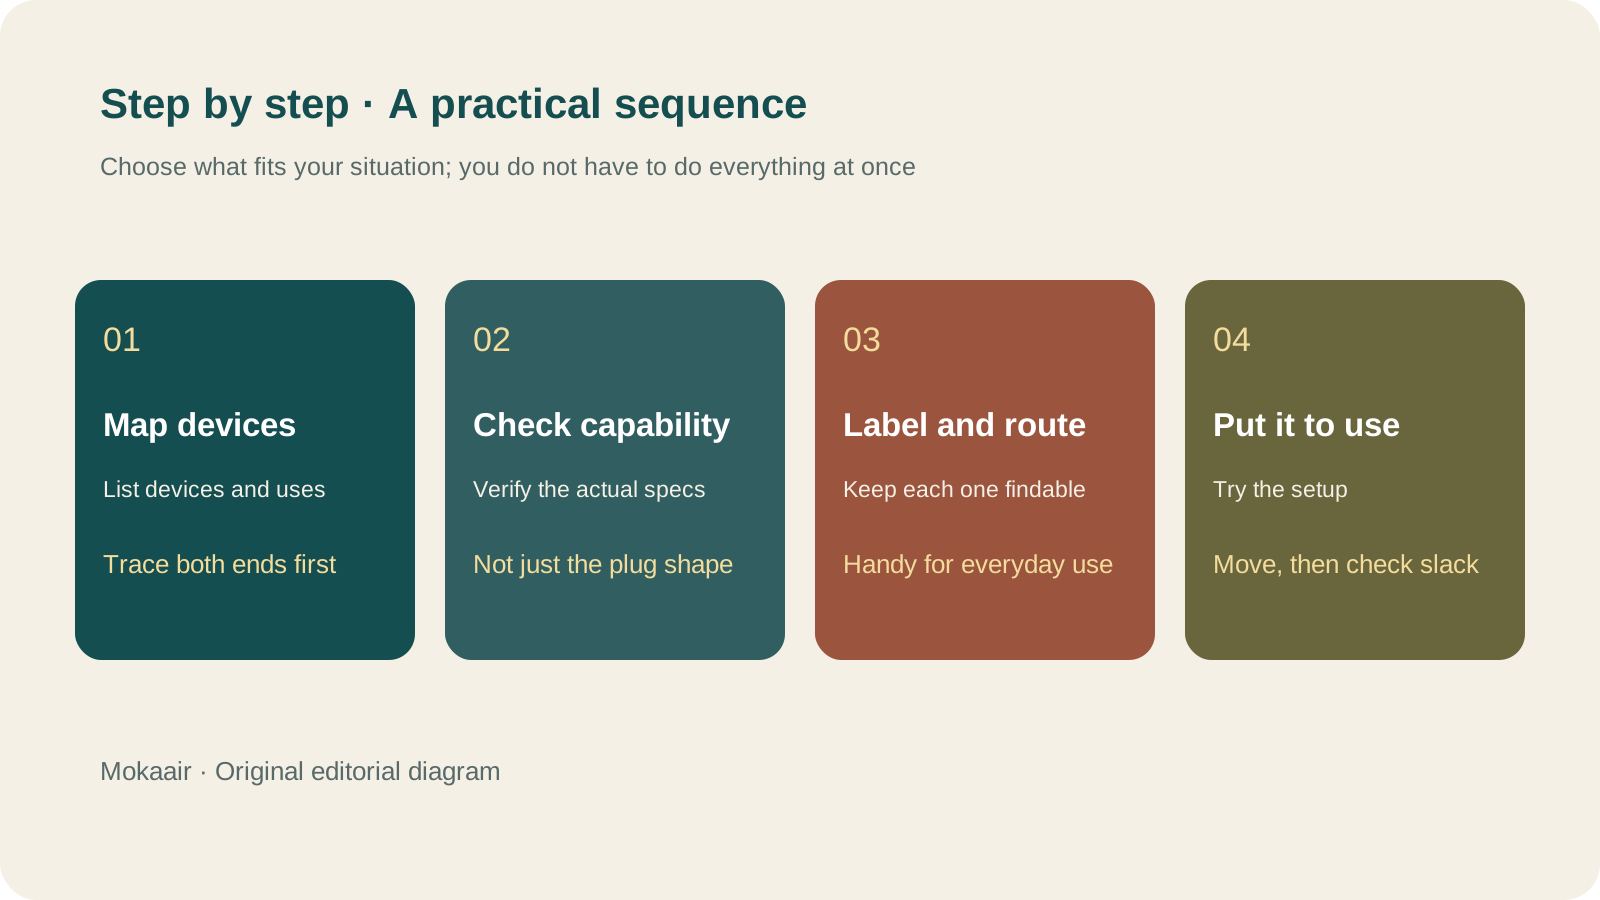
Read the full description
Check in this order: map your devices, check capability, label and route cables, and put the setup to use. Editorial guidance, not a map or measured timing.
Label where each cable is used, and keep track of its spec source
| What to label | Example | Why |
|---|---|---|
| Who it's for | Charges my work laptop | You'll know which device it's for at a glance |
| Purpose | Connects to a monitor, backs up data | Avoids using the wrong function |
| Spec source | Keep the product page or packaging info | Lets you check the original capability later |
| Fixed or on the go | Stays at the desk, travels in a bag | No need to take the whole set apart daily |
| Status | Working, unconfirmed, retired | Keeps questionable cables out of the everyday area |
Place labels near both ends, somewhere easy to see but not in the way of the connector. Keep the text short — you don't need to cram every technical spec onto a strip of tape; save the details in a note instead. For a cable with no markings and no traceable source, don't assume it's high-power or high-speed. If a cable looks damaged, has a loose connector, or behaves oddly, stop using it and follow the manufacturer's guidance, rather than hiding the problem with tidier storage.
Route cables to match what you actually do each day
Route the cables for fixed devices so they don't get in the way of your hands, feet, or chair. Keep the phone charging cable you use often within easy reach. Don't pull cables too tight, and don't hide them by pinning down connectors or forcing a sharp bend; reusable cable ties make later adjustments easier. Follow the manufacturer's instructions for a charger's or device's heat dissipation, placement, and operating conditions, and don't seal every heat-generating item inside a storage box.
Set a limit on spare cables, and give each one a purpose
Keep spare cables that still match a device you own and whose condition is clear; sort the rest into an unconfirmed area instead of mixing everything into the same drawer. When you retire or recycle a cable, follow your local recycling rules, and when you pass on a device, hand over its necessary cables and spec information together. Recheck your desk whenever you add a device — you don't need to permanently keep an extra cable for every single one; first check whether devices can reasonably share a cable within spec.
- Trace both ends first, and know its purpose before you move it.
- Check the connector, power, and data capability separately.
- Keep labels short, and keep the original specs somewhere you can look them up.
- After organizing, verify it by actually plugging things in and moving around.
Before buying new electronics (3C): define your needs, check compatibility, and consider repair and end-of-use costsBefore buying new electronics (3C): define your needs, check compatibility, and consider repair and end-of-use costsA specification sheet can compare products, but it cannot decide whether you need one. Turn problems you have actually encountered into buying requirements, then check compatibility and ongoing costs so you do not bring home another unused tool.Read the full article
Lifestyle
Keep Buying Household Supplies You Already Have? Track Location, Quantity, and Restocking Status in a Simple Inventory Sheet
Start with supplies you often buy twice, without building a warehouse system. Help everyone at home see where things are, how much remains, and who has already restocked, so the list better matches what is actually there.
Lifestyle
Before buying new electronics (3C): define your needs, check compatibility, and consider repair and end-of-use costs
A specification sheet can compare products, but it cannot decide whether you need one. Turn problems you have actually encountered into buying requirements, then check compatibility and ongoing costs so you do not bring home another unused tool.
Lifestyle
How to use a shared household calendar: make it clear who is going out, who takes over and when plans change
A shared calendar does not need everyone's entire private life. Share only the plans that need coordination, state responsibilities, locations and changes clearly, and choose permissions that let the household maintain it together.
Lifestyle
Forget what you read? Keep useful notes with questions, your own explanations and sources
Collecting many excerpts does not mean you understand them. For each reading session, keep one question you want to answer, a few sentences in your own words and a source you can revisit. Let a practical use decide whether to develop the note further.
Latest travel guides

GuideTokyo
Where to Stay in Tokyo: Comparing Shinjuku, Ueno, Tokyo Station, Shibuya, Asakusa, Ikebukuro, and Ginza, Plus Airport Access, Accommodation Tax, and Luggage Delivery
Where should you stay in Tokyo? Compare Shinjuku, Ueno, Tokyo Station, Shibuya, Asakusa, Ikebukuro, and Ginza by the same criteria: access from Narita and Haneda, transit routes, nearby attractions, neighborhood character, and who each area suits. Includes a comparison table, a Yamanote Line diagram, Tokyo’s accommodation tax as verified in 2026/9 (changing to 3% in 2027/4), and Airport TA-Q-BIN luggage shipping rules.
- Budget
- Hotels
GuideTokyo
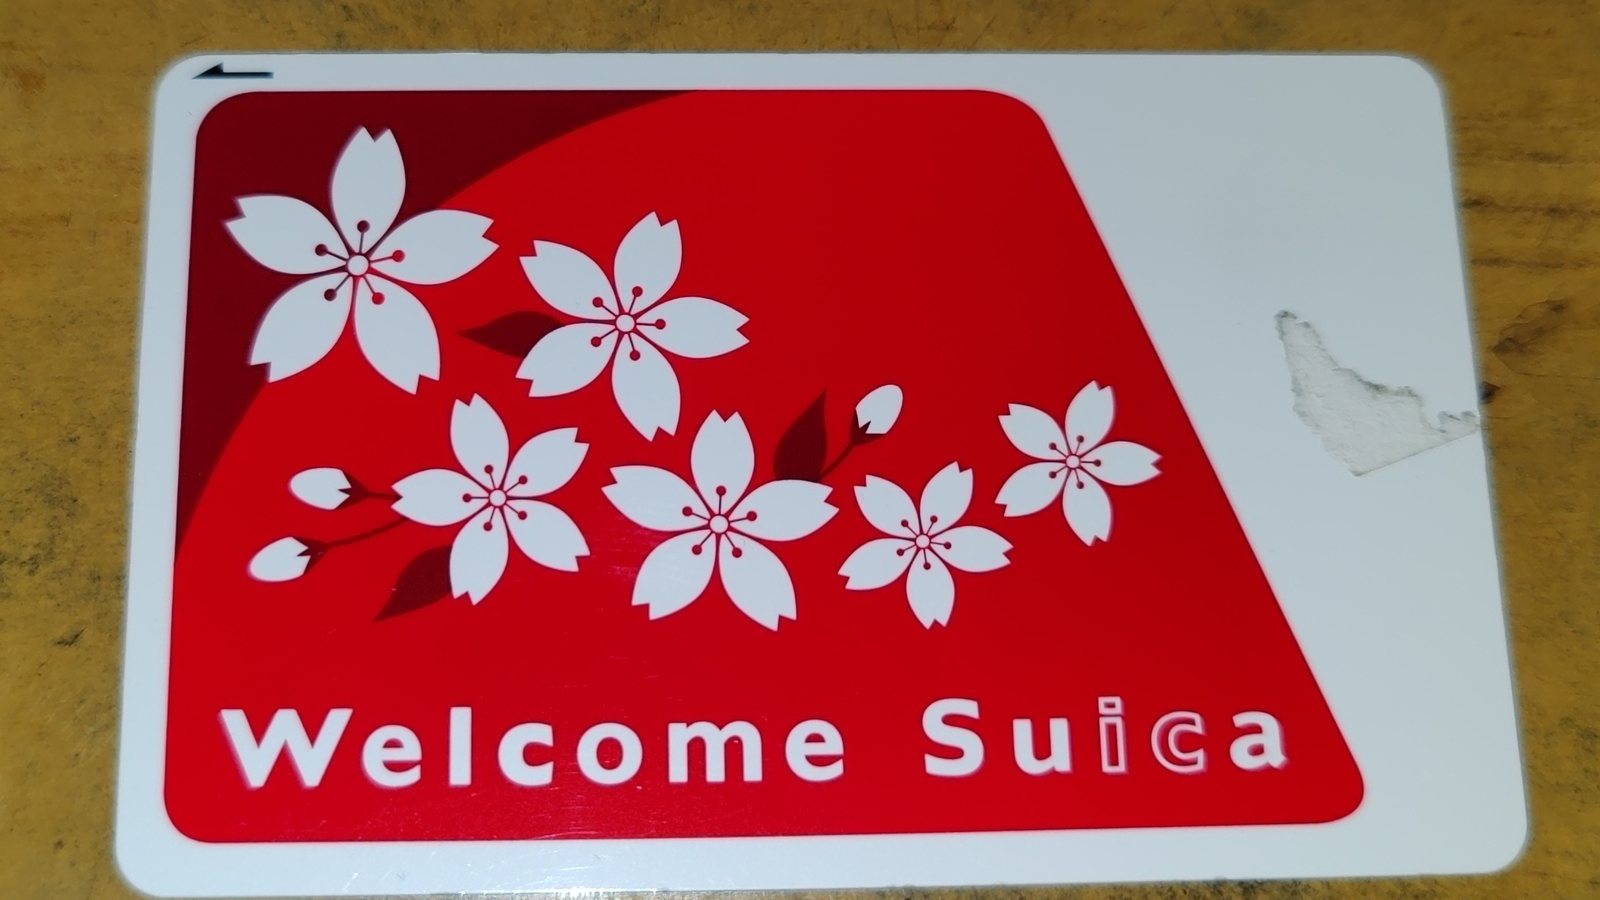
How to Choose Tokyo Transit Passes: Are Suica, Welcome Suica, the Tokyo Subway Ticket, and the JR Pass Worth It?
On a first Tokyo trip, start with an IC card and pay per ride (Welcome Suica has no deposit and is valid for 28 days). If you take four or more subway rides in a day, add a 72-hour Tokyo Subway Ticket for 2,000 yen; a JR Pass is never worthwhile if you stay in Tokyo and do not go to Kansai. See what TOURIST PASMO, Suica on iPhone, and the Tokyo Metro day pass do and do not cover, with a decision chart. Prices verified in September 2026.
- Transport
- Budget

GuideTokyo
Tokyo Disneyland and DisneySea Guide: Ticket Prices, Fantasy Springs, Disney Premier Access (DPA), Standby Pass, and Which Park to Choose for Your First Visit
Tokyo Disney one-day Passport prices vary: most weekdays in 9/2026 cost ¥9,900 and weekends ¥10,900. At 14:00 daily, tickets go on sale for the same date two months later. Free Priority Pass is no longer on the official service list; only paid Disney Premier Access (¥1,000–3,500 per person per use) shortens waits. Covers hours, the 25th anniversary, Standby Pass, Entry Request, Fantasy Springs access and first-visit park choice; checked on the official site in 9/2026.
- Itineraries
- Family