Lifestyle
ChatGPT Images 2.5: Image Generation, Inpainting, and Sketch Updates
OpenAI released ChatGPT Images 2.5 on September 8, 2026, highlighting detailed images, targeted edits, Sketch, templates and image comments. This guide covers asset preparation, preserving unchanged areas and checking details in posters, travel photos and social images. It separates consumer tools from API models and vendor claims about speed and availability from hands-on tests.
Updated: About 7 min read
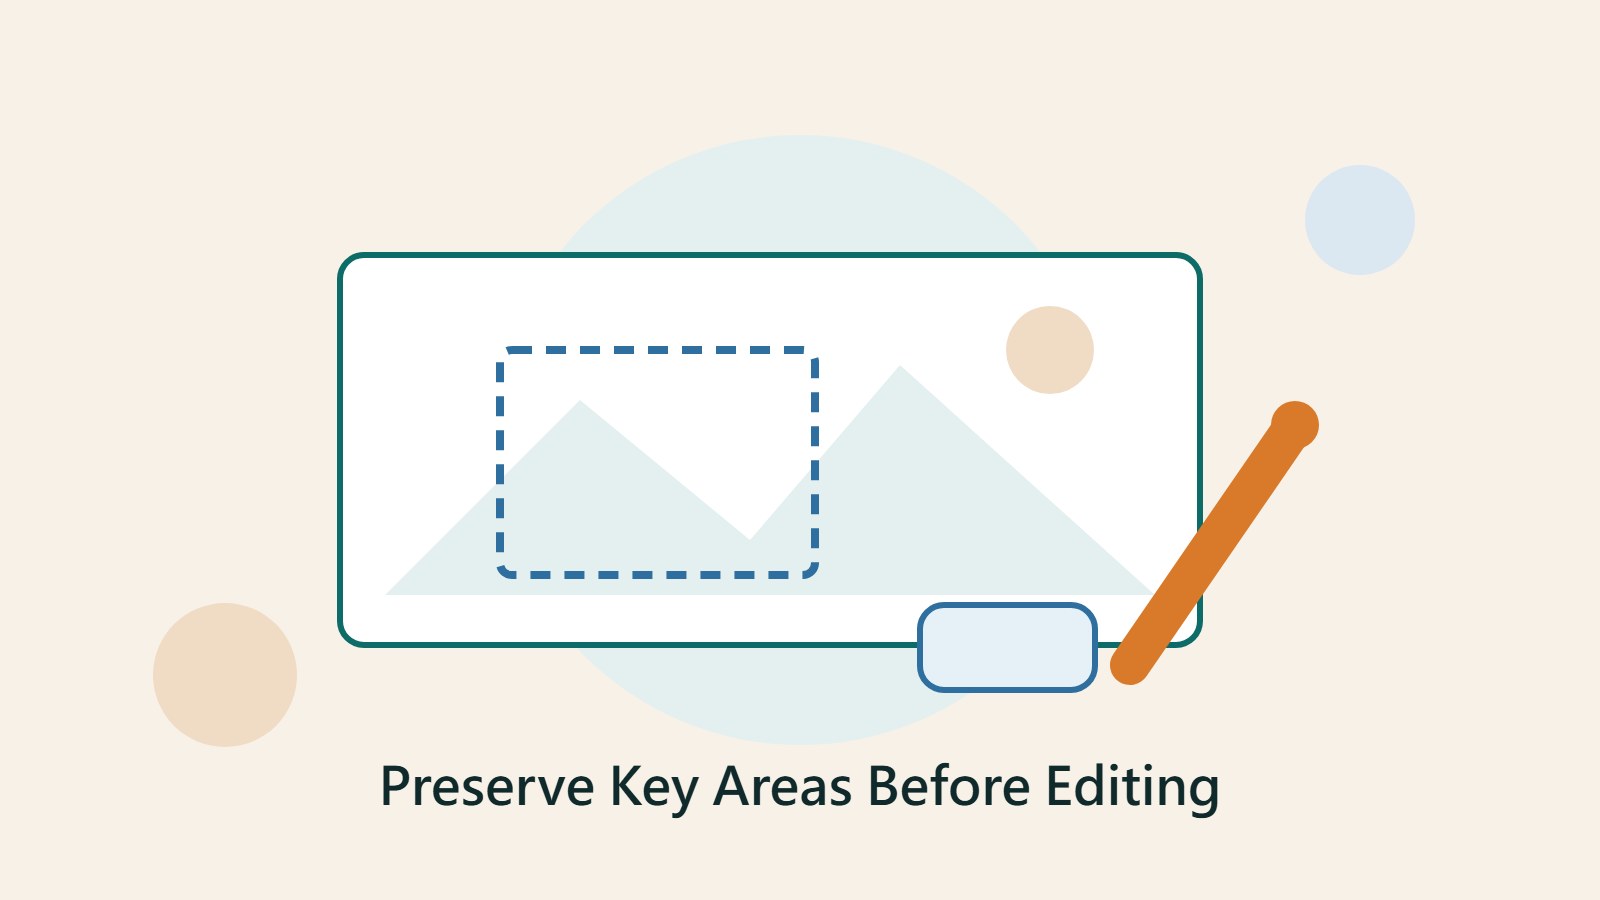
On September 8, 2026, OpenAI released ChatGPT Images 2.5, focusing on image details, localized edits, and consistency across multi-turn editing, alongside introducing workflows such as Sketch, templates, and image annotations. For everyday creators, the most noteworthy aspect of this update is the editing process: whether it can adjust only what you point out while preserving previously confirmed content.
Verified on September 14, 2026, this article compiles features and creative methods based on official announcements. The poster, photo, and social media scenarios discussed are editorial recommendations rather than showcases of hands-on testing with the new model by this site; the accompanying visuals are also merely original concept illustrations. Product features may vary depending on the platform and rollout progress, so please verify your access point before operating.
First, Distinguish Generating New Images from Modifying Existing Ones
When generating an image from scratch, you describe its purpose, subject, composition, and style; when modifying an existing image, you also need to clarify which parts must be preserved. Both tasks can produce pleasing visuals, but their review criteria differ. The former evaluates whether it meets the brief, while the latter requires checking whether the tool altered areas you intended to leave untouched.
For example, when preparing an event poster for a social media post, you can let the tool handle the concept and negative space first, then verify the text and dates. If you only want to adjust the background of a photo of your own product, you must explicitly demand the preservation of the product's shape, color, and identifiable details. If these conditions are not clearly specified, the generated results—no matter how polished—may still be unsuitable for practical use.
Official statements claim that Images 2.5 is better at maintaining the subject of reference photos and adhering to editing instructions, but this still requires verification with your own assets. Especially when the image contains people, product structures, or text, you cannot assume all details are correct simply by glancing at a thumbnail. Retaining the original image first and comparing it with the revised results is the most fundamental workflow.
For Localized Edits, Specify Both What to Change and What to Keep
Editors recommend structuring revision requests into two parts. The first part specifies the location and objective of the adjustment, such as simplifying the background or removing distractions. The second part states what cannot be changed, such as the subject's pose, clothing color, product proportions, and text content. This makes evaluating success or failure much easier than simply saying "make this better for me."
If more precise guidance is required, you can use the selection or annotation tools currently offered by the product to indicate the areas you care about. However, an interface markup is not a guarantee of the outcome; you must still inspect whether incidental changes occurred across the entire image. You can zoom in to compare subject edges, shadows, text, and repeating patterns to prevent localized edits from introducing new inconsistencies.
When the first round is missing only a single detail, try to propose adjustments using the already confirmed version while specifying that the rest should be preserved. If you re-describe the entire image every time, the tool may reprocess compositions that already met your requirements. The clearer your version management, the easier it is to direct revisions to the areas that truly need improvement.
| Workflow | Prompt Focus | Review Focus |
|---|---|---|
| New Image Generation | Purpose, composition, and negative space | Suitability for the actual layout |
| Inpainting / Local Edits | Edit areas and preserved elements | Whether other areas have changed |
| Sketch Reference | Positioning and spatial relationships | Whether the output follows the layout |
| Iterative Edits | Building on the confirmed version | Consistency of text and main subject |
Sketch and Templates Help Express Spatial Relationships Early
The announcement introduced Sketch, enabling users to provide visual reference through rough sketches. For those who find it difficult to translate composition into words, a sketch can establish where the subject roughly sits, where negative space is kept, and how foreground and background relate. It does not need to look like a finished piece; the goal is to help the tool understand the arrangement you care about.
For instance, if you want to create an article cover, you can use simple shapes to mark out the visual area, headline area, and visual flow, then supplement it with text describing the theme and color scheme. This is an editorially suggested approach, and it does not mean any sketch can be transformed precisely into your intended image. After generation, you must still check whether there is enough negative space and whether the key focus remains clear when scaled down.
Templates, on the other hand, are suitable for quickly establishing a starting point with common layouts. Once applied, first confirm whether it truly suits your purpose before adjusting individual elements, rather than forcing information to fit the template. Posters, social media graphics, and product showcases have different reading patterns, so text density and subject scale should adapt accordingly.
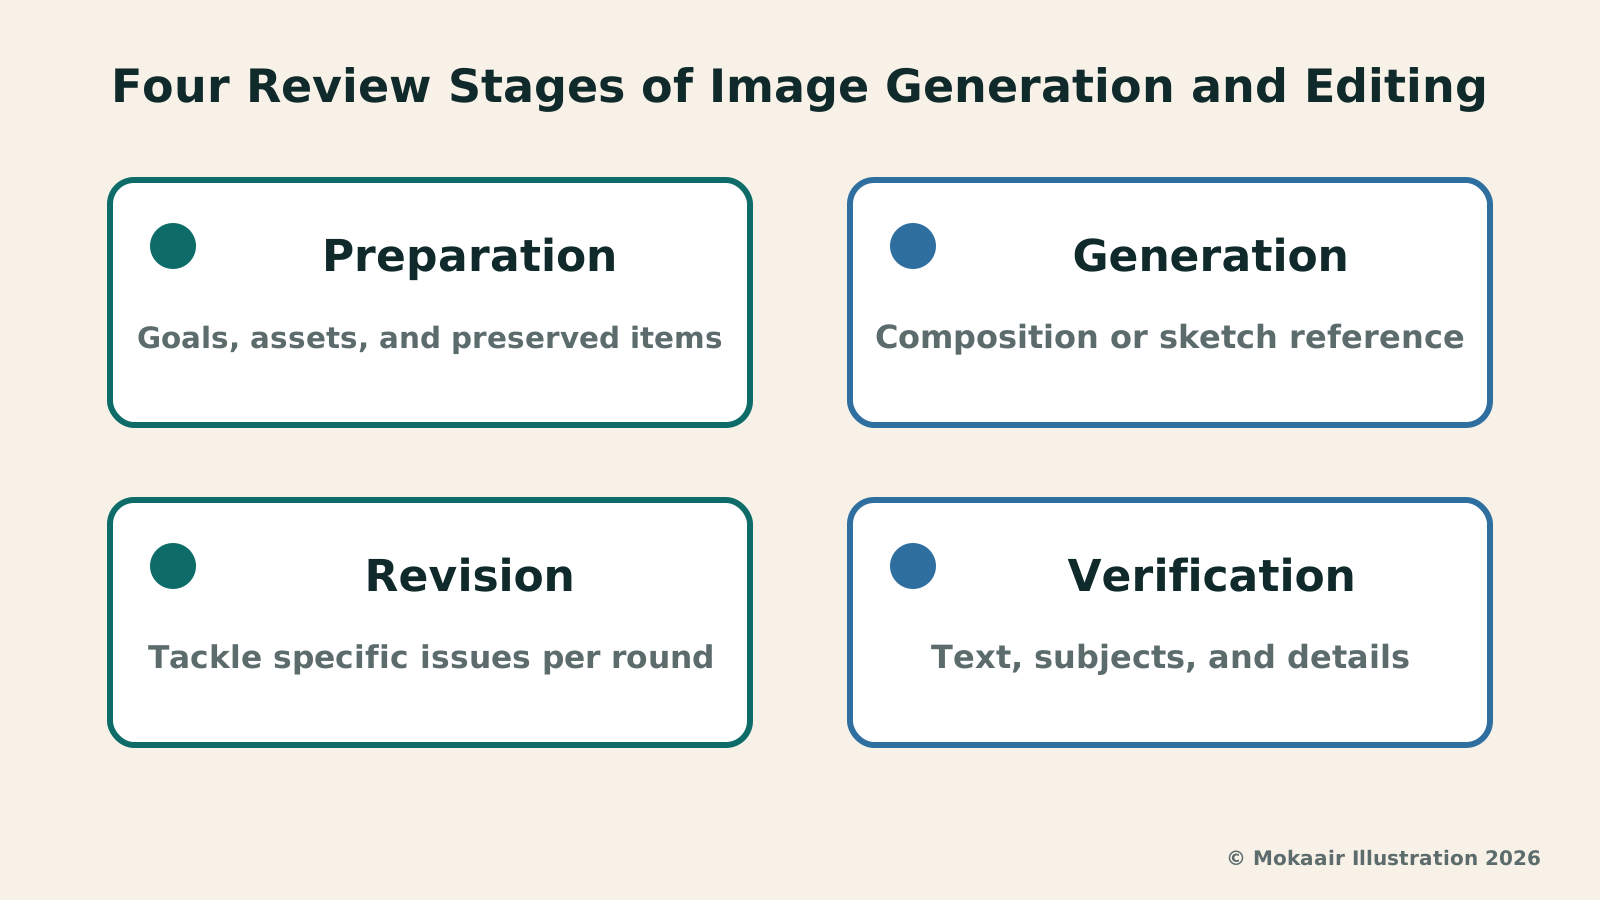
Read the full description
Prepare assets and requirements first, refine iteratively, and verify real-world facts and visual details.
Text, People, and Real-World Facts Require Separate Verification
An image looking natural does not mean the information inside it is accurate. Event dates, store names, addresses, and pricing should be verified against your source materials; do not accept them merely because the text shows no obvious gibberish. If the information requires frequent updates, you can also leave designated text areas blank in the image and insert editable official copy using familiar design tools.
When modifying people or products, pay close attention to identifying features. Editors recommend placing the original image and the result side-by-side to examine faces, hands, clothing details, accessories, and product structures, ensuring no unwanted alterations occurred. If your work requires faithful representation of reality, do not let generated outputs replace details you cannot personally verify.
Travel and lifestyle content must also clearly distinguish between records and illustrative representations. Modifying a scene to display different weather or inserting non-existent objects alters the photograph's role as documentation. When sharing publicly, clearly indicate that it is a creative edit or concept image to prevent readers from mistaking generated amenities, signage, or surroundings for factual reality.
Do Not Conflate General Image Tools with API Models
The same release announcement also introduced GPT-Image-2.5 Flare and Sunburst, which are model options for the developer API. The image experience that everyday users see in ChatGPT cannot be directly equated with the billing, latency, and configurations developers encounter when calling the models.
If you only produce occasional personal images, simply checking your account's current feature access and quotas is sufficient. However, if you are running bulk asset generation workflows, you must independently evaluate API pricing, failure or retry costs, and the time required for manual curation and verification. Official claims of speed improvements do not guarantee identical wait times for every image you generate.
The most fitting takeaway from this update is re-evaluating your editing workflow: define the purpose first, archive original images and versions, address specific issues round by round, and finally verify content and details. When you can articulate the objective of each edit, it becomes much easier to judge whether the new features truly streamline your creation, rather than merely producing another batch of hard-to-choose images.
Lyria 3.5 Joins Gemini: New Options for AI Music CreationLyria 3.5 Joins Gemini: New Options for AI Music CreationGoogle announced on September 4, 2026, that Lyria 3.5 is coming to the Gemini App and API, offering vocals, instrumentals, style templates, and flexible track lengths. Starting with birthday songs, travel video scores, and simple creative projects, this guide explains how to write usable prompts, compare versions, evaluate vocals and rhythm, and why generation capability doesn't automatically mean commercial or material clearance.Read the full article
EU AI Transparency Rules Take Effect: How Are Chatbots and Generated Content Labeled?EU AI Transparency Rules Take Effect: How Are Chatbots and Generated Content Labeled?The European Commission announced that new transparency requirements under the AI Act apply as of August 2, 2026. This article explains chatbot identity disclosure, visible deepfake labeling, and machine-readable marks in plain language, clarifies the roles of providers versus deployers, and advises Taiwan creators on keeping production logs, verifying content, and checking platform rules without misconstruing EU laws as local obligations.Read the full article
Lifestyle
NVIDIA launches DGX Spark 64GB: on sale October 23 from $4,999, two units can be linked into 128GB
On October 2, 2026, NVIDIA announced a more affordable 64GB memory version of its DGX Spark personal AI computer, available from October 23 through six makers including Acer and ASUS. It is aimed mainly at developers and researchers who want to run AI models on their own machines. Below we summarize the specs NVIDIA published, its claims about linking two units, and what it means for general readers.
Lifestyle
Google Cloud Launches Spanner Queues: Putting Message Queues Inside Database Transactions to Make AI Agents More Reliable
Google Cloud has announced the general availability of Spanner queues, which make message creation part of a database transaction. The aim is to stop AI agents' "state" and "actions" from falling out of sync. This article covers Google Cloud's claims, the main features, and what it means for general readers.
Lifestyle
GPT-6.1 Sol Launches: New Sol Version in the API, Codex and ChatGPT Work, Not in Chat
OpenAI launched GPT-6.1 Sol on September 29, 2026, with the API name gpt-6.1-sol. The launch rollout covers Codex and ChatGPT Work on Plus, Pro, Business, Enterprise and Edu (Enterprise and Edu need an administrator to enable it); Free and Go are not included at launch, and it is not in Chat (checked September 2026).
Lifestyle
Claude Sonnet 5.5 Launches: Same List Price as Sonnet 5, Available in the API, on Cloud Platforms and in Claude.ai
Anthropic launched Claude Sonnet 5.5 on September 28, 2026. API list prices are the same as Sonnet 5 ($2 per million input tokens, $10 per million output tokens). It is available in Claude.ai, the API and several cloud platforms, and higher-risk cybersecurity requests fall back to Sonnet 5 (checked September 2026).
Articles that cite this one
Latest travel guides
GuideTokyo
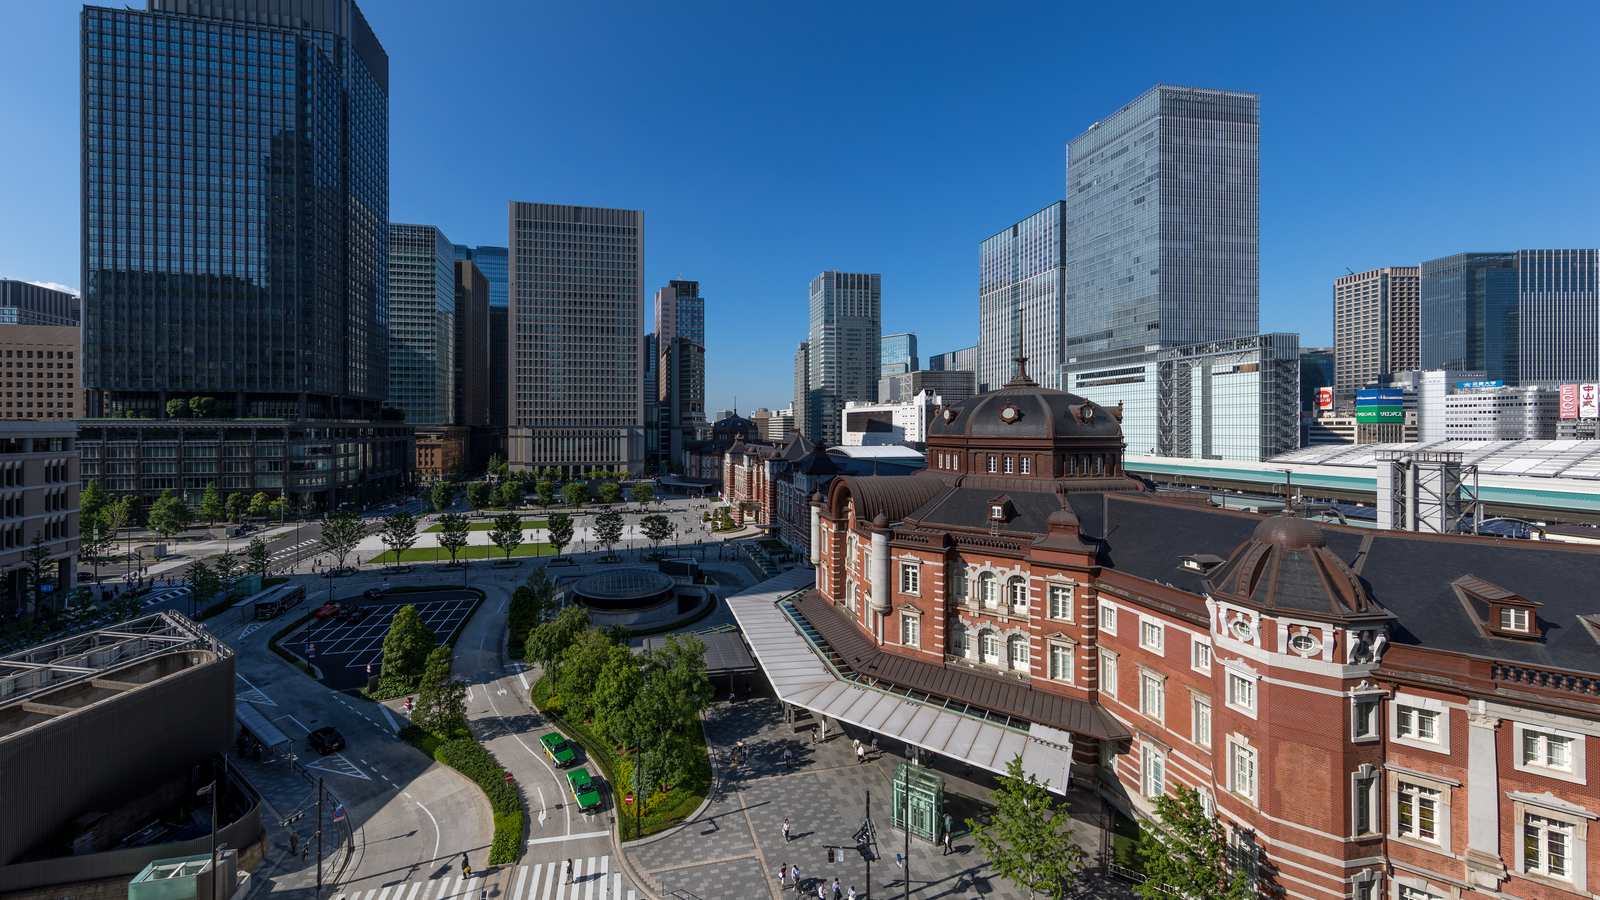
Where to Stay in Tokyo: Comparing Shinjuku, Ueno, Tokyo Station, Shibuya, Asakusa, Ikebukuro, and Ginza, Plus Airport Access, Accommodation Tax, and Luggage Delivery
Where should you stay in Tokyo? Compare Shinjuku, Ueno, Tokyo Station, Shibuya, Asakusa, Ikebukuro, and Ginza by the same criteria: access from Narita and Haneda, transit routes, nearby attractions, neighborhood character, and who each area suits. Includes a comparison table, a Yamanote Line diagram, Tokyo’s accommodation tax as verified in 2026/9 (changing to 3% in 2027/4), and Airport TA-Q-BIN luggage shipping rules.
- Budget
- Hotels
GuideTokyo
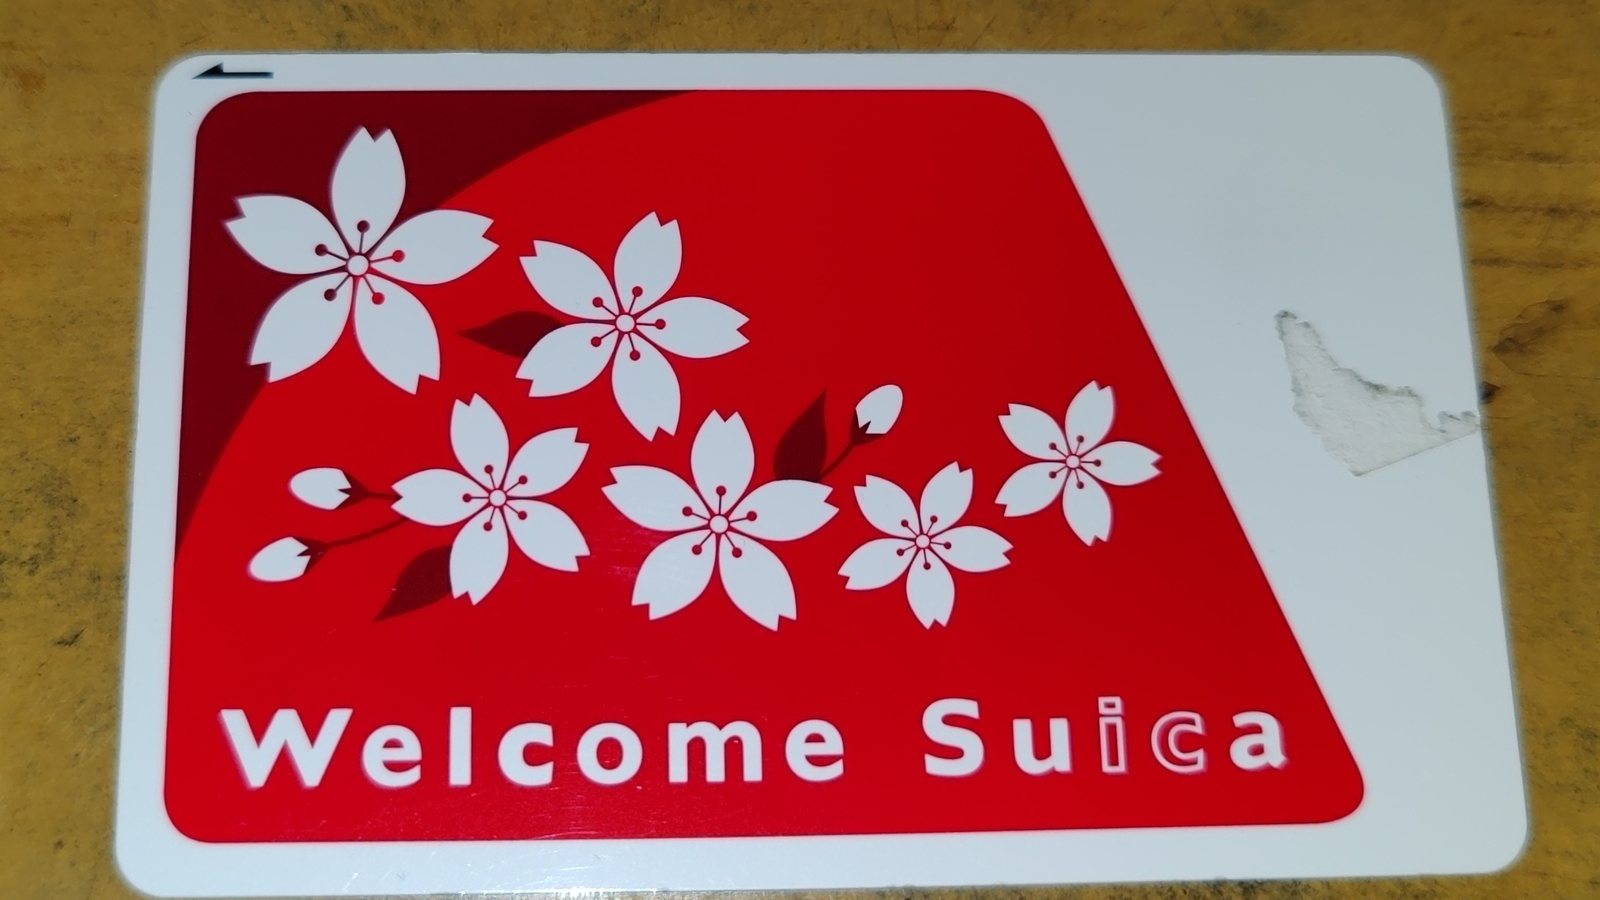
How to Choose Tokyo Transit Passes: Are Suica, Welcome Suica, the Tokyo Subway Ticket, and the JR Pass Worth It?
On a first Tokyo trip, start with an IC card and pay per ride (Welcome Suica has no deposit and is valid for 28 days). If you take four or more subway rides in a day, add a 72-hour Tokyo Subway Ticket for 2,000 yen; a JR Pass is never worthwhile if you stay in Tokyo and do not go to Kansai. See what TOURIST PASMO, Suica on iPhone, and the Tokyo Metro day pass do and do not cover, with a decision chart. Prices verified in September 2026.
- Transport
- Budget

GuideTokyo
Tokyo Disneyland and DisneySea Guide: Ticket Prices, Fantasy Springs, Disney Premier Access (DPA), Standby Pass, and Which Park to Choose for Your First Visit
Tokyo Disney one-day Passport prices vary: most weekdays in 9/2026 cost ¥9,900 and weekends ¥10,900. At 14:00 daily, tickets go on sale for the same date two months later. Free Priority Pass is no longer on the official service list; only paid Disney Premier Access (¥1,000–3,500 per person per use) shortens waits. Covers hours, the 25th anniversary, Standby Pass, Entry Request, Fantasy Springs access and first-visit park choice; checked on the official site in 9/2026.
- Itineraries
- Family
Sources
- OpenAI: ChatGPT Images 2.5, 2026-09-08 · Checked: