Guide
Japan Station Locker Guide: Inside or Outside Ticket Gates, Access Credentials, and Luggage Retrieval
Storing luggage takes only minutes, but finding your locker again can take much longer. Record its location, collection hours, and unlocking method together so that traveling between areas that day does not mean retracing your route through the station for your bags.
About 7 min read
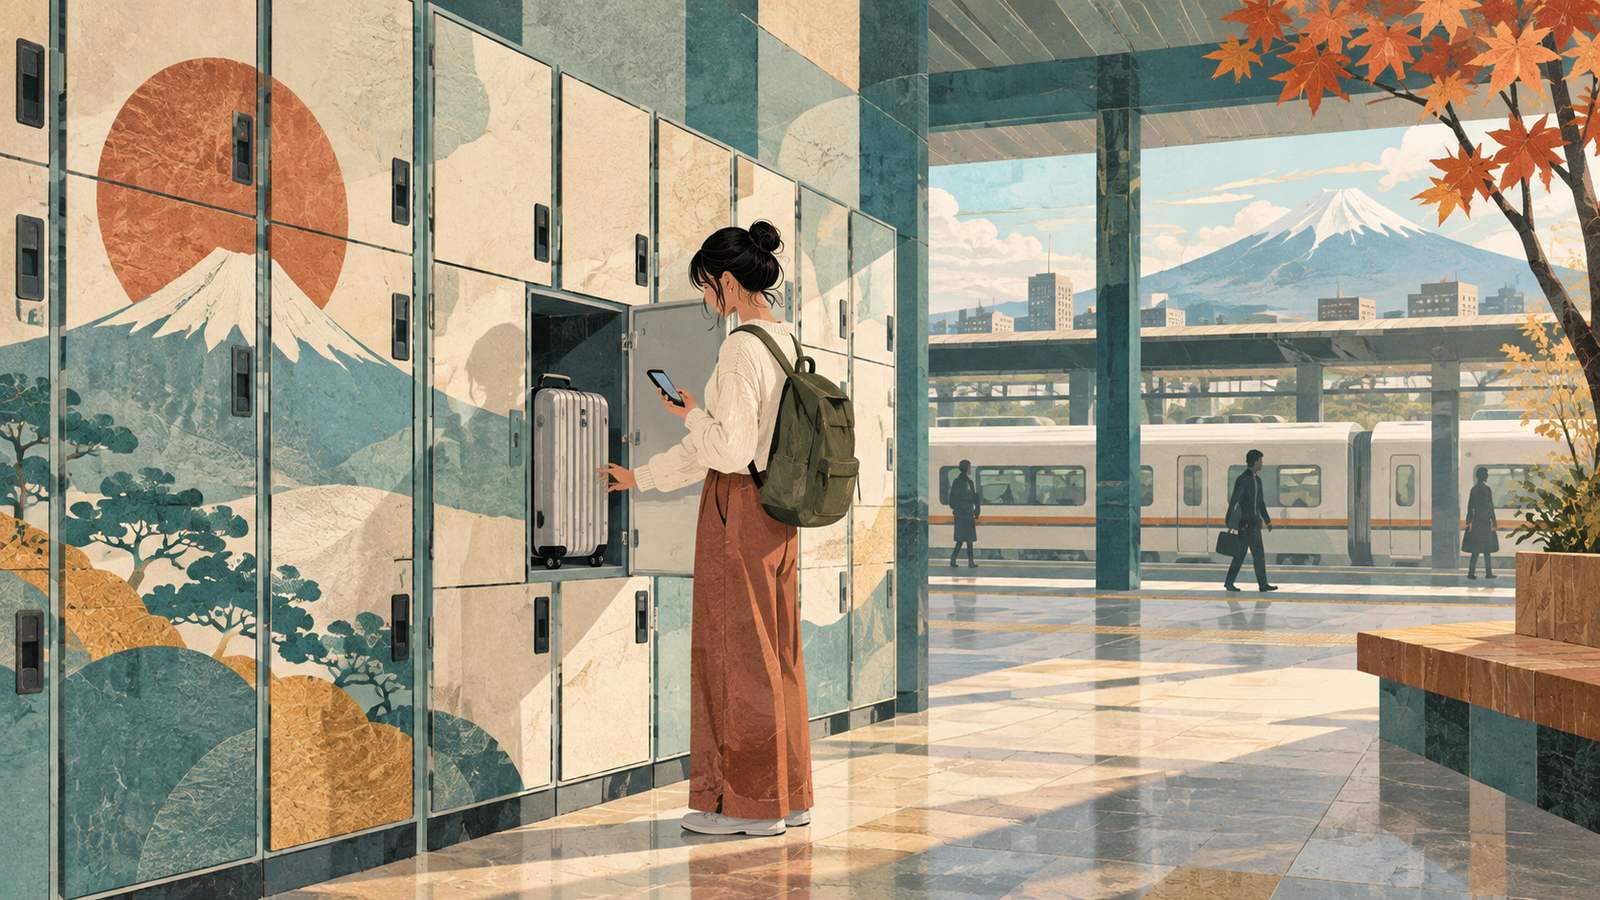
Station lockers are convenient if you want to shop after checking out on your last day, but whether lockers are nearby, whether your luggage fits, and whether you can retrieve it that evening are three separate questions. This article covers choosing and using same-day storage. It does not repeat instructions for buying transit cards or assume that equipment at major stations is the same at every station.
Choose the Station You Will Return to Before Looking for Lockers
JR East's official FAQ recommends checking station layout maps for locker locations at major stations and station information pages to see whether other stations have lockers. Choose a station based on your evening travel direction, then check whether the lockers are inside the ticket gates, outside them, or in a shopping center. Storing your bags while transferring in the morning may mean an extra trip through the gates and a long detour if you depart with another railway operator that evening. Even stations with the same name on a map may involve different operators, floors, and entrances.
Treat your luggage storage location as a proper stop when planning, placing it on the same route as lunch, shopping, and train travel. If your group splits up, agree beforehand on who will collect the luggage, who will hold the access credentials, and which exit you will meet at afterward. Do not simply agree to meet at Tokyo Station or Shinjuku Station. Specify the floor, exit name, nearby service counter, and locker area number so everyone has a shared reference when trying to find one another.
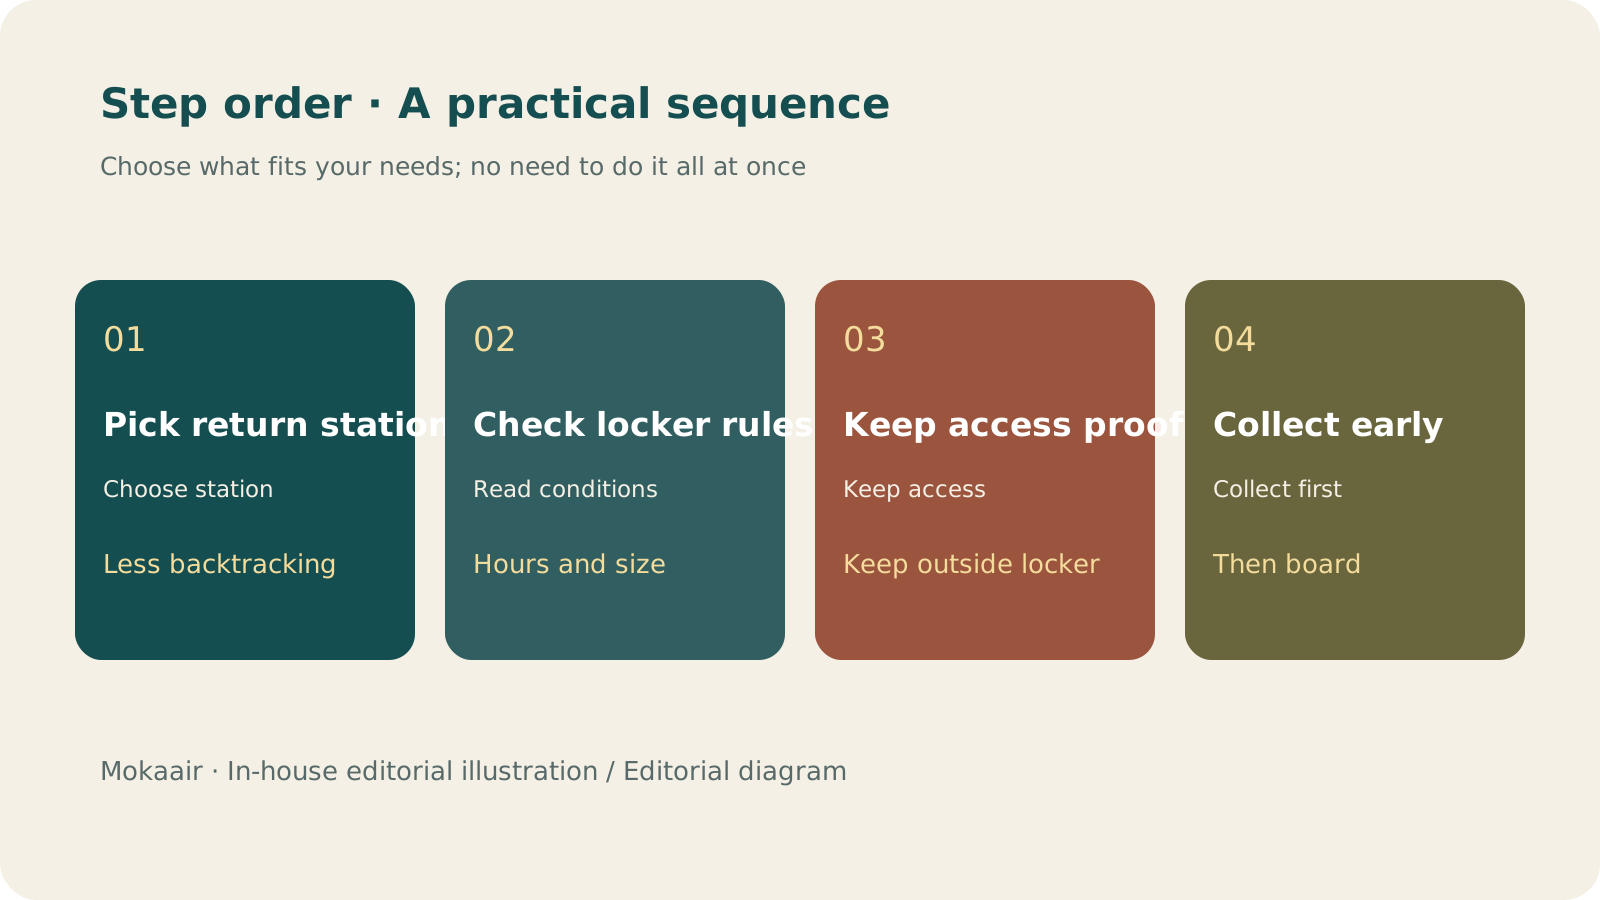
Read the full description
Check in order: choose your return station, check locker conditions, safeguard access credentials, and collect luggage early. Compiled by the editors; not a map or measured timings.
Check This Locker's Signs for Size, Fees, and Hours
Even lockers that all look large may differ in door frame size, internal depth, and how protruding wheels fit. Place your luggage securely inside and check that the door closes naturally without using your body to force it shut. If you also store shopping bags, leave room to remove them and avoid trapping paper bag handles in the door. Before paying, read the billing units, charges for crossing into another day, maximum continuous storage period, and overdue procedures. You cannot infer these details from a neighboring unit operated by another brand.
| What to Check | Why It Affects Your Plans | How to Record It |
|---|---|---|
| Inside or outside the ticket gates | You may need a different station entry route when returning | Photograph the exit and ticket gate names |
| Collection hours | Shopping center or station entrances may close | Copy down the notice on the locker unit |
| Billing and charges for crossing into another day | Charges may not be based on a full day from the time of storage | Photograph the fee chart |
| Unlocking method | It may require a card, key, or code printed on paper | Keep the original access credential safe |
Payment methods also depend on the unit. Some use coins, while others accept transit cards or other methods. Being able to ride a train with a particular card does not mean every luggage storage unit in the station accepts it. Check the supported options on the screen and confirm that you have enough balance or a suitable payment method before putting your belongings inside. If you cannot find an empty locker, stop circling the same area and check with an official station service counter or your hotel about storage. This is more efficient than endlessly chasing locker icons on a map.
Photograph the Location After Locking, and Save Access Details Separately
After paying, check that the screen confirms successful storage, then gently pull the handle to make sure the door is locked. Keep the paper receipt, key, or physical card you used. If you use a phone, make sure its battery will last until your return. Whether a system supports another device or replacement codes depends on the rules at that location; do not assume a screenshot is a valid unlocking credential. You can share locker location photos with your companions, but do not publicly share photos containing passwords or codes that can open the locker.
Ideally, take two location photos: one showing the locker number and another from farther away that includes a shop, elevator, or station direction sign. A close-up of the door alone offers little help when an entire wall is lined with lockers of the same color. If your plans change, recalculate the route back to your locker before deciding whether to visit another stop. Do not treat your originally scheduled collection time as spare time that will always remain available.
Contact the Operator if You Lose Your Access Credential
If you cannot open or find your locker, first check the operator's name and contact details on the unit. Station staff can help with directions, but another company may be responsible for opening lockers, verifying ownership, or collecting related fees. Providing the storage location, locker number, approximate time, payment record, and a description of your luggage makes it easier to investigate than simply saying you left it nearby a moment ago. Do not try opening someone else's locker or follow strangers to an unknown location to pay.
Choose Storage Based on Your Half-Day Plans After Checkout
Suppose you check out in the morning, go shopping, and depart from a different station in the early evening. First mark your hotel, shopping area, and departure station on a map, then decide where to store your luggage. Leaving it at the hotel may save you from searching for an empty locker, but you must also account for the return trip to collect it. Storage at your departure station may fit your route better, but a suitable space may not be available when you arrive. Having an alternative storage location ready usually offers more flexibility than waiting in front of the same row of lockers for someone to collect their bags.
When you reach a potential locker area, first assess the route you will take back to it. If it is tucked away on a floor of a shopping center, check the access conditions for that floor and its passageways. If it is inside the ticket gates, ask whether your return ticket and intended entry method will allow access. Do not turn luggage collection into a task involving multiple ticket gates just to save a small amount. If you are traveling with older relatives, a stroller, or several bags, include elevator locations in your collection route.
If you buy more things during the day, you may need to repack your suitcase before heading back. Find a suitable place where you will not obstruct others before opening it, rather than crouching in front of the lockers and blocking access to the whole row. After removing your belongings, check the corners, upper section, and door edges of the locker, then make sure you have your phone, access credential, and carry bags. When several people share a compartment, designate one person to make the final check so everyone does not have to open their own suitcase and count everything again.
If you make a last-minute change to have dinner in another area, first confirm that you can still collect your luggage. If you really need overnight storage, check this set of lockers' permitted storage period, fees, and overdue procedures. Ask the operator directly about anything you do not understand. A decision originally made for a few hours of storage does not automatically apply through the next day. Making sure you can return to your storage location deserves attention before adding another attraction along the way.
- Returning to the same station? Confirm the operator and exit.
- Will your luggage fit? Try the size before paying.
- Where is your access credential? Do not lock it inside.
- Has your route changed? Reschedule collection before buying a new ticket.
If you do not need your luggage back the same day, see the delivery arrangements insteadPlanning Luggage Forwarding in Japan: Traveling Light Between Cities, Hotel Delivery, and Airport PickupSending luggage is only half the job; make sure it can reach your next stop. From confirming hotel acceptance and filling in recipient details to handling airport forwarding separately from regular delivery, here is a practical approach to keeping luggage from dictating your itinerary.Read the full article
Guide
How to Choose Tokyo Transit Passes: Are Suica, Welcome Suica, the Tokyo Subway Ticket, and the JR Pass Worth It?
On a first Tokyo trip, start with an IC card and pay per ride (Welcome Suica has no deposit and is valid for 28 days). If you take four or more subway rides in a day, add a 72-hour Tokyo Subway Ticket for 2,000 yen; a JR Pass is never worthwhile if you stay in Tokyo and do not go to Kansai. See what TOURIST PASMO, Suica on iPhone, and the Tokyo Metro day pass do and do not cover, with a decision chart. Prices verified in September 2026.
Guide
Narita and Haneda Airports to Central Tokyo: How to Choose Skyliner, N'EX, Keikyu, or the Airport Limousine Bus
From Narita to Tokyo: take Keisei Skyliner to Ueno in 36–41 minutes for ¥2,580; for Shinjuku or Tokyo Station, JR N'EX reaches Tokyo in as little as 53 minutes for ¥3,140; choose the TYO-NRT bus for ¥1,500 when budget comes first. From Haneda, Keikyu reaches Shinagawa in 11–14 minutes for ¥330. Includes fares and times for Access Express, Airport Limousine and Tokyo Monorail, plus a stay-area route guide; checked on official sites in 9/2026.
Guide
How to Get Online in Thailand: Airport AIS and True Tourist SIMs, eSIM, Taiwan Carrier Roaming, and Pocket WiFi (2026)
Buy an AIS or True tourist SIM at Suvarnabhumi or Don Mueang Airport, install an eSIM before departure, or use Taiwan carrier roaming? Compare official September 2026 plans and prices from AIS, True, Chunghwa Telecom and Taiwan Mobile, plus NBTC passport-registration rules: up to 3 SIMs per carrier and tourist SIMs valid for at most 60 days. A comparison table and decision chart help you choose by trip length, group size and phone eSIM support.
Guide
Taoyuan Airport Departure Guide: A1/A3 In-Town Check-in, Baggage, Liquids and Power Banks at Security, e-Gate Registration, and When to Leave (2026)
Departure-day guide from Taipei or New Taipei: check in online and confirm the terminal; use in-town check-in at A1 (06:00–21:30) or A3 (09:00–16:00), with a three-hour cutoff and different airlines; follow the 100 mL/one-liter liquids rule, the two-power-bank carry-on limit and lighter rules; check e-Gate rules for ROC nationals with household registration in Taiwan using an ROC passport, from age 10 and 120 cm; then calculate when to leave. Verified in September 2026 using Taiwan sources.